It was time to harvest my beets, and I wanted to try canning at home.
I took a few classes on canning earlier this year from the UAF extension office in Anchorage, so I was familiar with the differences between the hot water bath canning method and a pressure canner, but I had never done it on my own.
Hot Water Bath Canning Versus Pressure Canning
The hot water bath method uses a really big pot to totally submerge the glass jars in boiling water to seal them. It’s good for high acid foods (ex. pickles) that don’t spoil as easily, whereas cans of low acid foods (ex. plain beets) require being processed in a pressure cooker because pressure cookers reach higher temps and can fully sterilize what’s inside to prevent future bacteria growth inside your canned food.
Canning is Jarring
Here’s something weird about canning that nobody talks about, but is super confusing to a newbie canner: 99% of people who say “canning” are actually referring to sealing food in glass jars – not cans. There are a few rare people who have the equipment to seal real metal cans, but the majority of people who talk about canning are actually doing it with jars. It really should be called “jarring.”
I’m sure the official cannery board has been meaning to get that petition started, but they’re busy people.
My Hot Water Bath Canning Supplies
Here are the supplies I start with. I was an ambitious and eager canner, ready and armed with multiple gallons of vinegar and 18 sterilized pint jars.
(Spoiler alert – I only needed 5 of those jars and 3 1/2 cups of vinegar.)
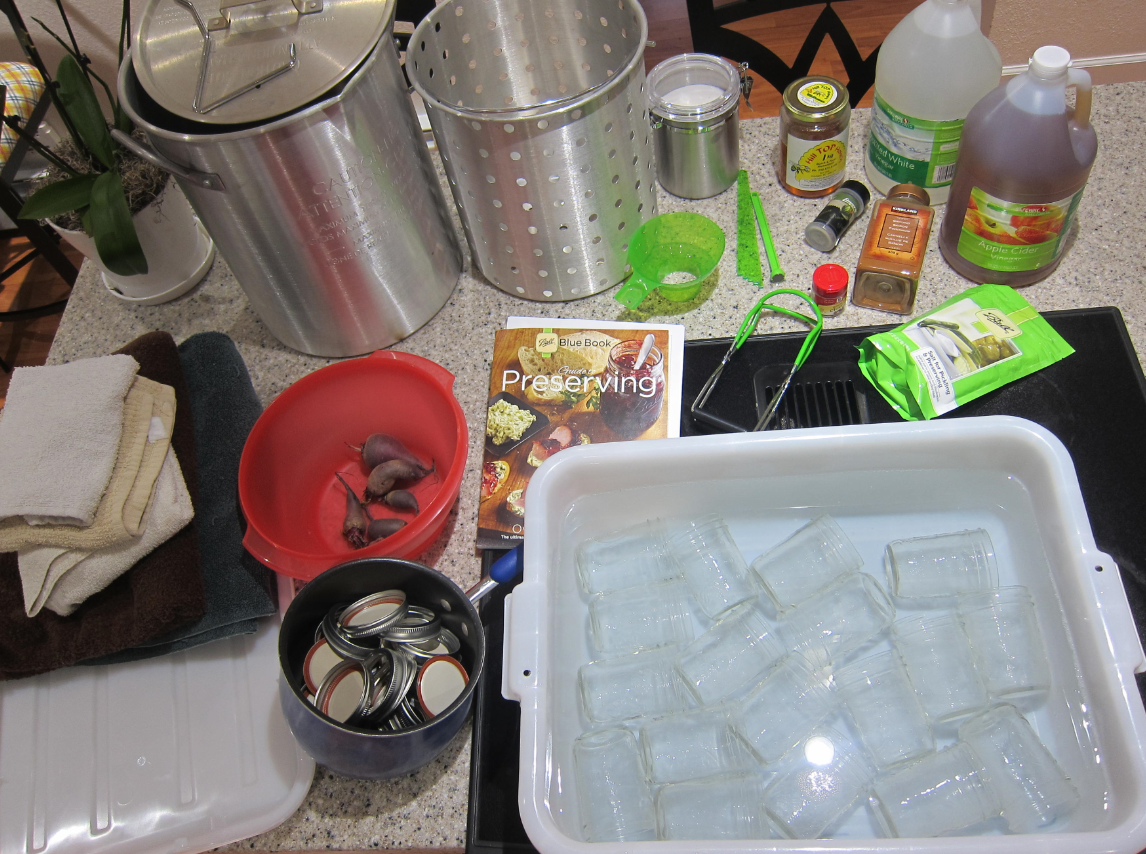
Here’s my full list of supplies:
- 18 glass pint jars with rings and new lids (washed)
- towels, anticipating a spill (red beets stain)
- Ball Blue Book “Guide to Preserving” magazine
- white distilled vinegar
- canning grabber, magnet-tipped stick, plastic head space measurer, jar funnel
- spices, honey and pickling salt
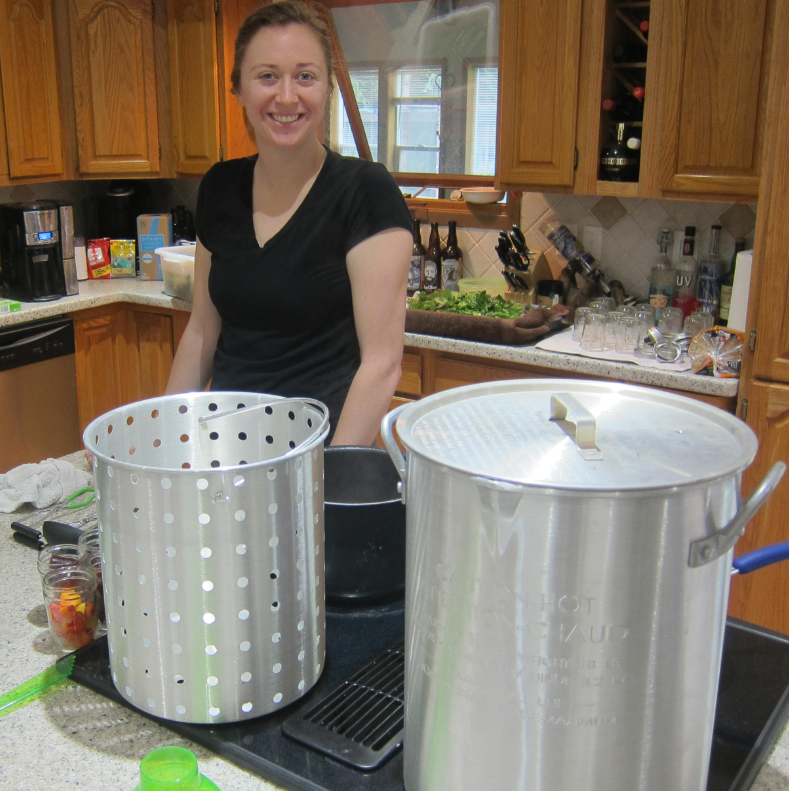
- big pots
Do I Really Need all of Those Canning Supplies?
When it comes to cooking, I’m a minimalist. I don’t like to use multiple utensils if I can get away with only dirtying one. With canning and pickling, I looked at a lot of recipes to see what each one recommended for supplies and ingredients, hoping that I could make do with what I already had.
I ended up buying a pre-packaged set of canning tools – for $15, I got the jar funnel, magnet-tipped stick, head space measuring stick, and can grabber. And I used every one of them while canning.
A magnet-tipped plastic stick might seem dumb, but you’re supposed to put your lids and jar rims in boiling water just before filling your jars. If you have a magnet-tipped stick, you can put the stick in the hot water to grab the lids instead of using your fingers.
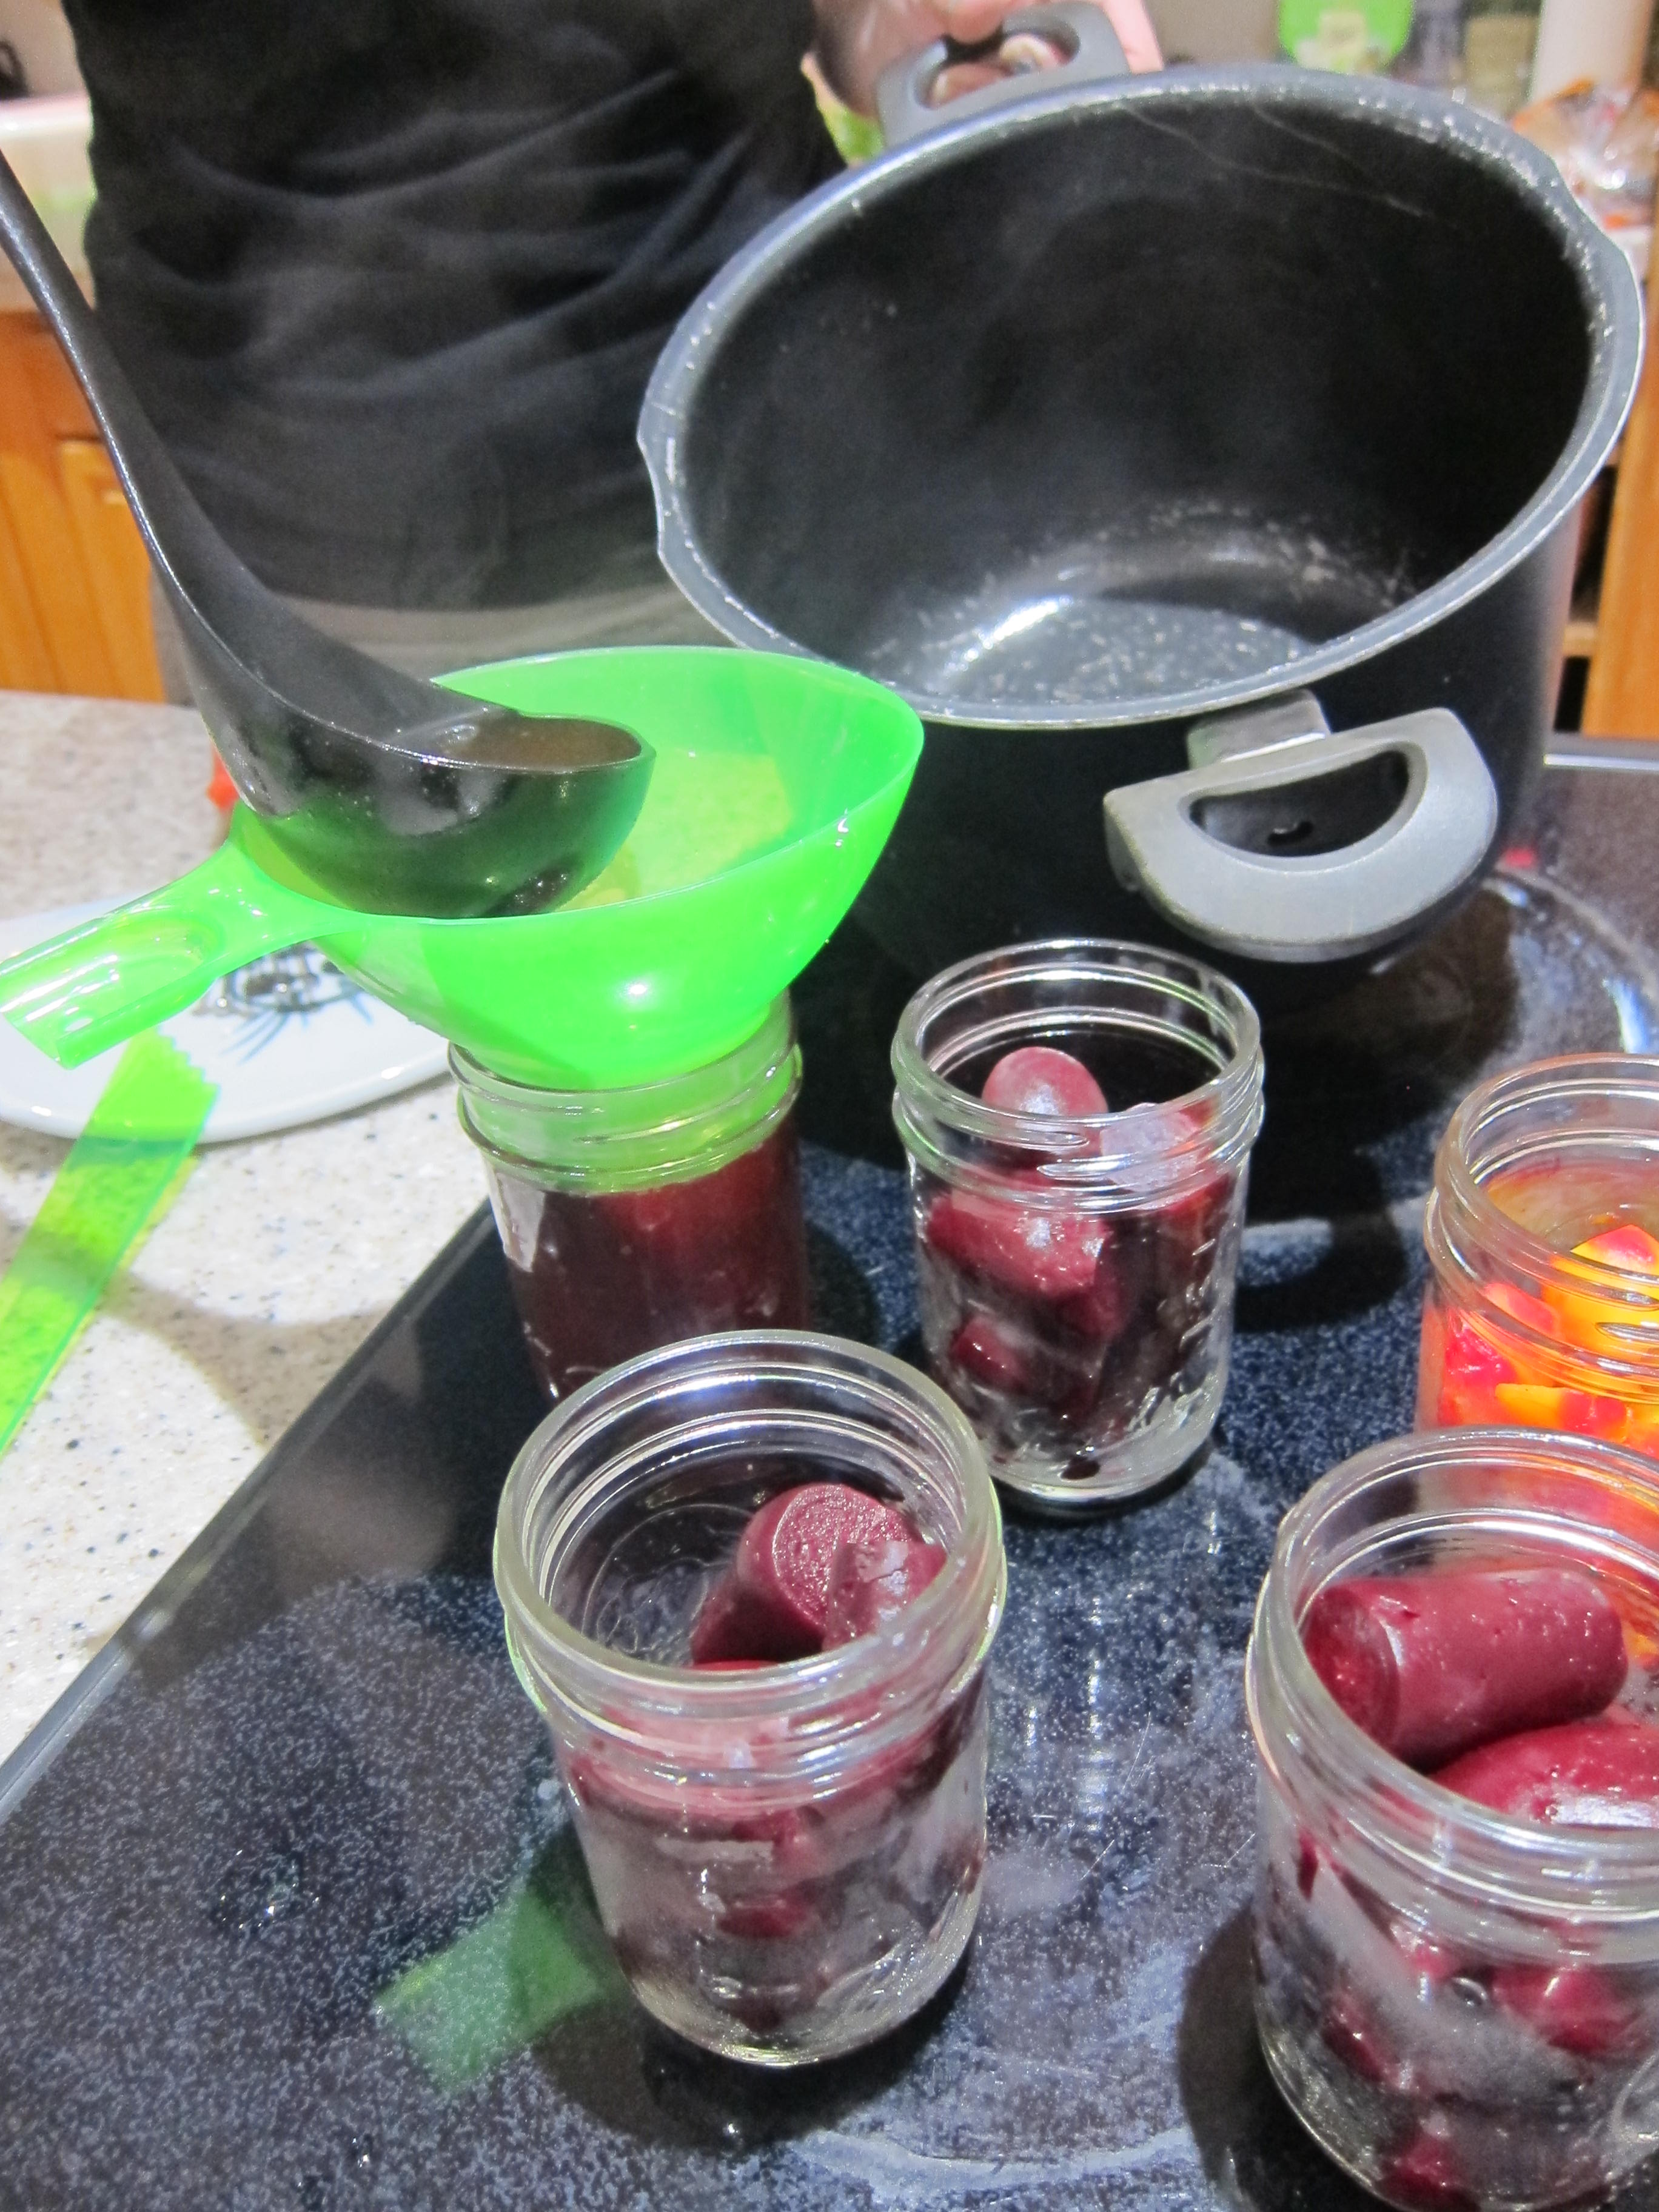
The jar funnel comes in really handy when you’re trying to pour piping hot liquid into a small jar opening without dumping it all over your counter. The funnels made specifically for jarring are designed to be a snug fit for the average-mouthed glass jar, so you don’t have to hold it upright while you pour.
The metal jar grabber is used while you’re trying to put your ready-to-be-sealed jars into the boiling water and when you need to take them out afterward. Your need to keep the jars upright while lifting them in/out of the hot water. Unless you enjoy putting your hands in boiling water, there’s no question this tool is important.
The only piece I could do without was the plastic head space measuring tool. Hard core canners will scoff at this statement, but it’s pretty easy to eyeball what 1/2″ or 1″of head space looks like. (Head space = the amount of room left at the top of your jar.) If the head space measure stick wasn’t already part of the set I bought, I wouldn’t have purchased it separately.
The Beet Pickling and Canning Recipe
I slightly modified the “Beet Pickles” recipe from the Ball Blue Book “Guide to Preserving” Magazine. I wanted to link to it, but I couldn’t find this recipe online. They must want people to buy the magazine to get their recipe. Cooking hacks, you’re welcome.
The original pickled beets recipe makes 6 pints or 3 quart jars, and it calls for:
- 3 quarts beets (about 24 small)
- 2 cups sugar
- 2 sticks cinnamon
- 1 tablespoon allspice
- 1 1/2 teaspoon Ball-brand Salt for Pickling & Preserving
- 3 1/2 cups vinegar, 5% acidity
- 1 1/2 cups water
- Ball Pickle Crisp (optional)
When you’re using a hot water bath for canning, and you’re canning a low acid food like beets, the teacher at the UAF canning course said it’s important to not adjust the vinegar in the recipe (for safety reasons). With pickling in a hot water bath, the vinegar concentration is what helps to keep your food from spoiling in long-term storage.
I omitted the allspice, sugar, cinnamon sticks and the pickle crisp. I added 1 cup of honey, 1 teaspoon of ground cinnamon and 1/4 teaspoon ground cloves.
The recipe says to prep and cook the beets, then boil all of the ingredients (except beets) for 15 minutes. Put the beets into their jars, then pour the vinegar solution into the jars leaving 1/2″ head room. This vinegar solution is what actually pickles the beets.
Put on the hot lids and rings, then put the jars into your big pot of boiling water. The water should come up at least 1″ above the top of the jars.
The recipe says to process (boil) for 30 minutes, then turn off the heat and wait 5 minutes before removing the jars from the hot water.
After you carefully remove the jars from the hot water with the metal jar grabber tool, you’ll start hearing the jar lids pop as they cool down and seal shut.
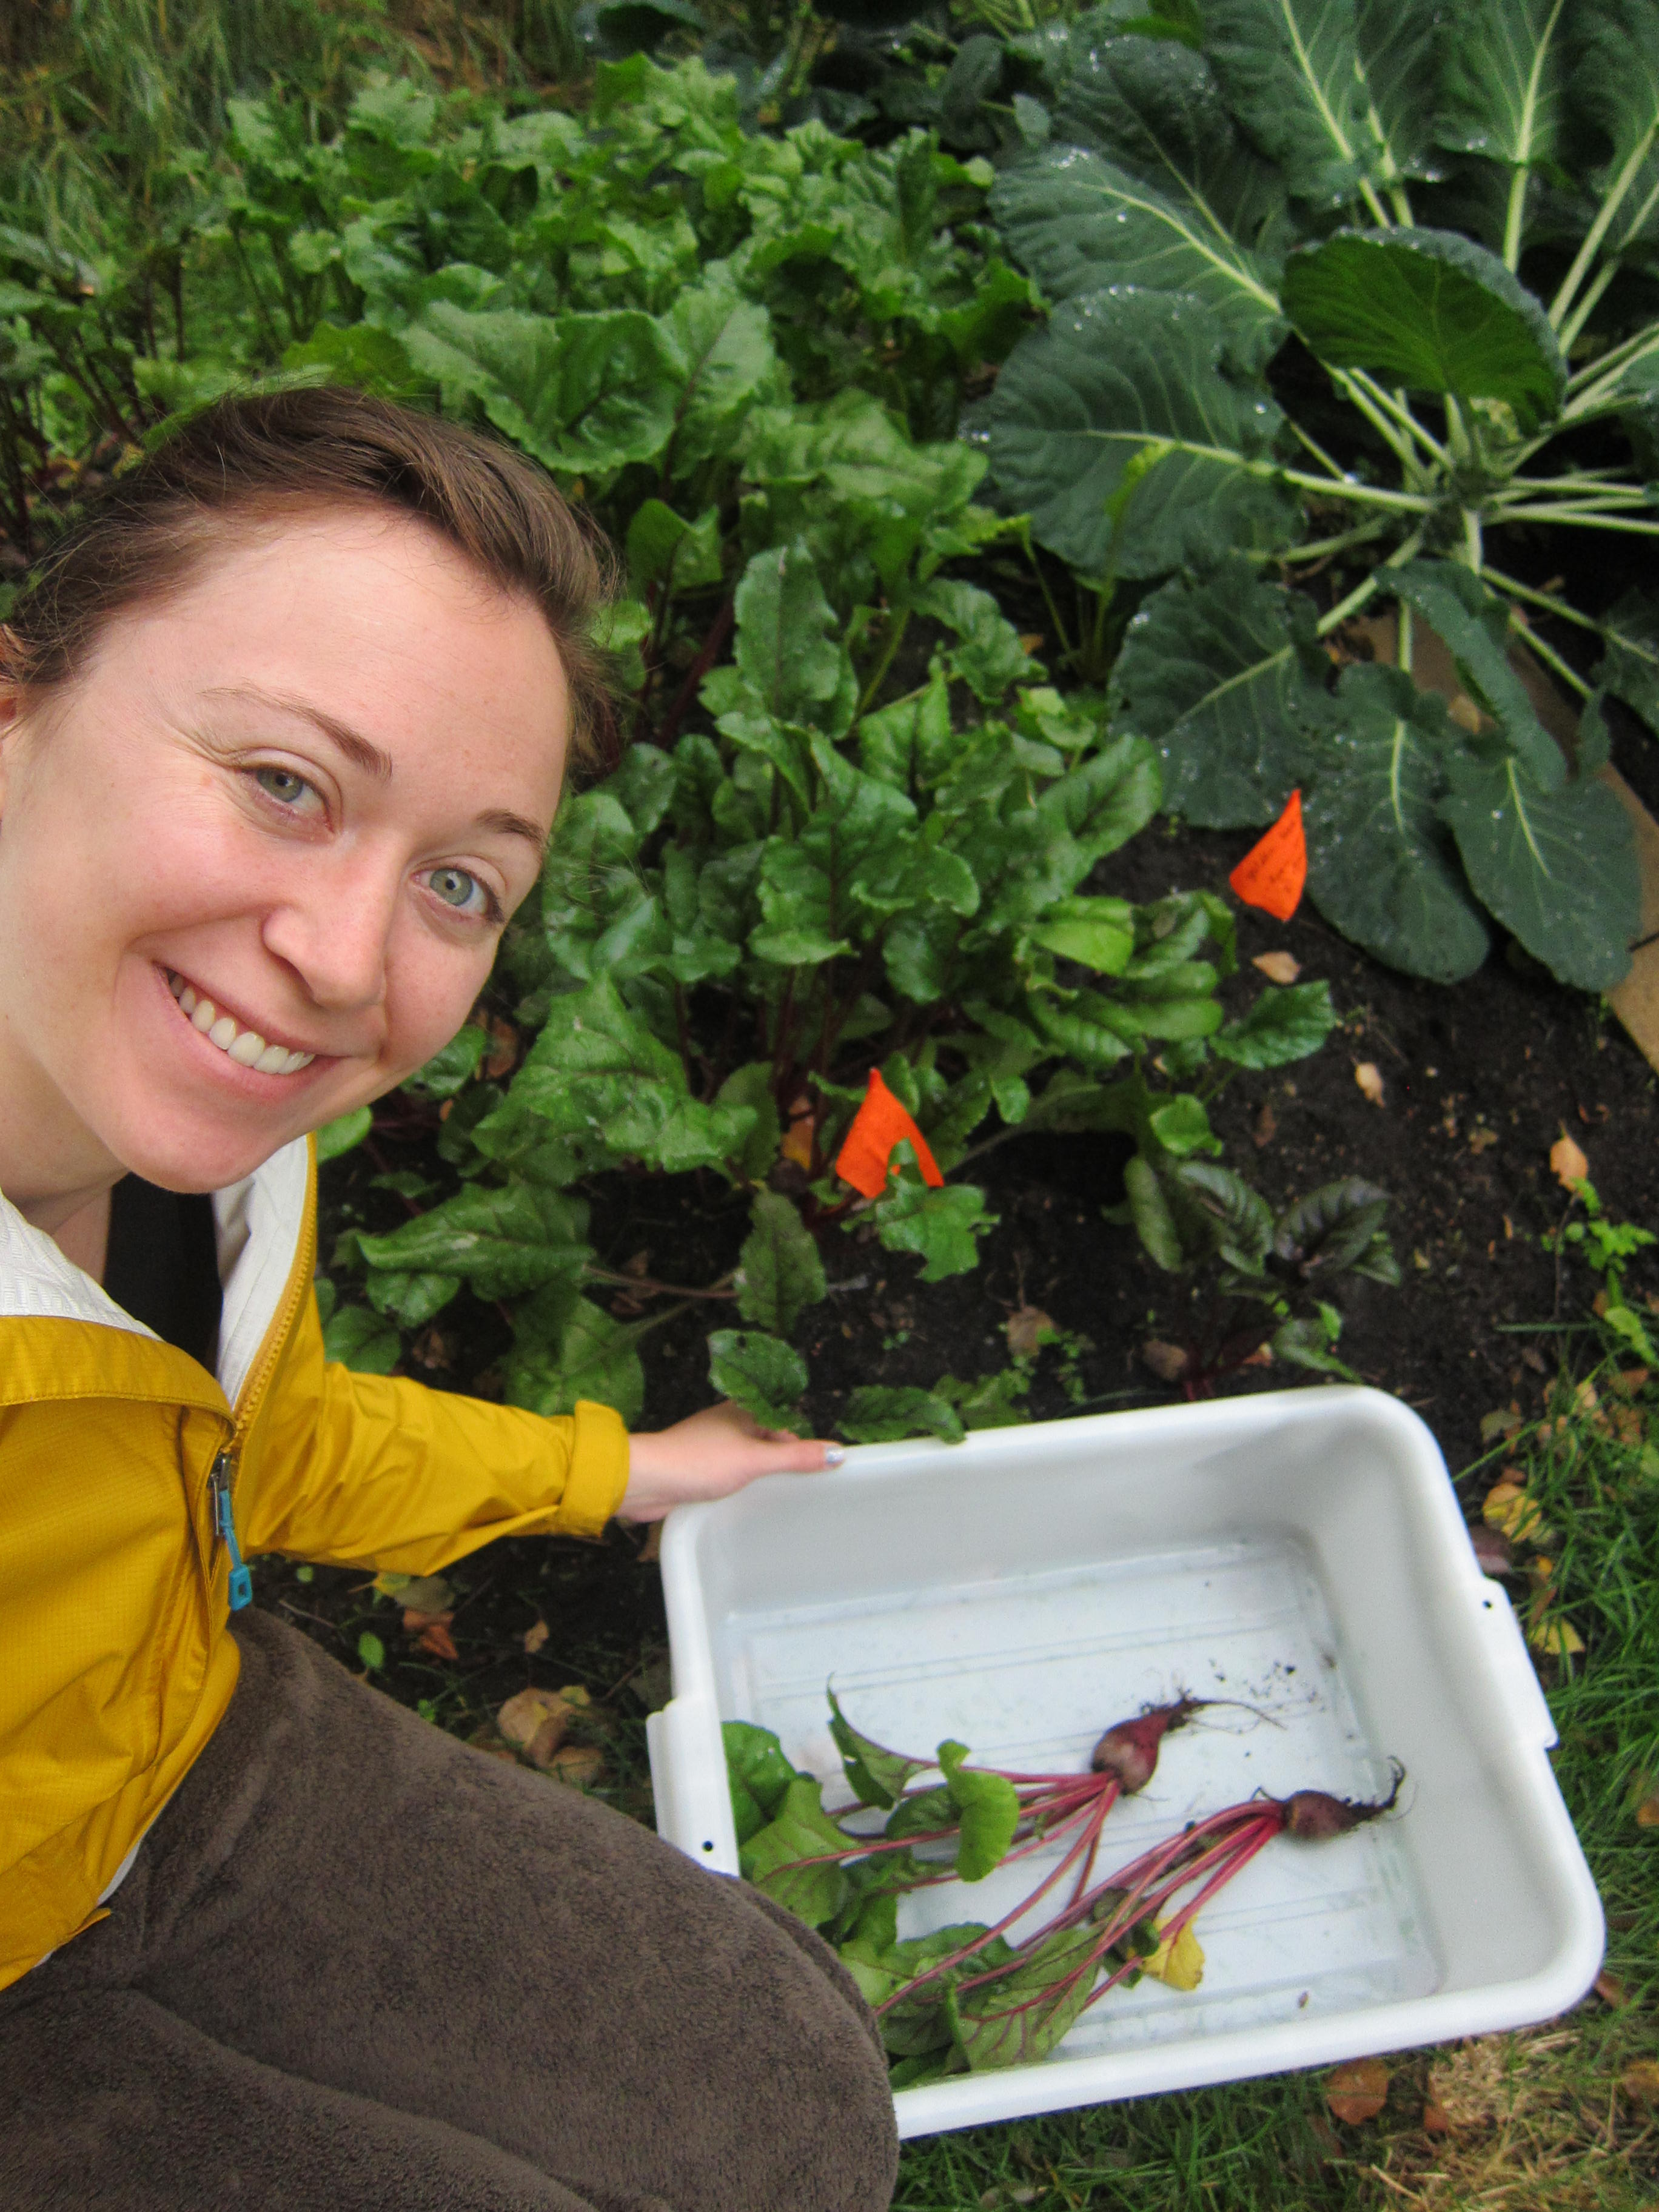
Harvesting the Garden Beets
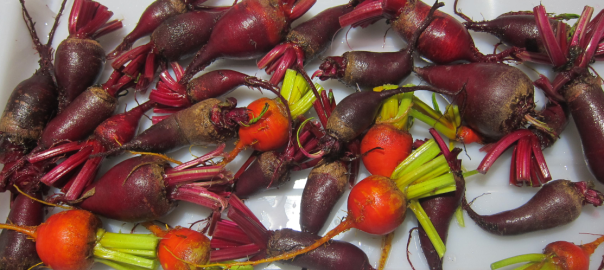
After I set up my supplies and got my kitchen canning area ready, I pulled all of the beets from the hugelkultur. I planted mostly red beets, but also a few golden. They weren’t as big as I had hoped, but hey, this is my first year with a garden.
I friggin’ grew beets -organically- in my yard in Alaska. I don’t care how big they are. I did it!!
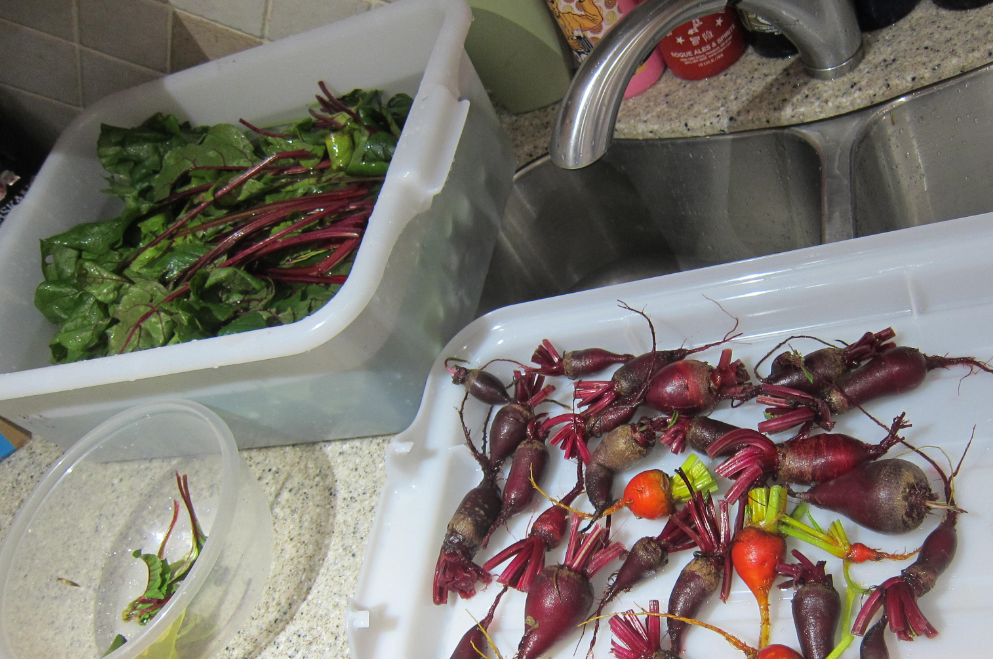
Prepping the Beets for Pickling & Canning
I separated the beet greens from the beets, then washed it all.
This is the part where organic backyard gardening feels amazing. I rinsed everything just to get off the dirt, but since I never sprayed my plants with bug killer and I didn’t use any chemicals in the soil, I knew I was safe pesticide-wise. It’s an empowering feeling to know exactly where your food has been and how it was cared for since it was a seed.
The beet greens are totally edible, so I rinsed them off and tore them up for salads. Beet greens are similar kale texture-wise, but they actually taste like beets.
(I ate a beet green salad tonight with raspberry vinaigrette, walnuts, cranberries and feta cheese. It was bomb.)
Boil the beets with the skin on. Once they’re tender, I rinsed mine in cool water, then my good friend Randy took off the skins and cut the tops.
I’ve skinned raw beets before, and it’s harder than skinning an apple. Once they were cooked, though, the beet skins slip right off. The beet skin really loosens up after boiling, and it falls off with minimal pressure. Just get ready to have beet-red hands.
Randy skinned the beets, then cut them into bite-sized pieces. My crop of mini-beets barely filled 5 pint jars.
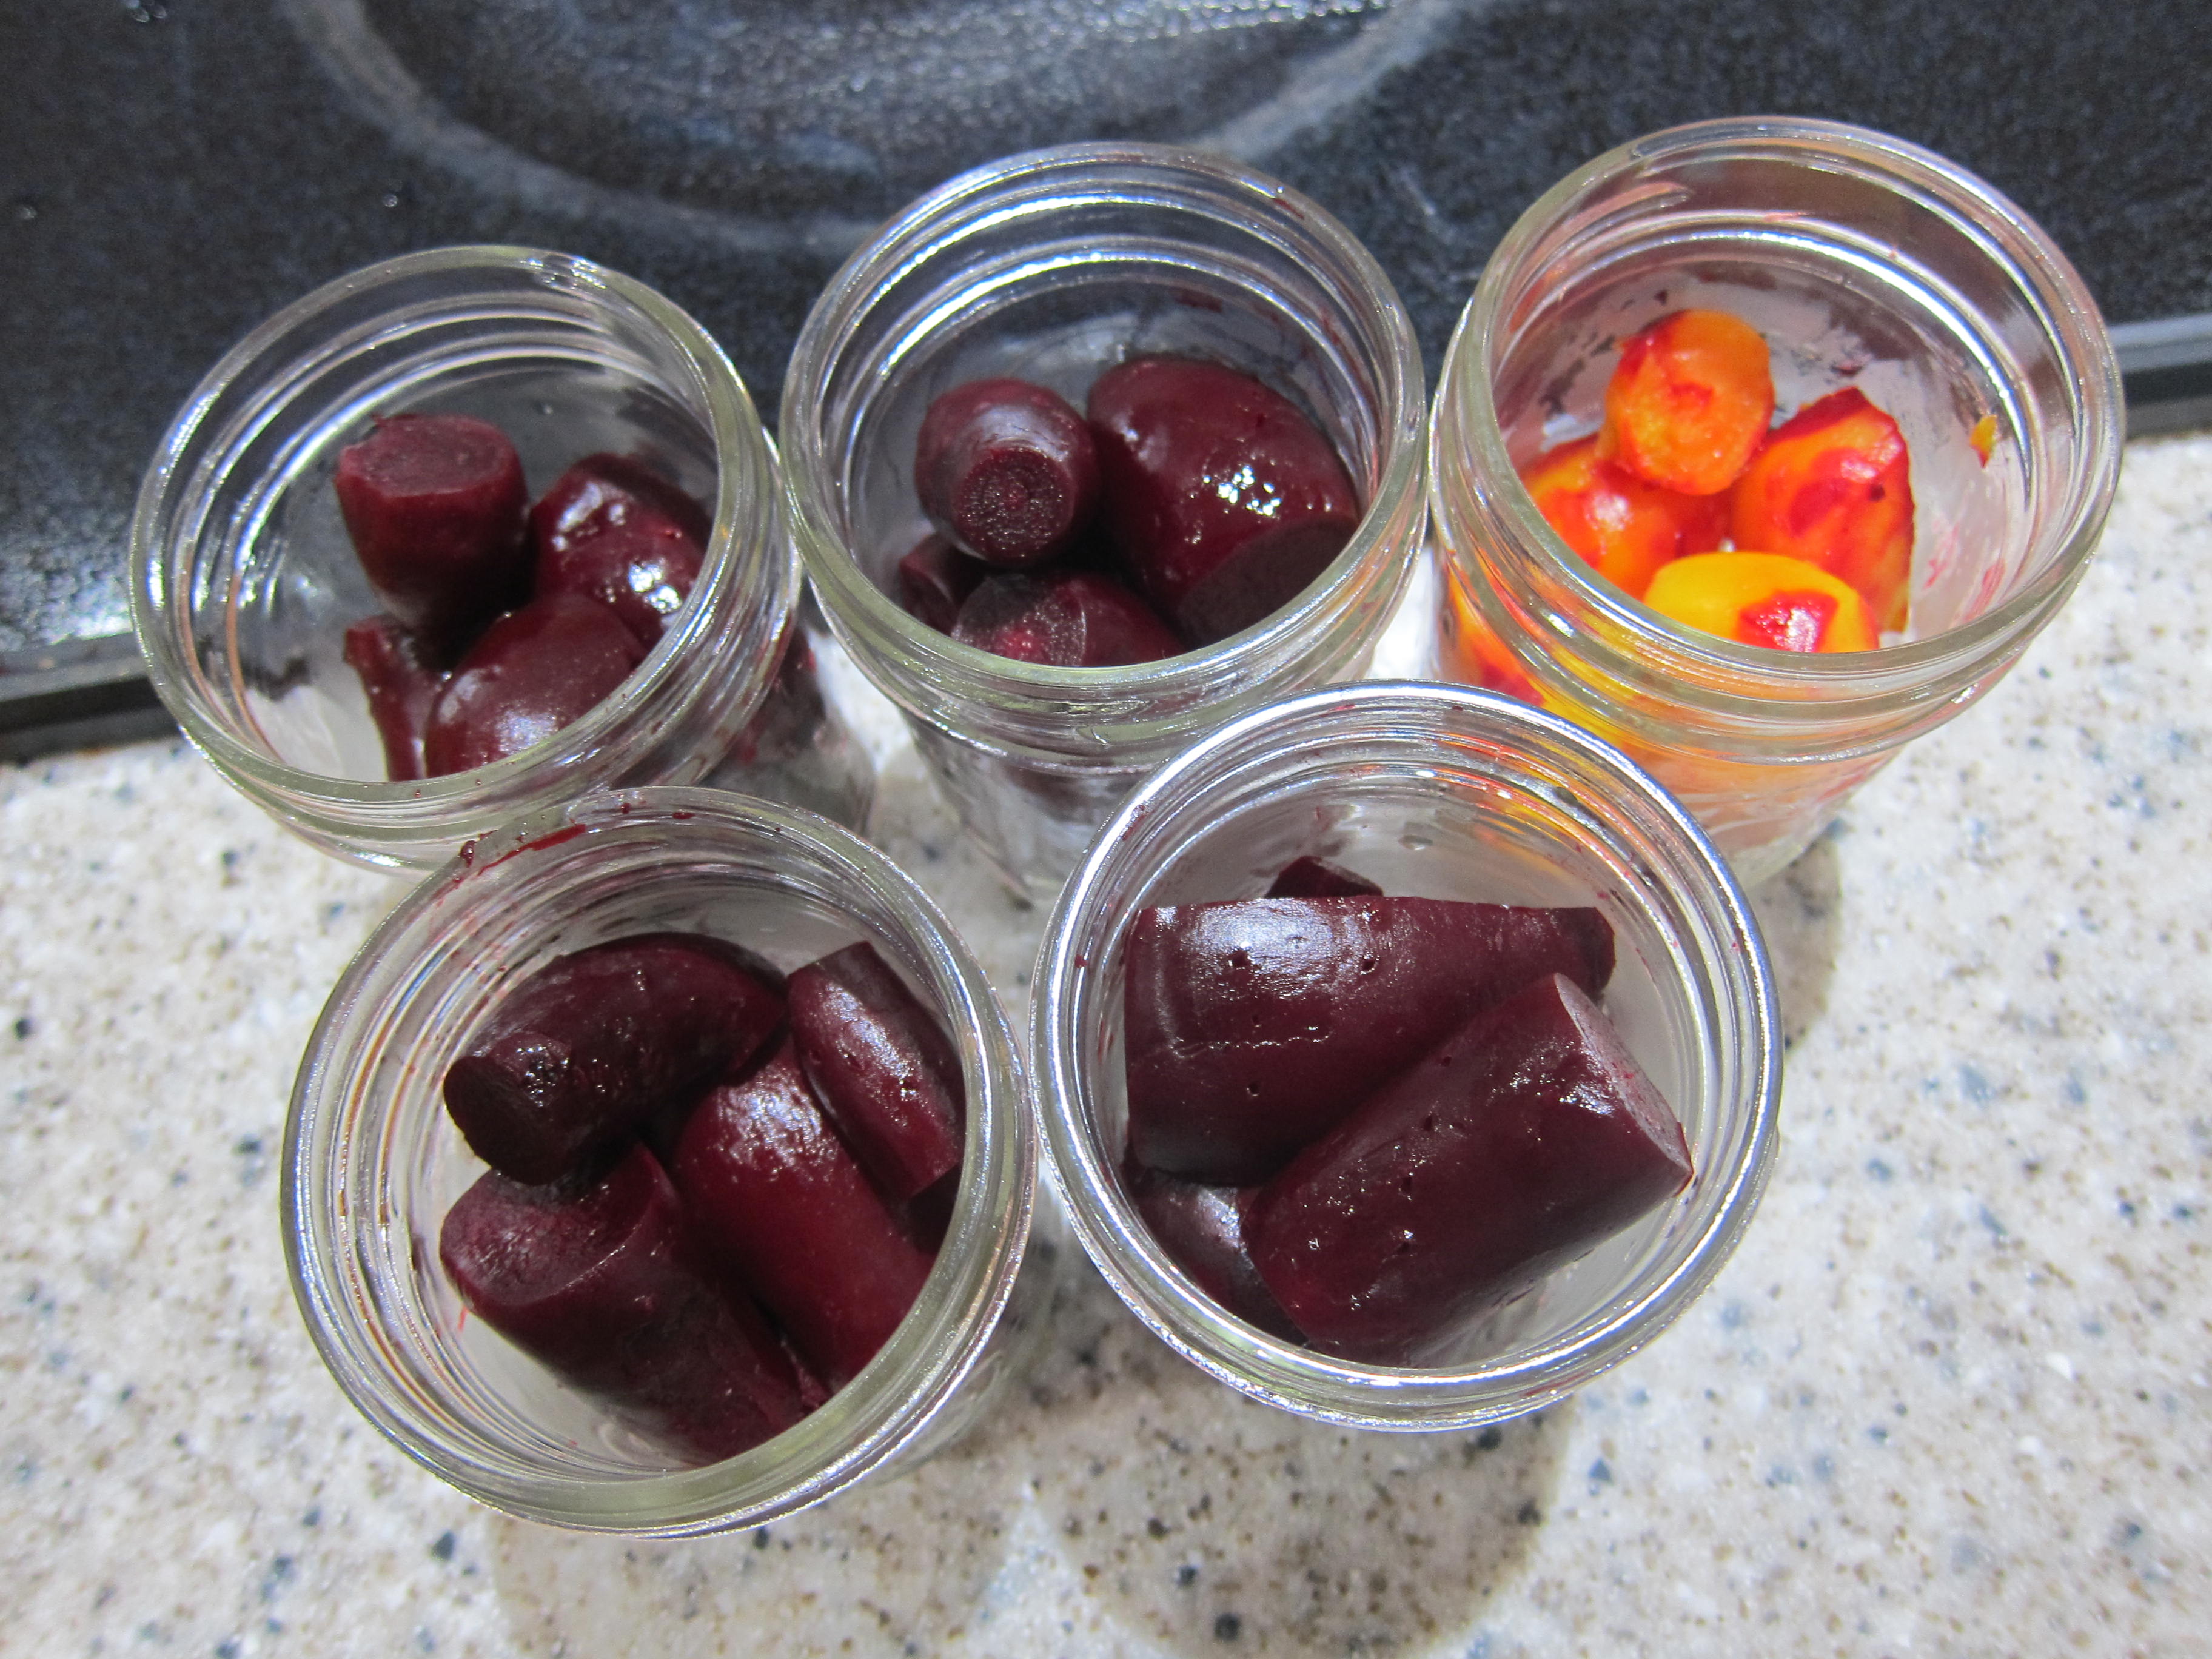
We poured the vinegar pickling solution over the beets using the jar funnel, then put on the lids and jar rim. We gently put the jars into the boiling water pot.
After 30 minutes of processing time (= boiling), we turned off the heat and gave the pot its 5 minutes of rest time before carefully removing the jar from the pot and setting them on the counter to cool.
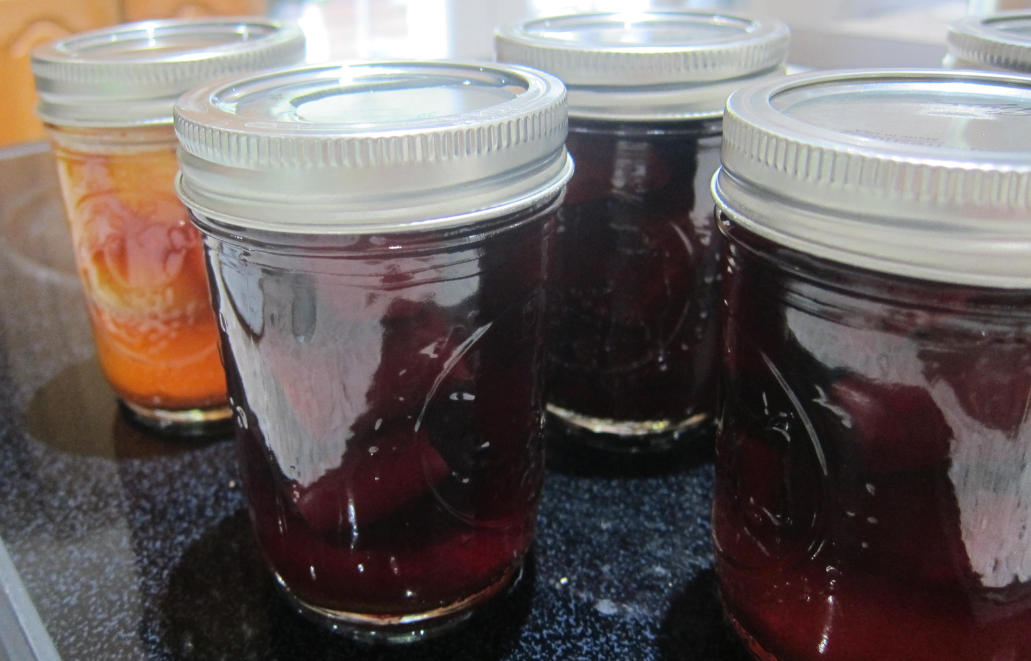
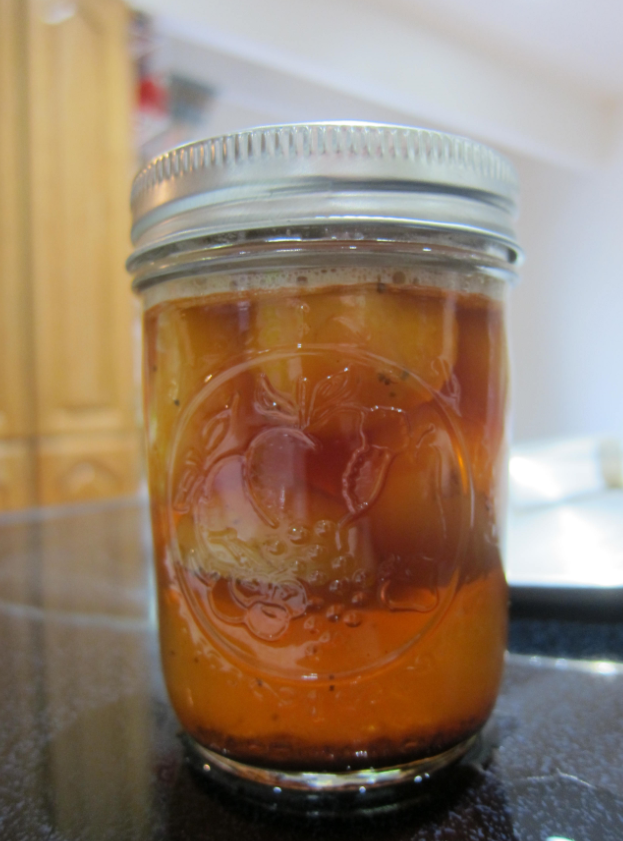
Here’s a beautiful jar of golden beets after the seal popped shut.
After listening to Randy’s story about once eating a jar of spaghetti with salsa due to lack of jar identification, I learned the value of labeling your containers! Golden beets sure look like a jar of sweet, juicy peaches…
At the day’s end, it took about 7 hours from the time I started picking the beets in the garden to the time when I took the freshly pickled canned beets out of the hot water bath pot.
It was a great experience, but it definitely does take a time commitment. Hearing the tinny yet satisfying ‘pop!’ of the jars sealing, one by one, makes it all worth it.
Fabulous tutorial, Ashley! I’d love to feature this on my blog as part of my “Harvesting Anchorage” series. Let me know what you think!
Hey Natasha – definitely!! That sounds great. I’ll message you.
Hola! I’ve been reading your weblog for some time now and finally got the bravery to go
ahead and give you a shout out from Austin Texas! Just wanted to
mention keep up the good job!