It’s that time of year when Alaskans clean out their freezers, preparing for a new season’s harvest.
We had an excess of halibut and lingcod in the freezer from last year’s catch, so I dug out my “Canning the Fish Catch” recipe from the UAF Extension Service & decided to pressure can a batch of fish.
Even though it’s still called “canning,” most people who can at home can in glass jars – not actual metal cans. Home preservation lingo is slow to change, though, and still calls it “canning,” even though the majority of people nowadays can using glass jars.

What’s the point of canning fish?
Each spring when Alaskans rediscover the bottom of their freezers, some of the fish we worked so hard to catch, kill, clean, gut, filet, and freezer-pack got freezer burnt or just isn’t as appealing anymore.
If you want a source of fish that’s already cooked, shelf-stable (no freezer needed), won’t spoil, and is ready whenever you want to use it, canning fish is by far the best way to preserve your catch.
If you’re still not completely sold on the idea of canning fish (I understand the hesitation – meat in a jar generally looks like a creepy science project), I wrote a separate post outlining all of the main reasons why canning your fish is better than freezing it (click here to get the full rundown on the major benefits of canning your own fish).
How do you can halibut?
Canning fish (like halibut or salmon) isn’t hard once you know the process, but it is time consuming. Remember to take everything you want to can out of the freezer the night before so the fish can thaw.
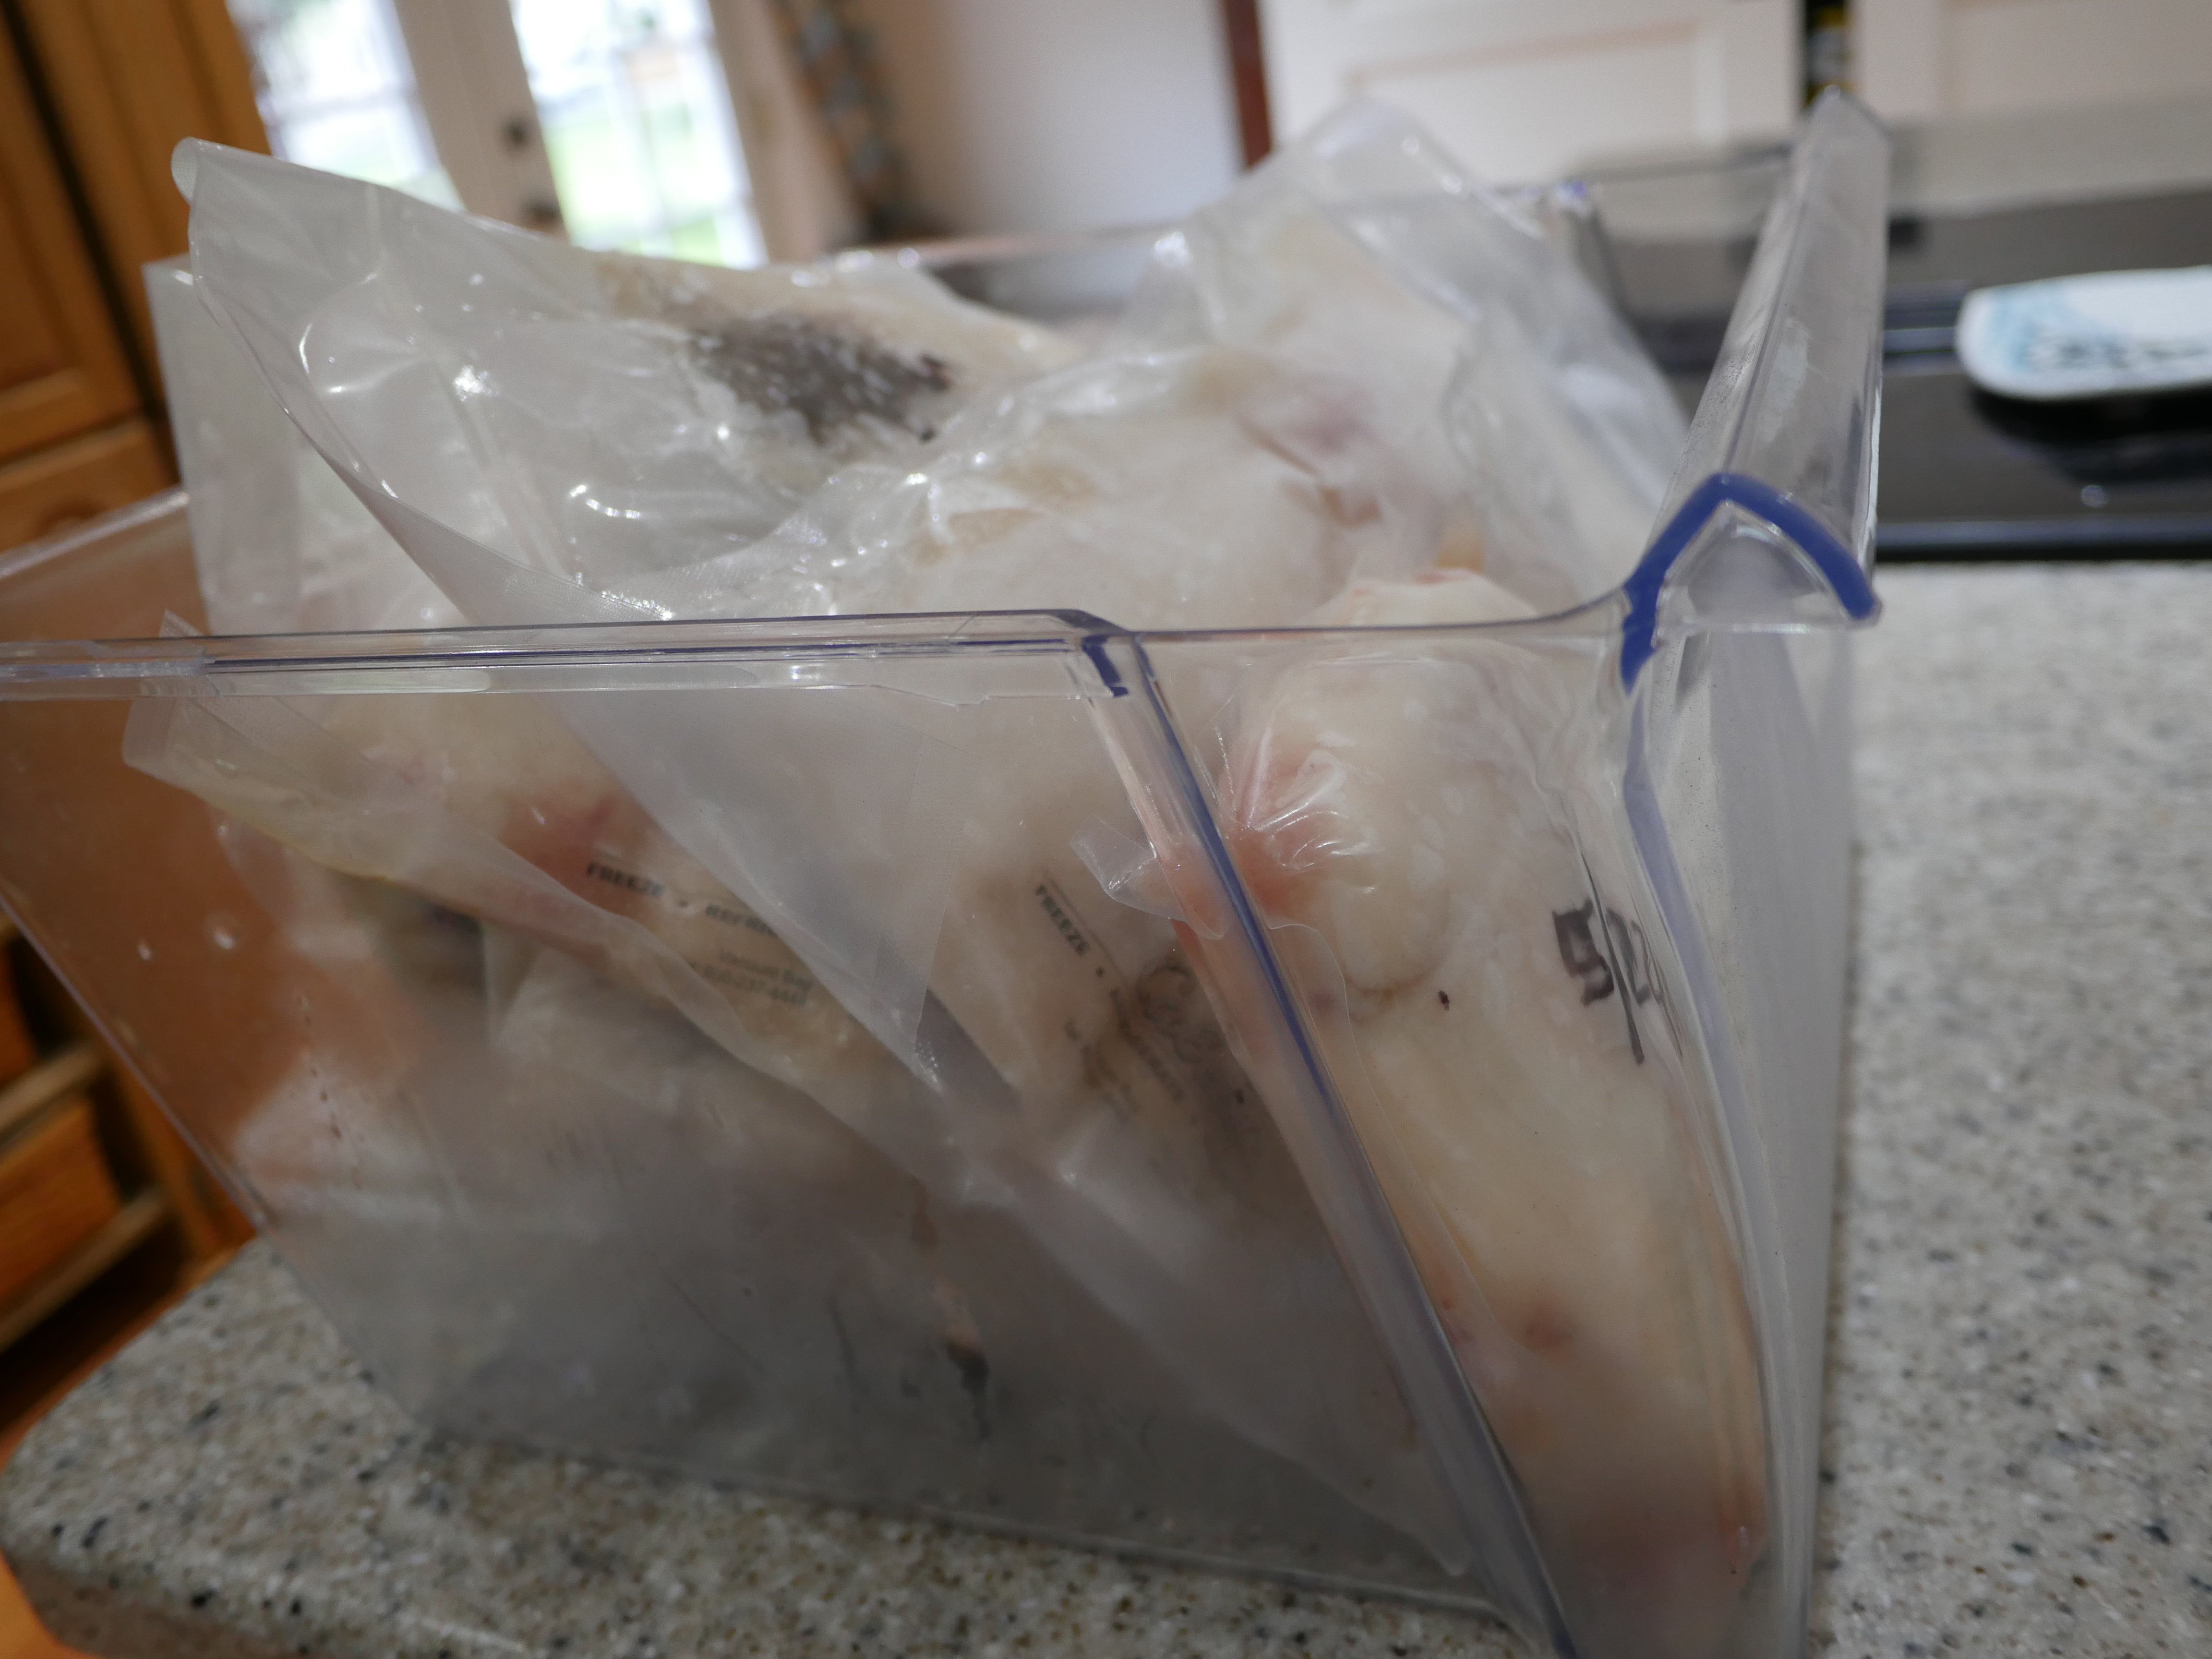
Most of us leave the skins on when we freeze our fillets, so make sure you allow yourself enough time to skin the fish, too.
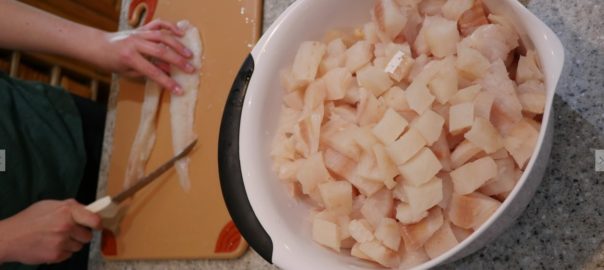
Start by prepping all of your raw halibut by removing skins and bones, then dicing it up into chunks.
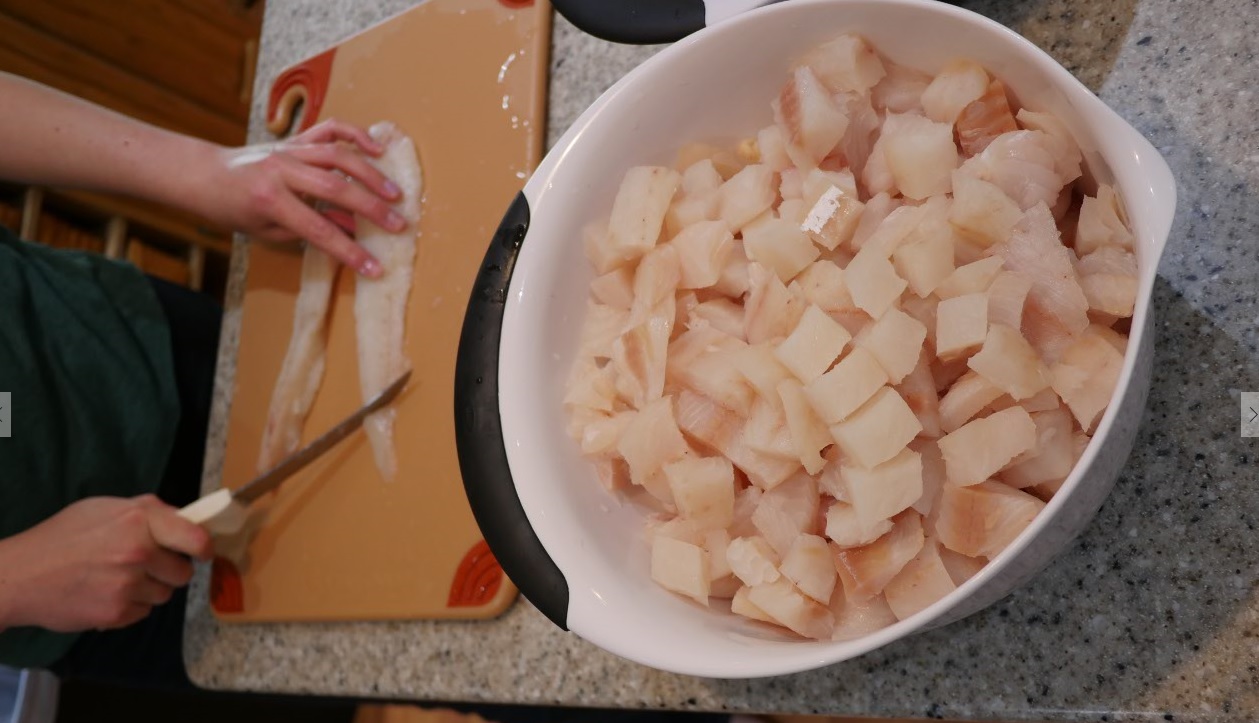
Prepping the fish is definitely the most time consuming and hands-on part of canning halibut.
Once everything is diced and clean, pack the raw fish into your sanitized jars and place them into the pressure canner following the recipe below.
Recipe for canning halibut
Let me start by saying that whenever you’re pressure canning, knowing the source of the recipe you’re following is crucial. Preserving fish in a jar so it’s shelf-stable is an exact science, not an art, so you only want to use recipes from trusted sources.
I follow the “Canning the Fish Catch” publication put out by the University of Alaska Fairbanks Cooperative Extension Service. It’s publication FNH-00128 – click here for the PDF from the UAF website.
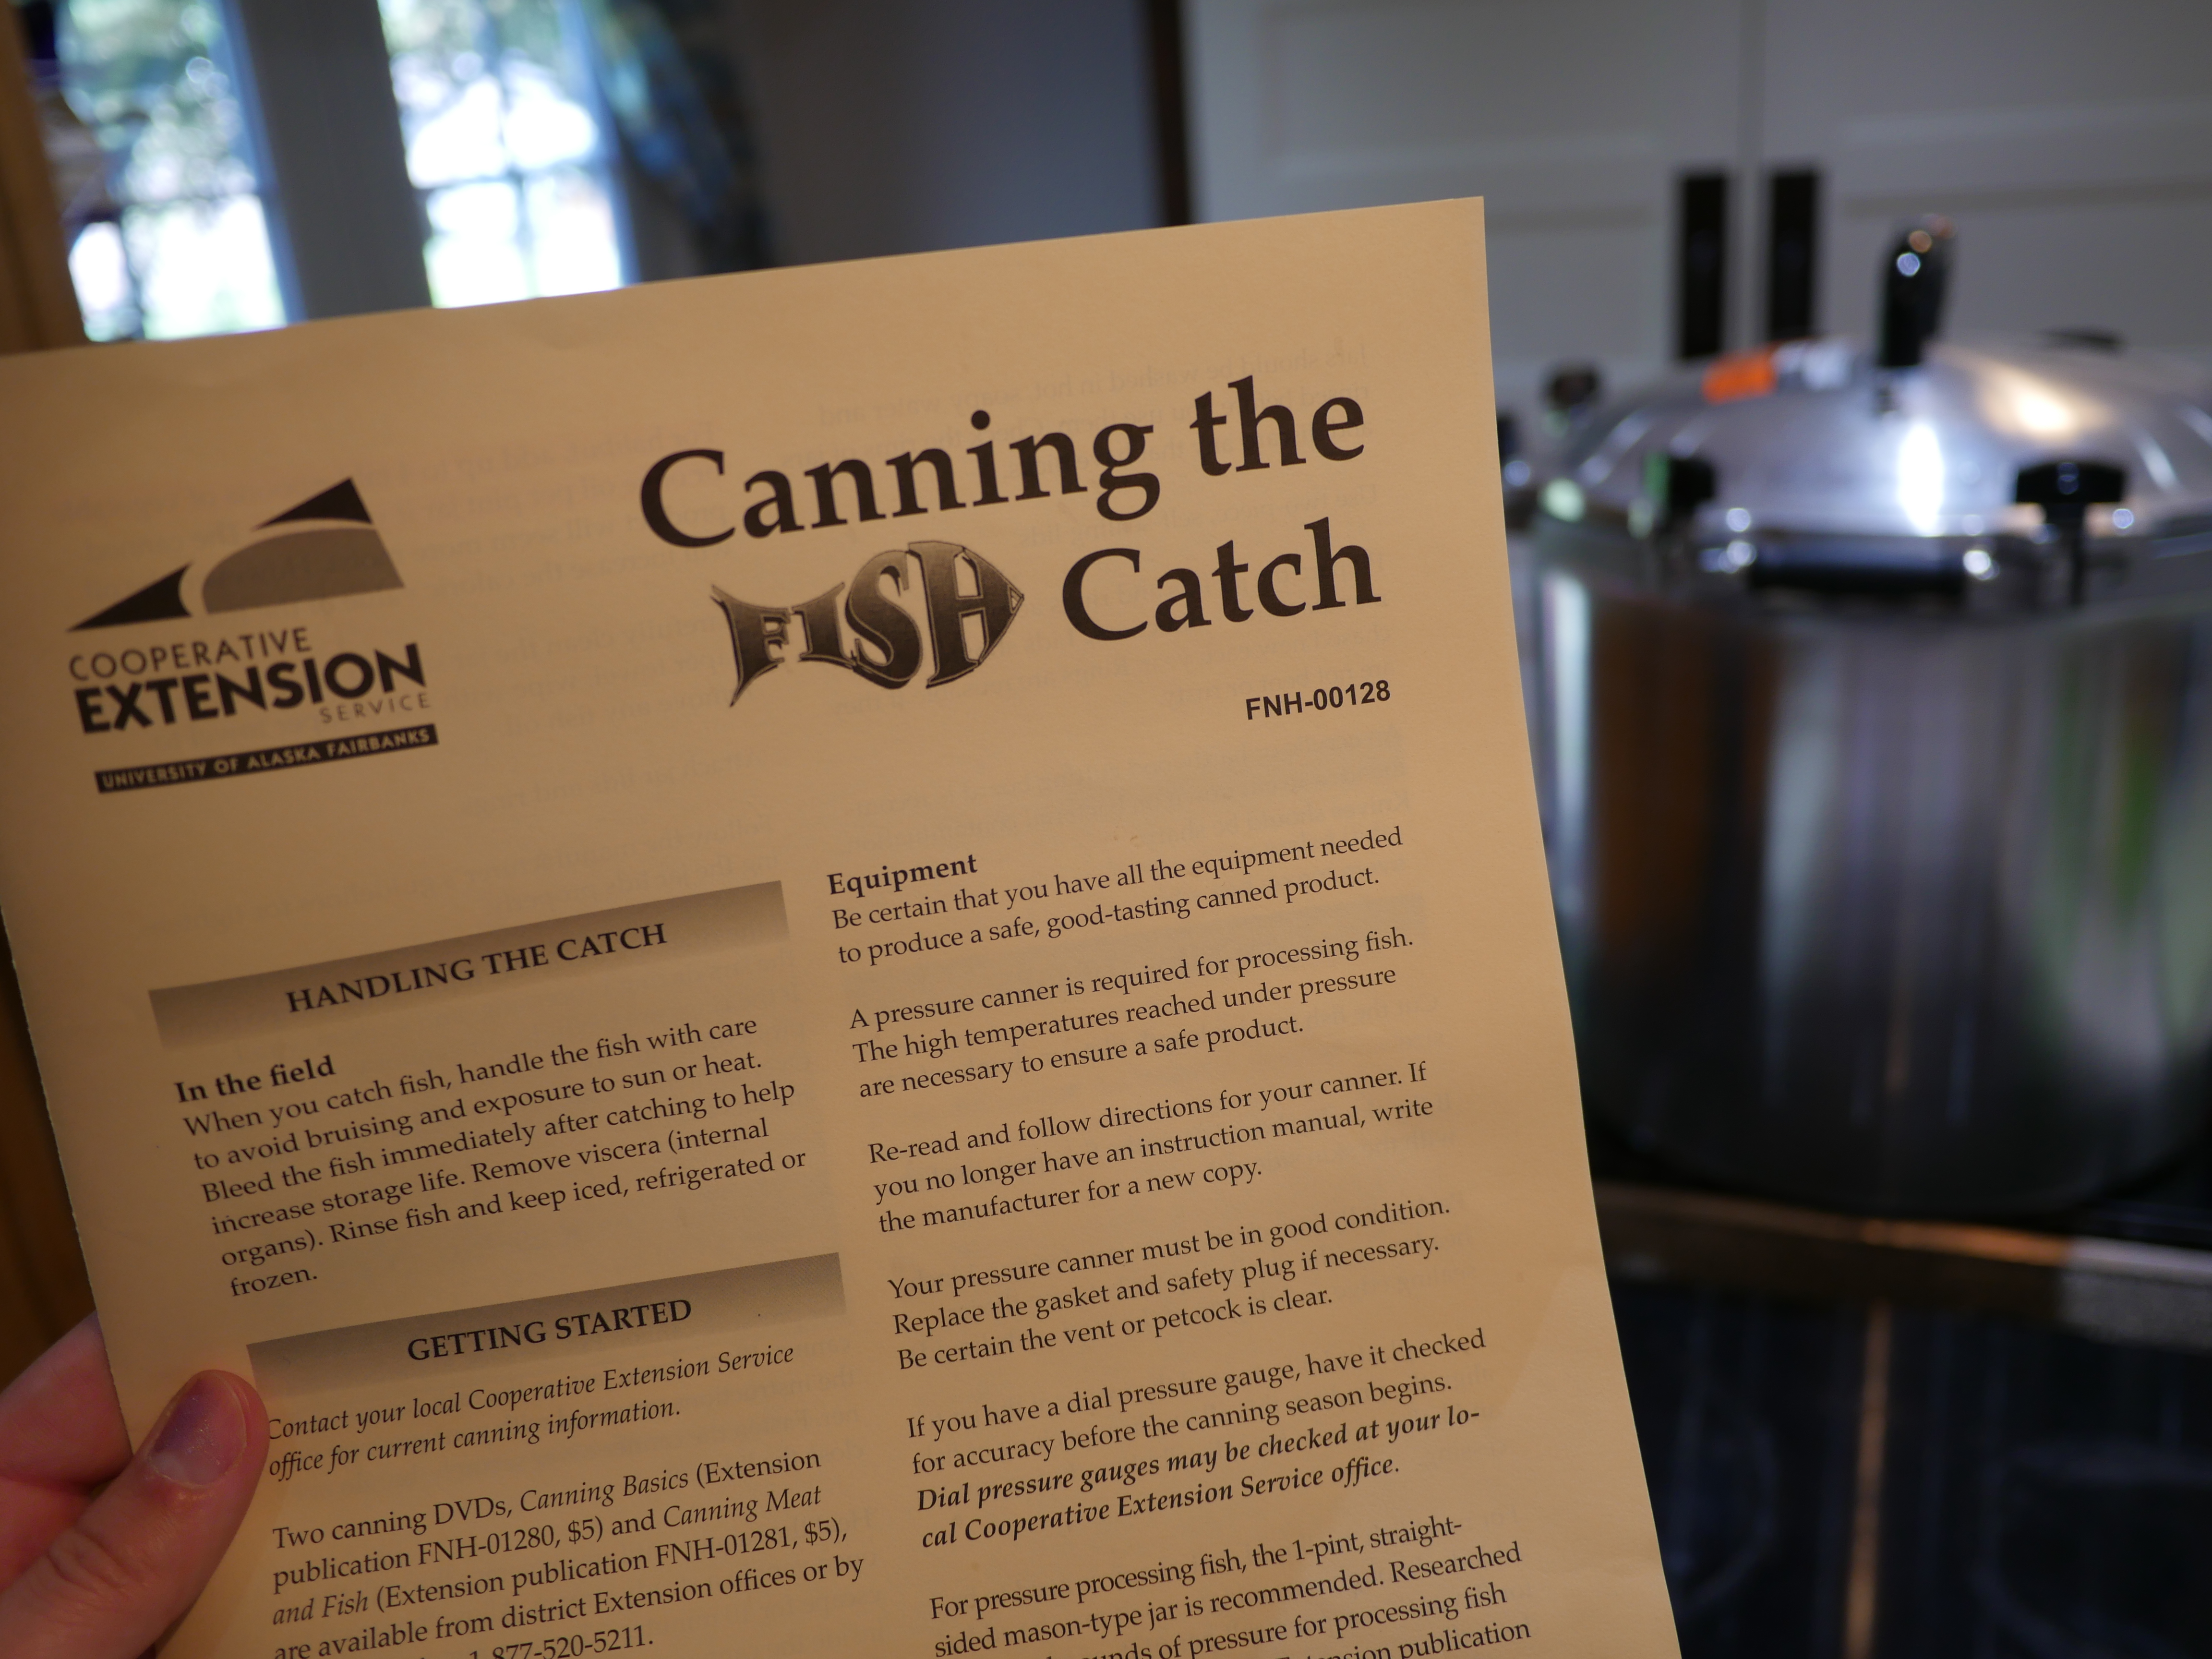
Here are highlights from the halibut canning recipe publication:
- Remove the skin and bones. When you’re canning salmon, skin and bones are ok, but you need to remove them for halibut.
- Dice the halibut into chunks, then pack it raw into your sterilized jars.
- For a moister canned fish, you can add a few tablespoons of oil per pint jar, but that’s not required.
- Process pint jars for 100 minutes at 10 pounds of pressure for a weighted pressure canner, or 100 minutes at 11 pounds of pressure if you have a dial pressure gauge.
If you’re not familiar with canning safety and best practices, the UAF halibut canning recipe is extremely detailed.
I highly recommend reading it cover to cover, because there are a lot of good tips and they do a great job of explaining each step in extreme detail.
Is that what a pressure canner is supposed to sound like?
If you aren’t used to being around a pressure canner and hearing the sounds it makes, the shrill noise of steam escaping as the metal weighted gauge rapidly rattles around can be unsettling and even scary, like a ticking time bomb ready to explode.
Here’s a short video that captures what a weighted gauge pressure canner sounds like once it’s reached pressure. This is actually the noise you want to hear, because it means you’ve reached your desired pressure.
Once you’ve processed your cans (= glass jars) for the amount of time the recipe calls for, simply turn off the heat on your stovetop and let the pressure canner cool down and return to normal pressure naturally before you try to open it up and get your jars out.
Whenever I’m canning meat or fish, I generally assume it’s going to be a 6-hour process from the moment when I start chopping to the minute I can actually remove the cooked jars from the cooled pressure canner.
Part of the magic of pressure canning is that everything cooks in the canner. You put raw halibut into glass jars, and your final product comes out cooked and shelf-stable (no need for refrigeration).
Even though canning is a full afternoon project, being able to preserve your own food and have a ready-to-eat source of protein that doesn’t rely on electricity is totally worth it.
I just finished putting up 52 pints of moose and bear meat ! I like the way the meat is tenderized and made very easy to chew !
I have canned (jarred) salmon a couple of times now, and it’s not as scary as I once thought. Do you have any recipes for using the canned halibut? I have made salmon patties and salmon chowder from my canned salmon, but I wonder how you prepare your canned halibut.
All the canning manuals say to remove the bones from halibut but I cannot for the life of me find out why you can can lots of other fish bones but not halibut bones! If I had some halibut bones to try I’d can them just to see what happened..!
Thanks & have a great day,
So true! I bet it’s because halibut bones are a lot more dense than salmon bones, so that might affect the way the pressure and heat penetrates the jar?
Great idea for tenderizing bear meat – very cool!
Great question. You can basically use canned halibut the same as salmon…in seafood chowder, fish tacos, dips/spreads, etc. Sounds like I need to do a follow-up post with canned halibut recipes!