After the first few snowfalls of the season, what was once a harmless blanket of white fluff quickly gets packed down on your staircase and outside entryways, making patches of high foot traffic areas slippery & dangerous.
During my first winter in Alaska, we had a patch of sunken pavement at the bottom of our backdoor steps. Each evening, I would take out the ice chipper, angrily chopping at it, trying to break it up and make the area less slippery. Then each day, the temperature outside rose just high enough for some of the surrounding ice to melt, re-pooling itself right where I was spent so much energy chipping, then re-freeze overnight. It wasn’t a safe area to walk. It was frustrating & exhausting.
I helplessly watched my poor little dogs slip and slide, sometimes falling over on the ice as they walked down the steps to go potty.
The most common options for ice slip-control safety on outdoor stairs and landing areas are (1) dumping sand everywhere, which inevitably gets tracked into the house, or (2) throwing down ice melt, which is bad for your pet’s paws.
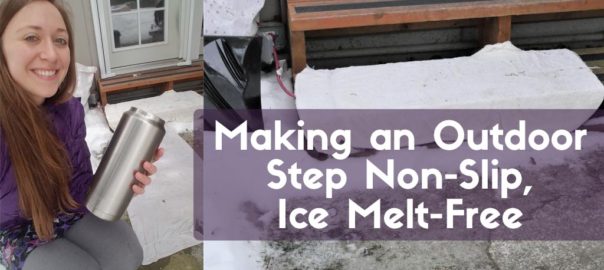
Using a big towel to cover icy outdoor steps & prevent slipping
One day, I started racking my brain for a way to prevent slippery steps and landing areas that didn’t compromise my dog’s health or dirty up my entryway. There HAD to be a solution.
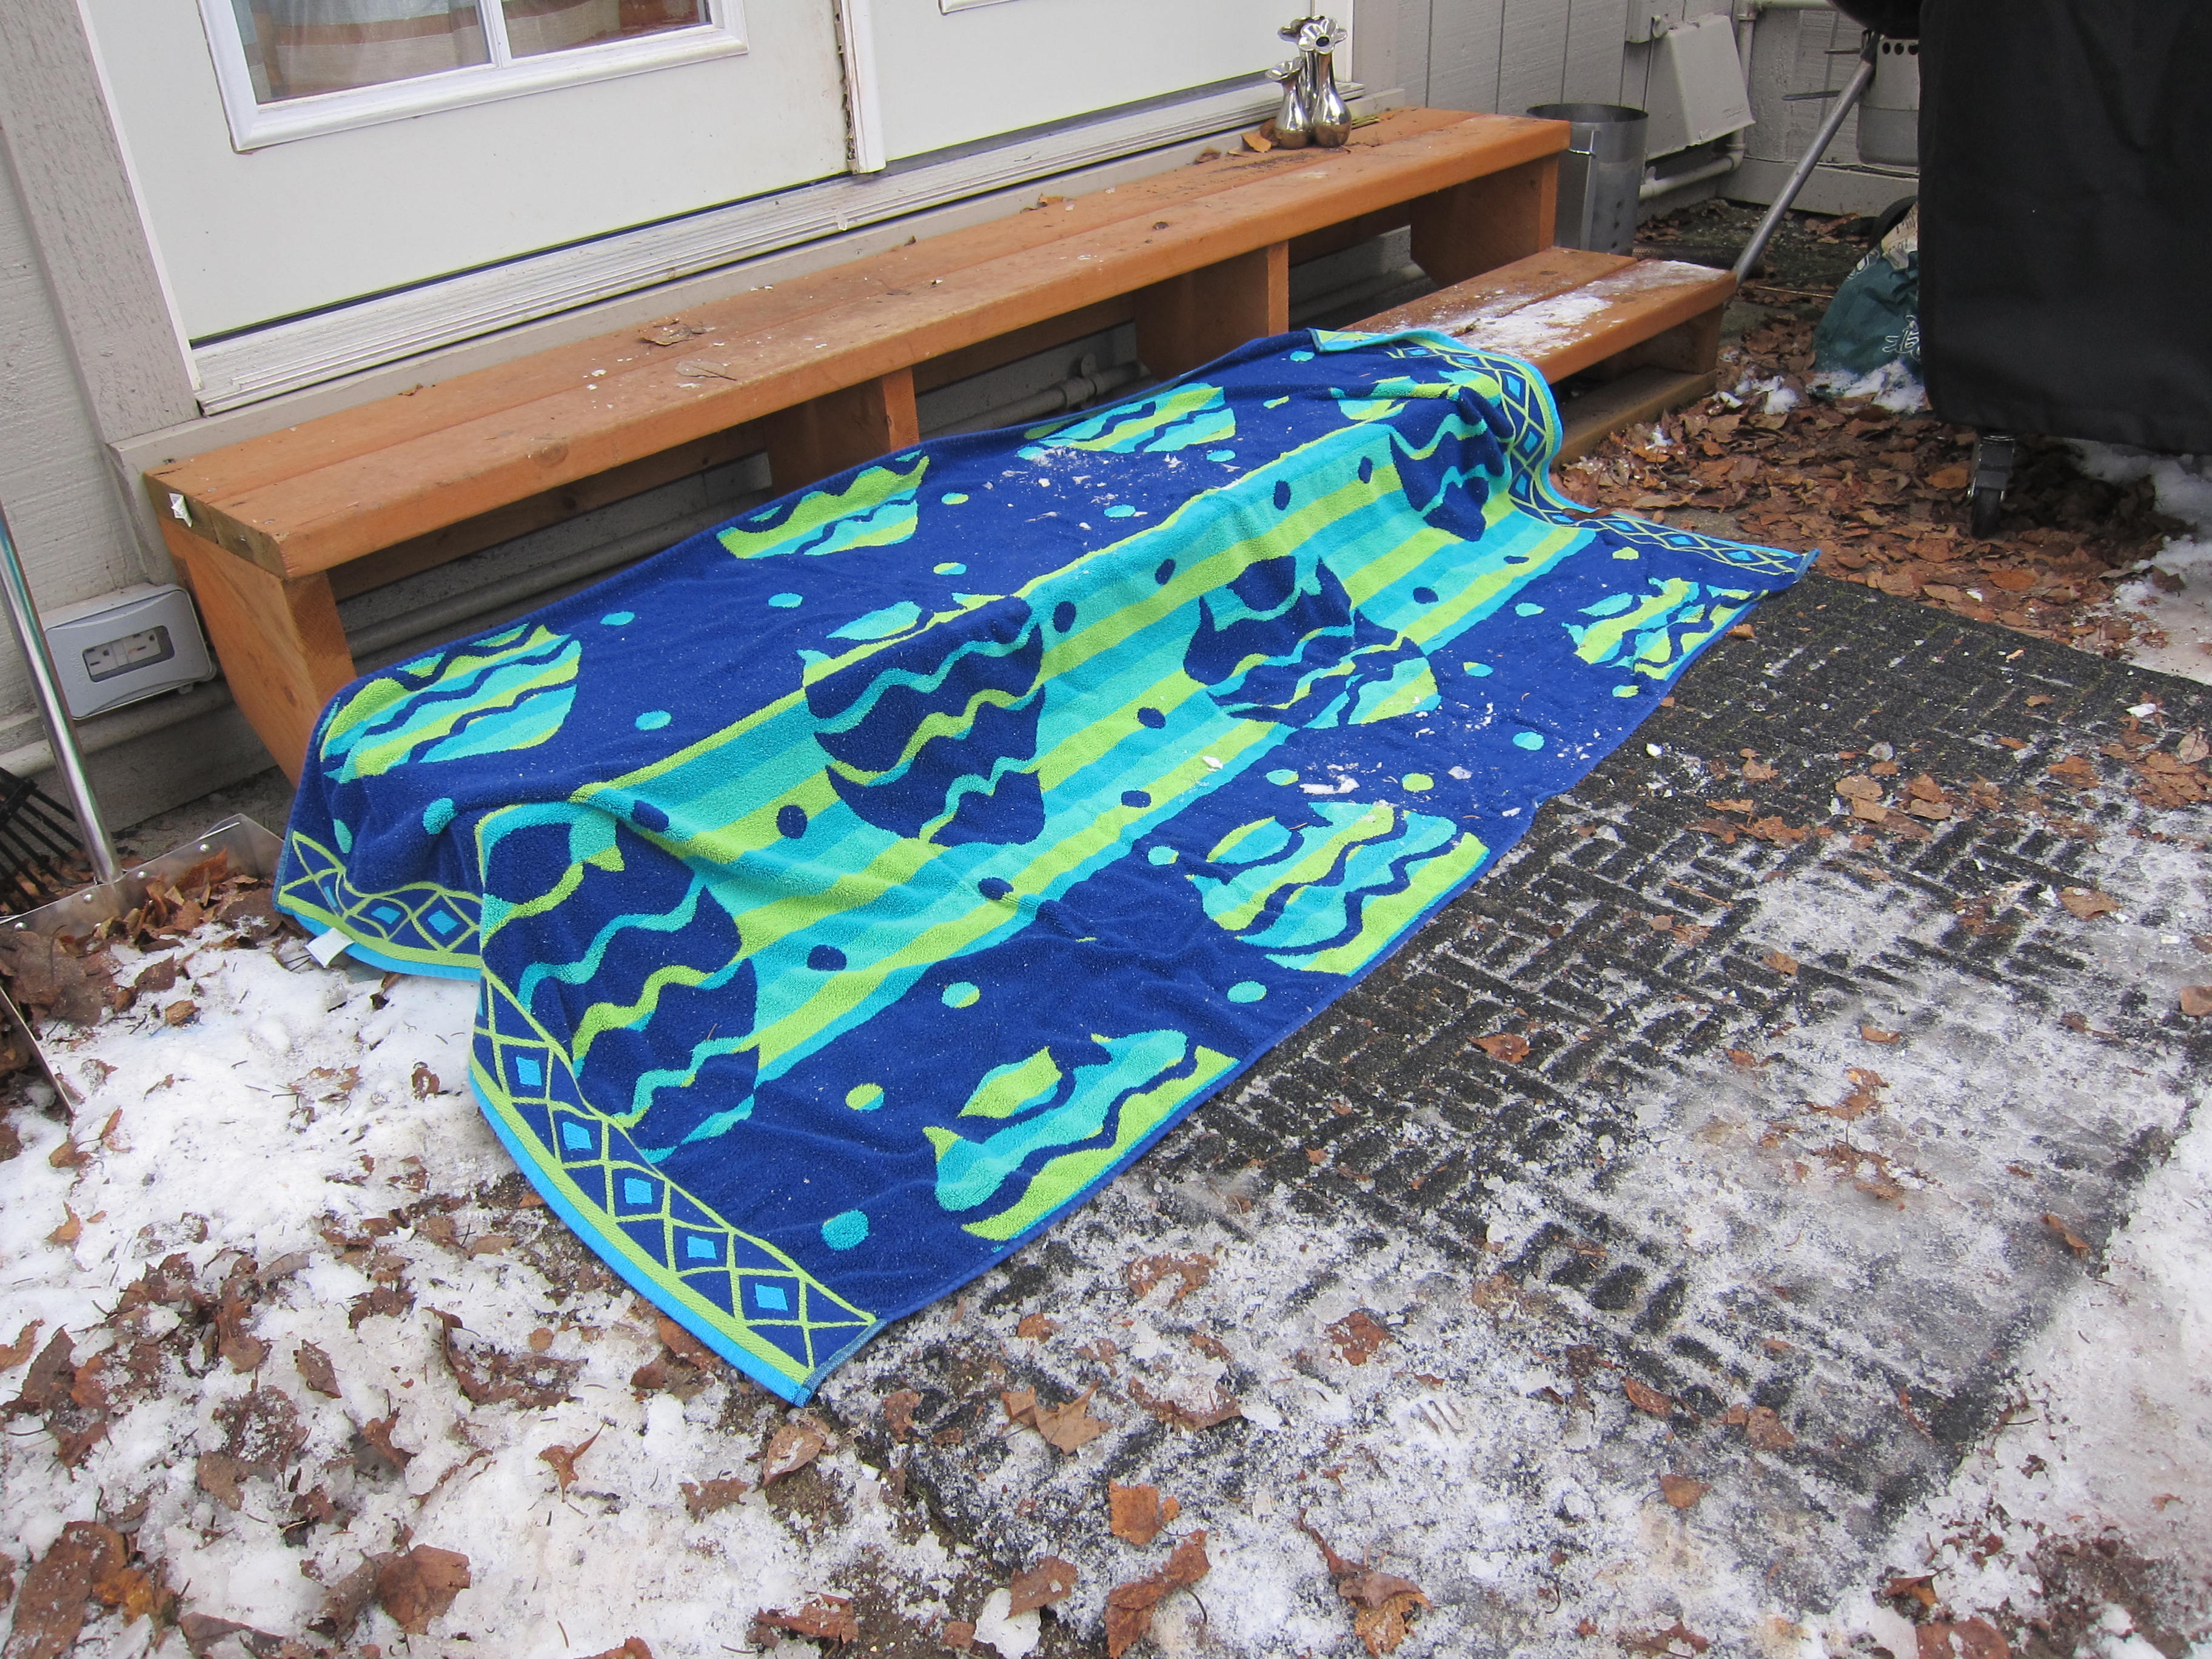
I grabbed the biggest towel I had, laid it down over the icy entryway, and poured a little hot water over it so the fibers would freeze/stick to the ice. I felt crazy at the time – like I was grasping at straws – but holy shit, mother trucker, it seriously worked.
I had created an ice-free area in the pavement that was safe to walk on and wasn’t slippery!
We have a little 2-step wooden stair on the backside of our home, leading to the yard. The second step gets surprisingly icy and slippery, so we busted out the big towel for the season. It makes our outdoor steps so much safer and slip-free all winter.
Over the last few years I’ve been doing this, the towel method works better for me than sand, better than gravel, better than ice melt. I swear by it.
If it snows, you just shovel it off.
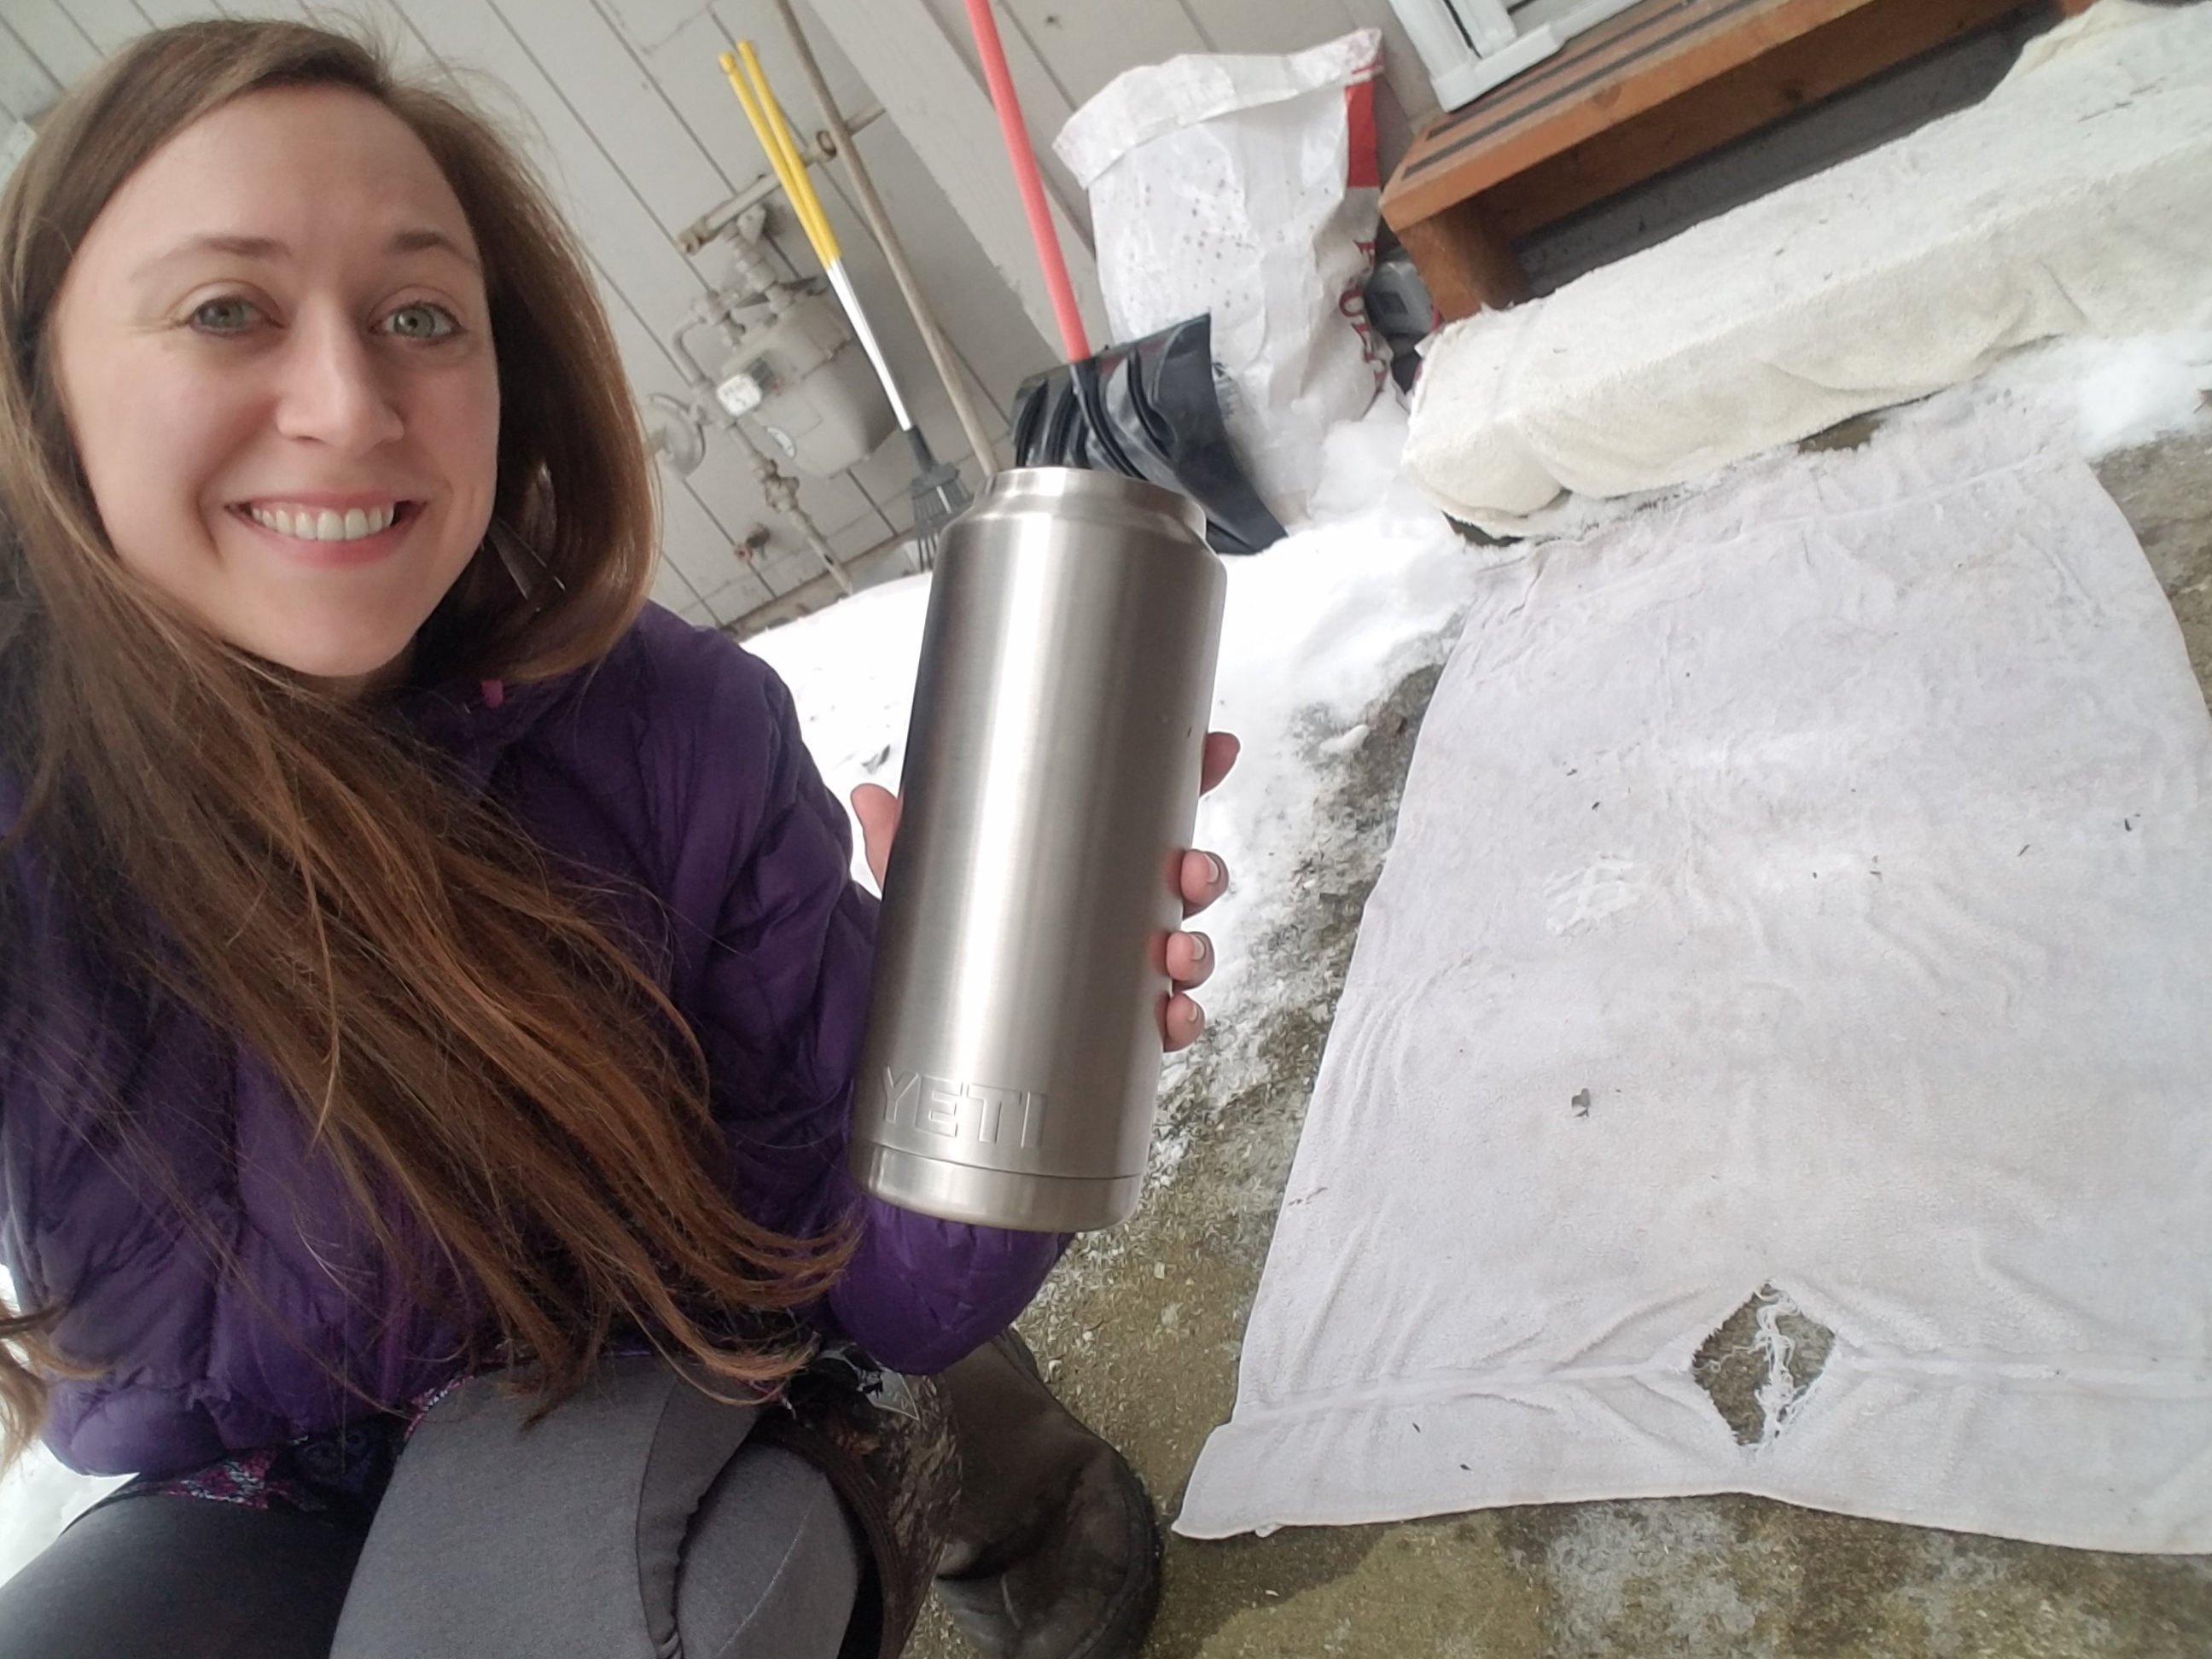
If everything melts to the point where your towel is completely submerged in cold water, once the water freezes up, just toss another towel on top. We’ve never had to put down more than 2 towels in the same area over the course of the winter months.
Keep the towel there all winter, then when things melt in the spring, pick it up and hang it somewhere outdoors to dry. Once it’s dry, give it a few good shakes and throw it into the washer on the sanitary cycle.
Laying down a towel over your high foot traffic areas near your home with ice patches is easier, cheaper, less maintenance and better for your yard than any other ice prevention method I’ve found. It keeps your outdoors steps safe. And it’s so simple.
Just remember to initially pour a little water over it and make sure it properly sticks to the ice – you don’t want to create a situation where people are sliding on the towel, like a banana peel in a cartoon.
Don’t believe me? Try it! And please let me know how it works for you. :)
Wow….that is a great idea. Slippery ice is my enemy during Winter….I hate it so much. A towel would be so much better than ineffective sand.
Thanks Wen! Let me know how it goes this winter.
Trying this now!