
Do you decorate chairs and couches
with winter jackets?
Be an adult.
It’s time for a DIY coat rack.
We needed a coat rack, but everything in stores was either stupid expensive, cheaply made (particle board coat hanger? Eeew!), or the wrong size for our space. Solution? Brian and I set off on an adventure to build our own custom coat rack.
DIY coat rack? This was either going to end really well or really poorly.
Step 1 – “Board” already? Let’s get this party started.
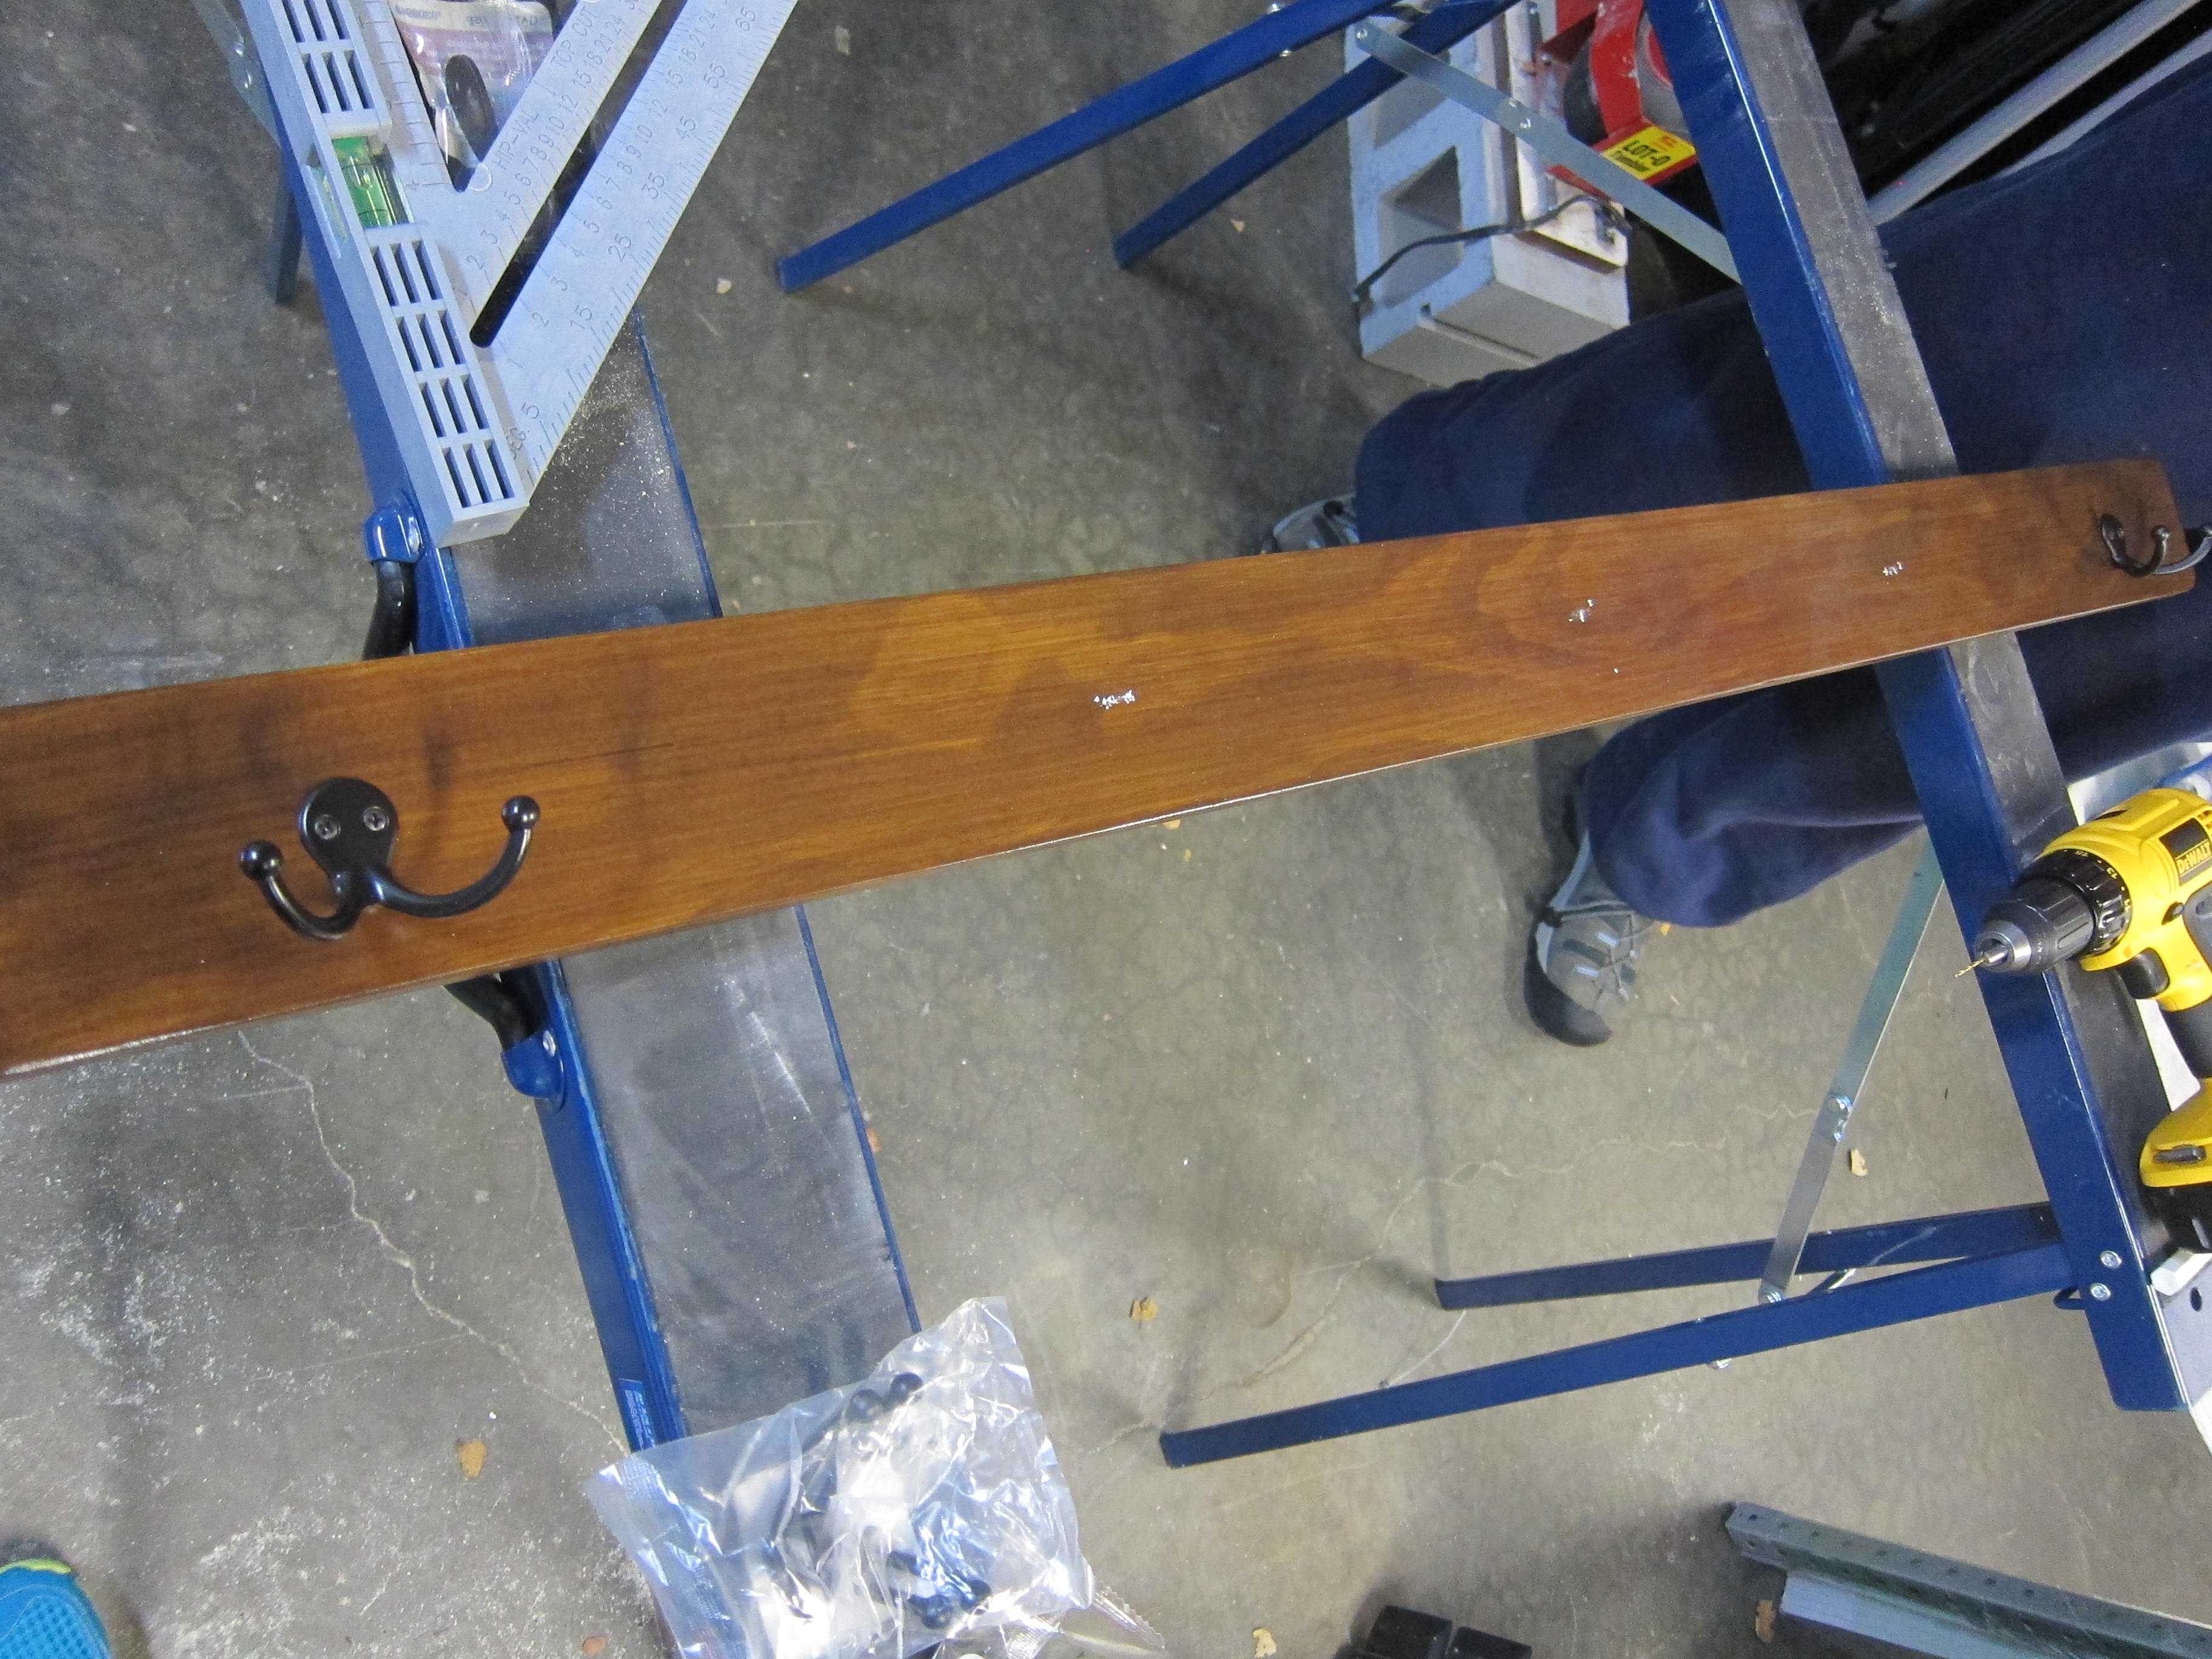
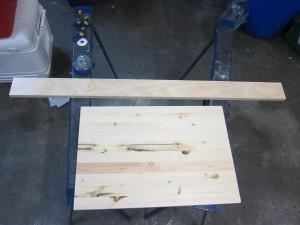 Brian & I bought a really long board (the top one). We measured our space & he cut.
He sanded it down so it was nice & smooth. (The square-ish board is for a project to come later…)
Solo tip – when we were at Lowe’s, I saw signs that said they would cut boards to size for you, if you asked = no saw required!
Step 2 – Pick your weapon, cowboy.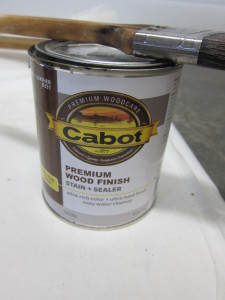
Buy a stain & finish for indoor wood.
I had never stained wood before, but I learned there are indoor stains and outdoor stains, and they’re different.
You’ll also need a brush and a container put paint in. It doesn’t need to be anything fancy.
Step 3 – Go all ‘Dexter’ on your garage.
 Line your painting space with a tarp or something to protect the floor. I didn’t have any issues with splatter, but I did brush on the finish too heavy at first and had drippage. The tarp saved me.
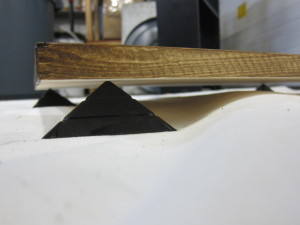
Brian bought something recently that had these little plastic triangle squares that the manufacturer used as padding in the box. Most people would’ve thrown them away, but we kept them. These little plastic pyramids worked well to prop up the board. Get creative to find something to prop up your board; if your paint drips and the board is laying flat on the tarp, you’re basically gluing the tarp to your board.
Step 4 – Da Vinci ain’t got nothing on these paintin’ skillz.
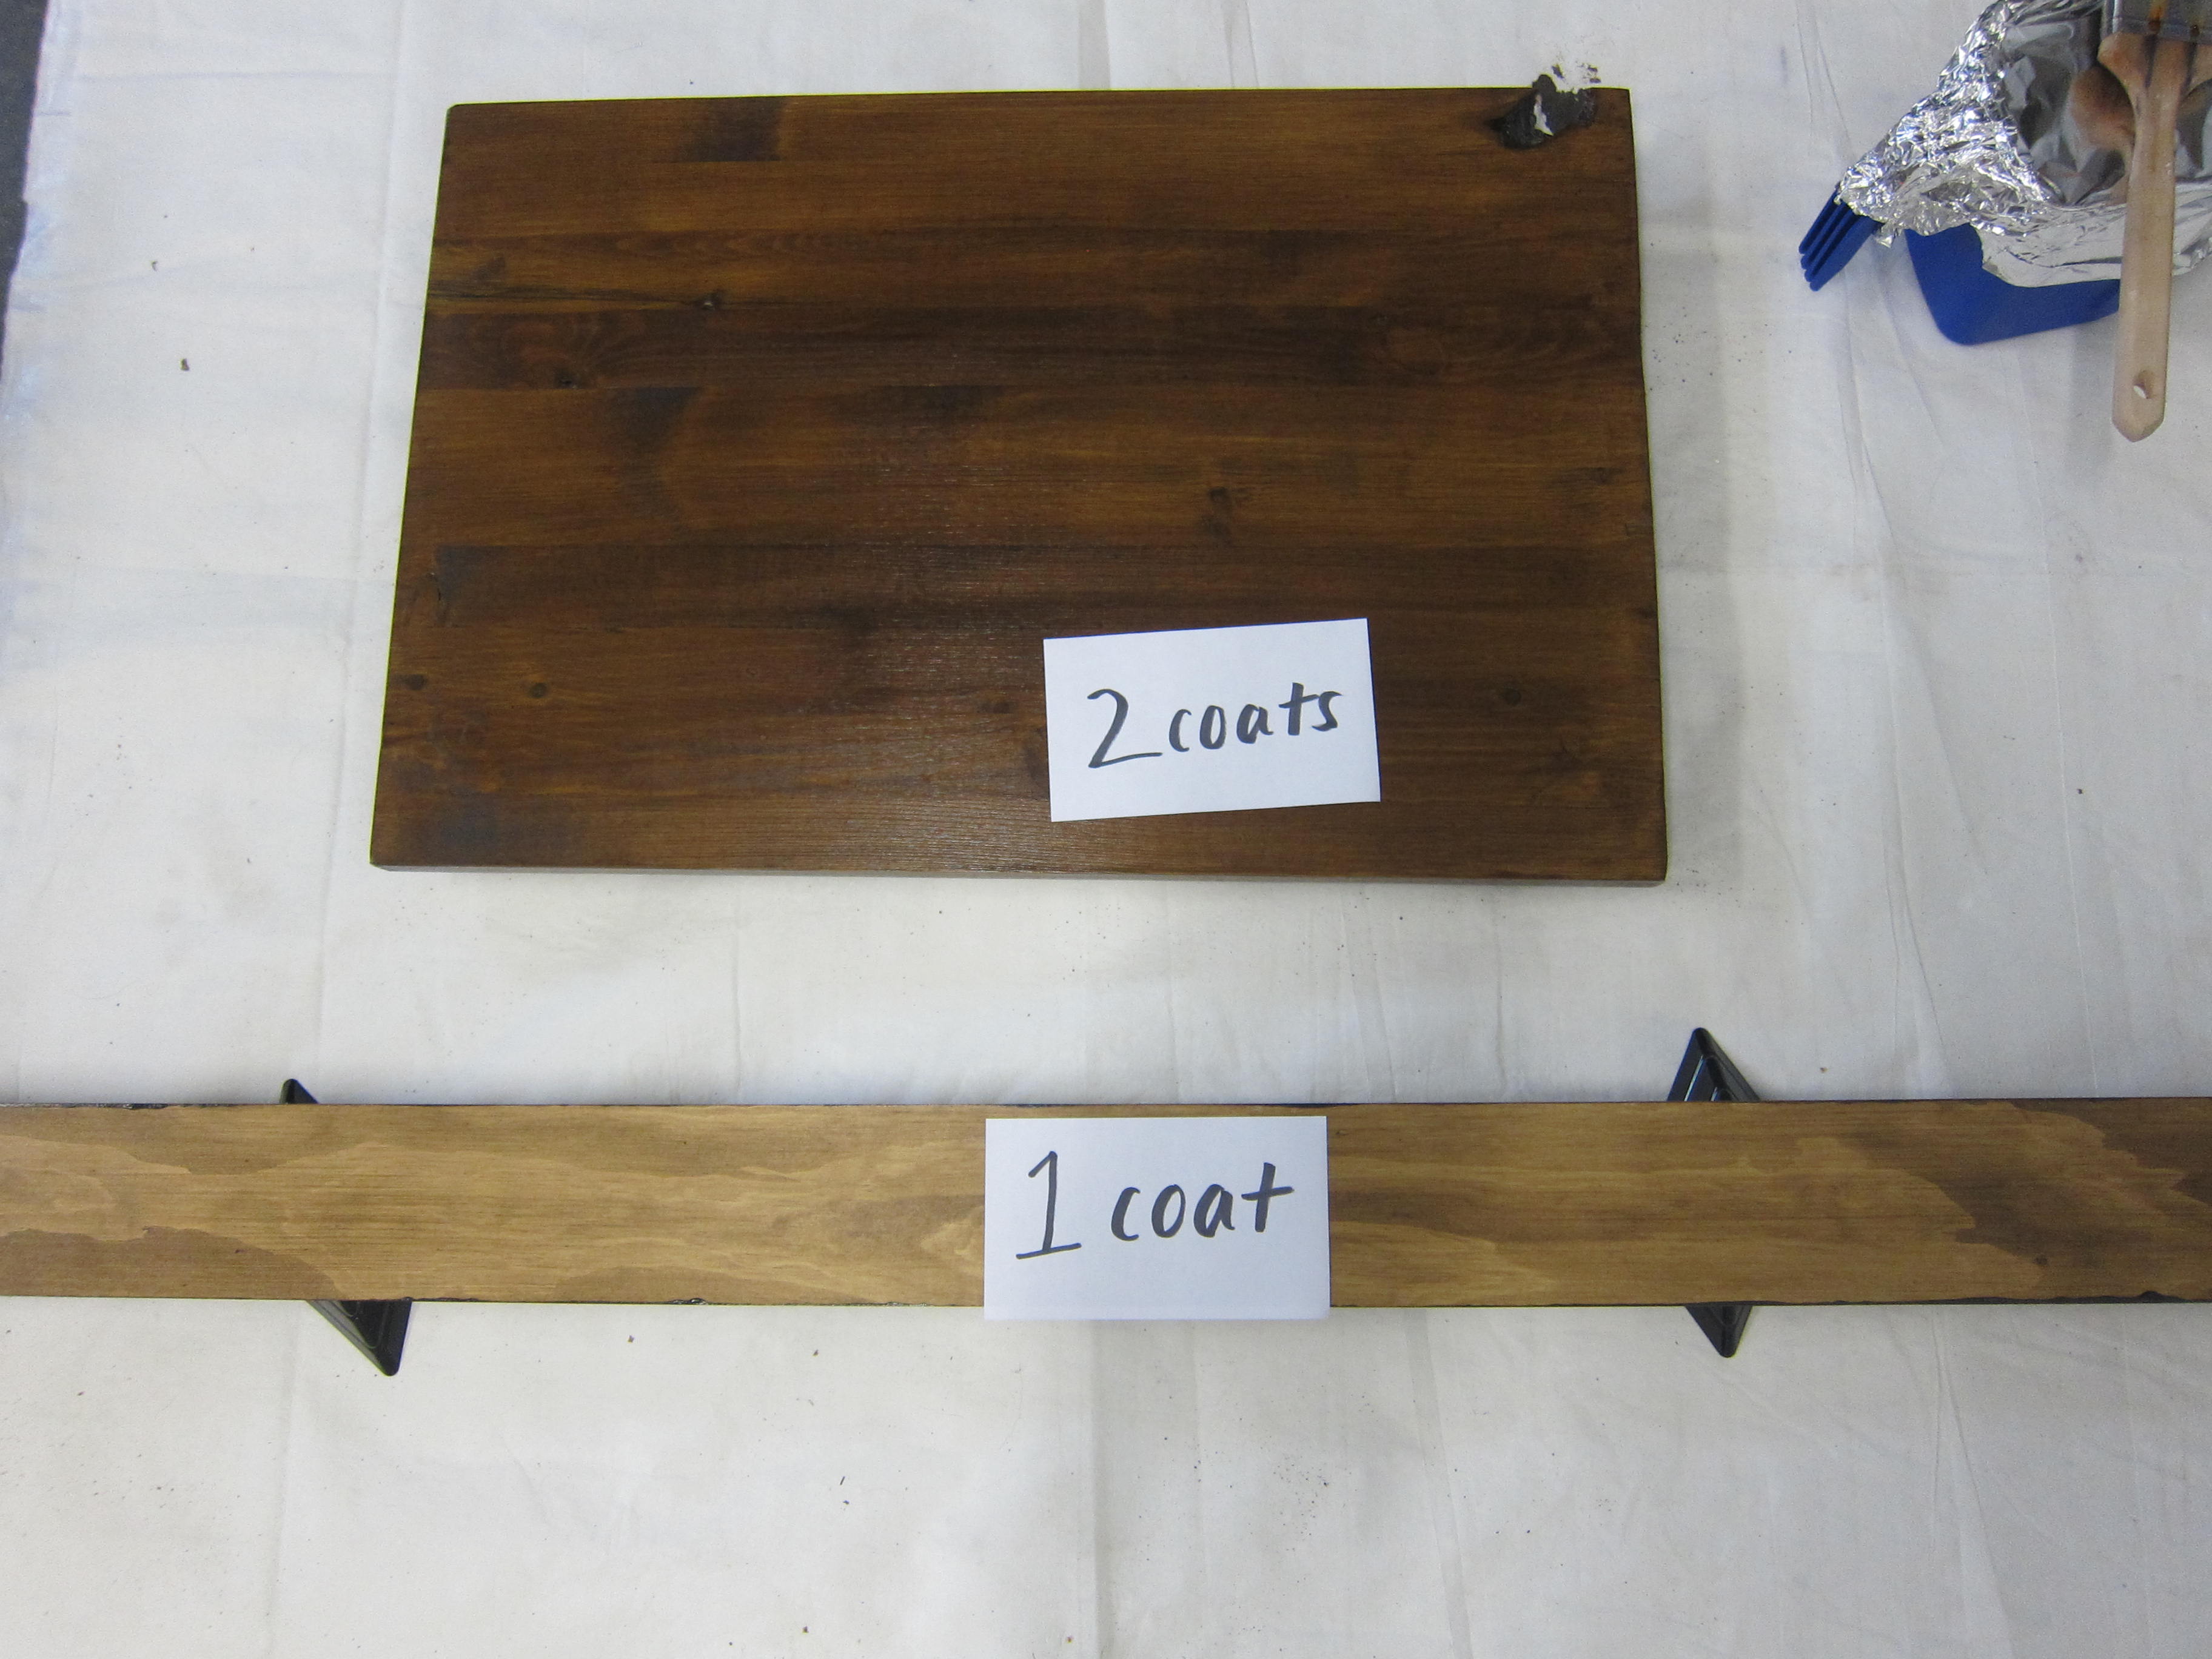
I realize now that I gobbed on the stain finish like a fat kid frosts a cake, but hey, it worked.
Paint on one coat of the wood stain, then let it dry overnight. Flip the board over, paint the other side, then let it dry. Rinse & repeat until the board is the color you want. Obviously the more coats you apply, the darker the color will get.
Step 5 – Bust out the tape measure & Crayolas.
I knew how many hooks I wanted, and I knew how long the board was. Doing some simple math, I used a white crayon to mark the proper space inbetween hanger hooks.
Brian Tip: I was going to use a Sharpie, but Brian quickly corrected me and said you don’t want to use something permanent, in case you need to adjust the marks. He also recommended using pieces of tape, in case you don’t have crayons. Wise words, husband. Touche.
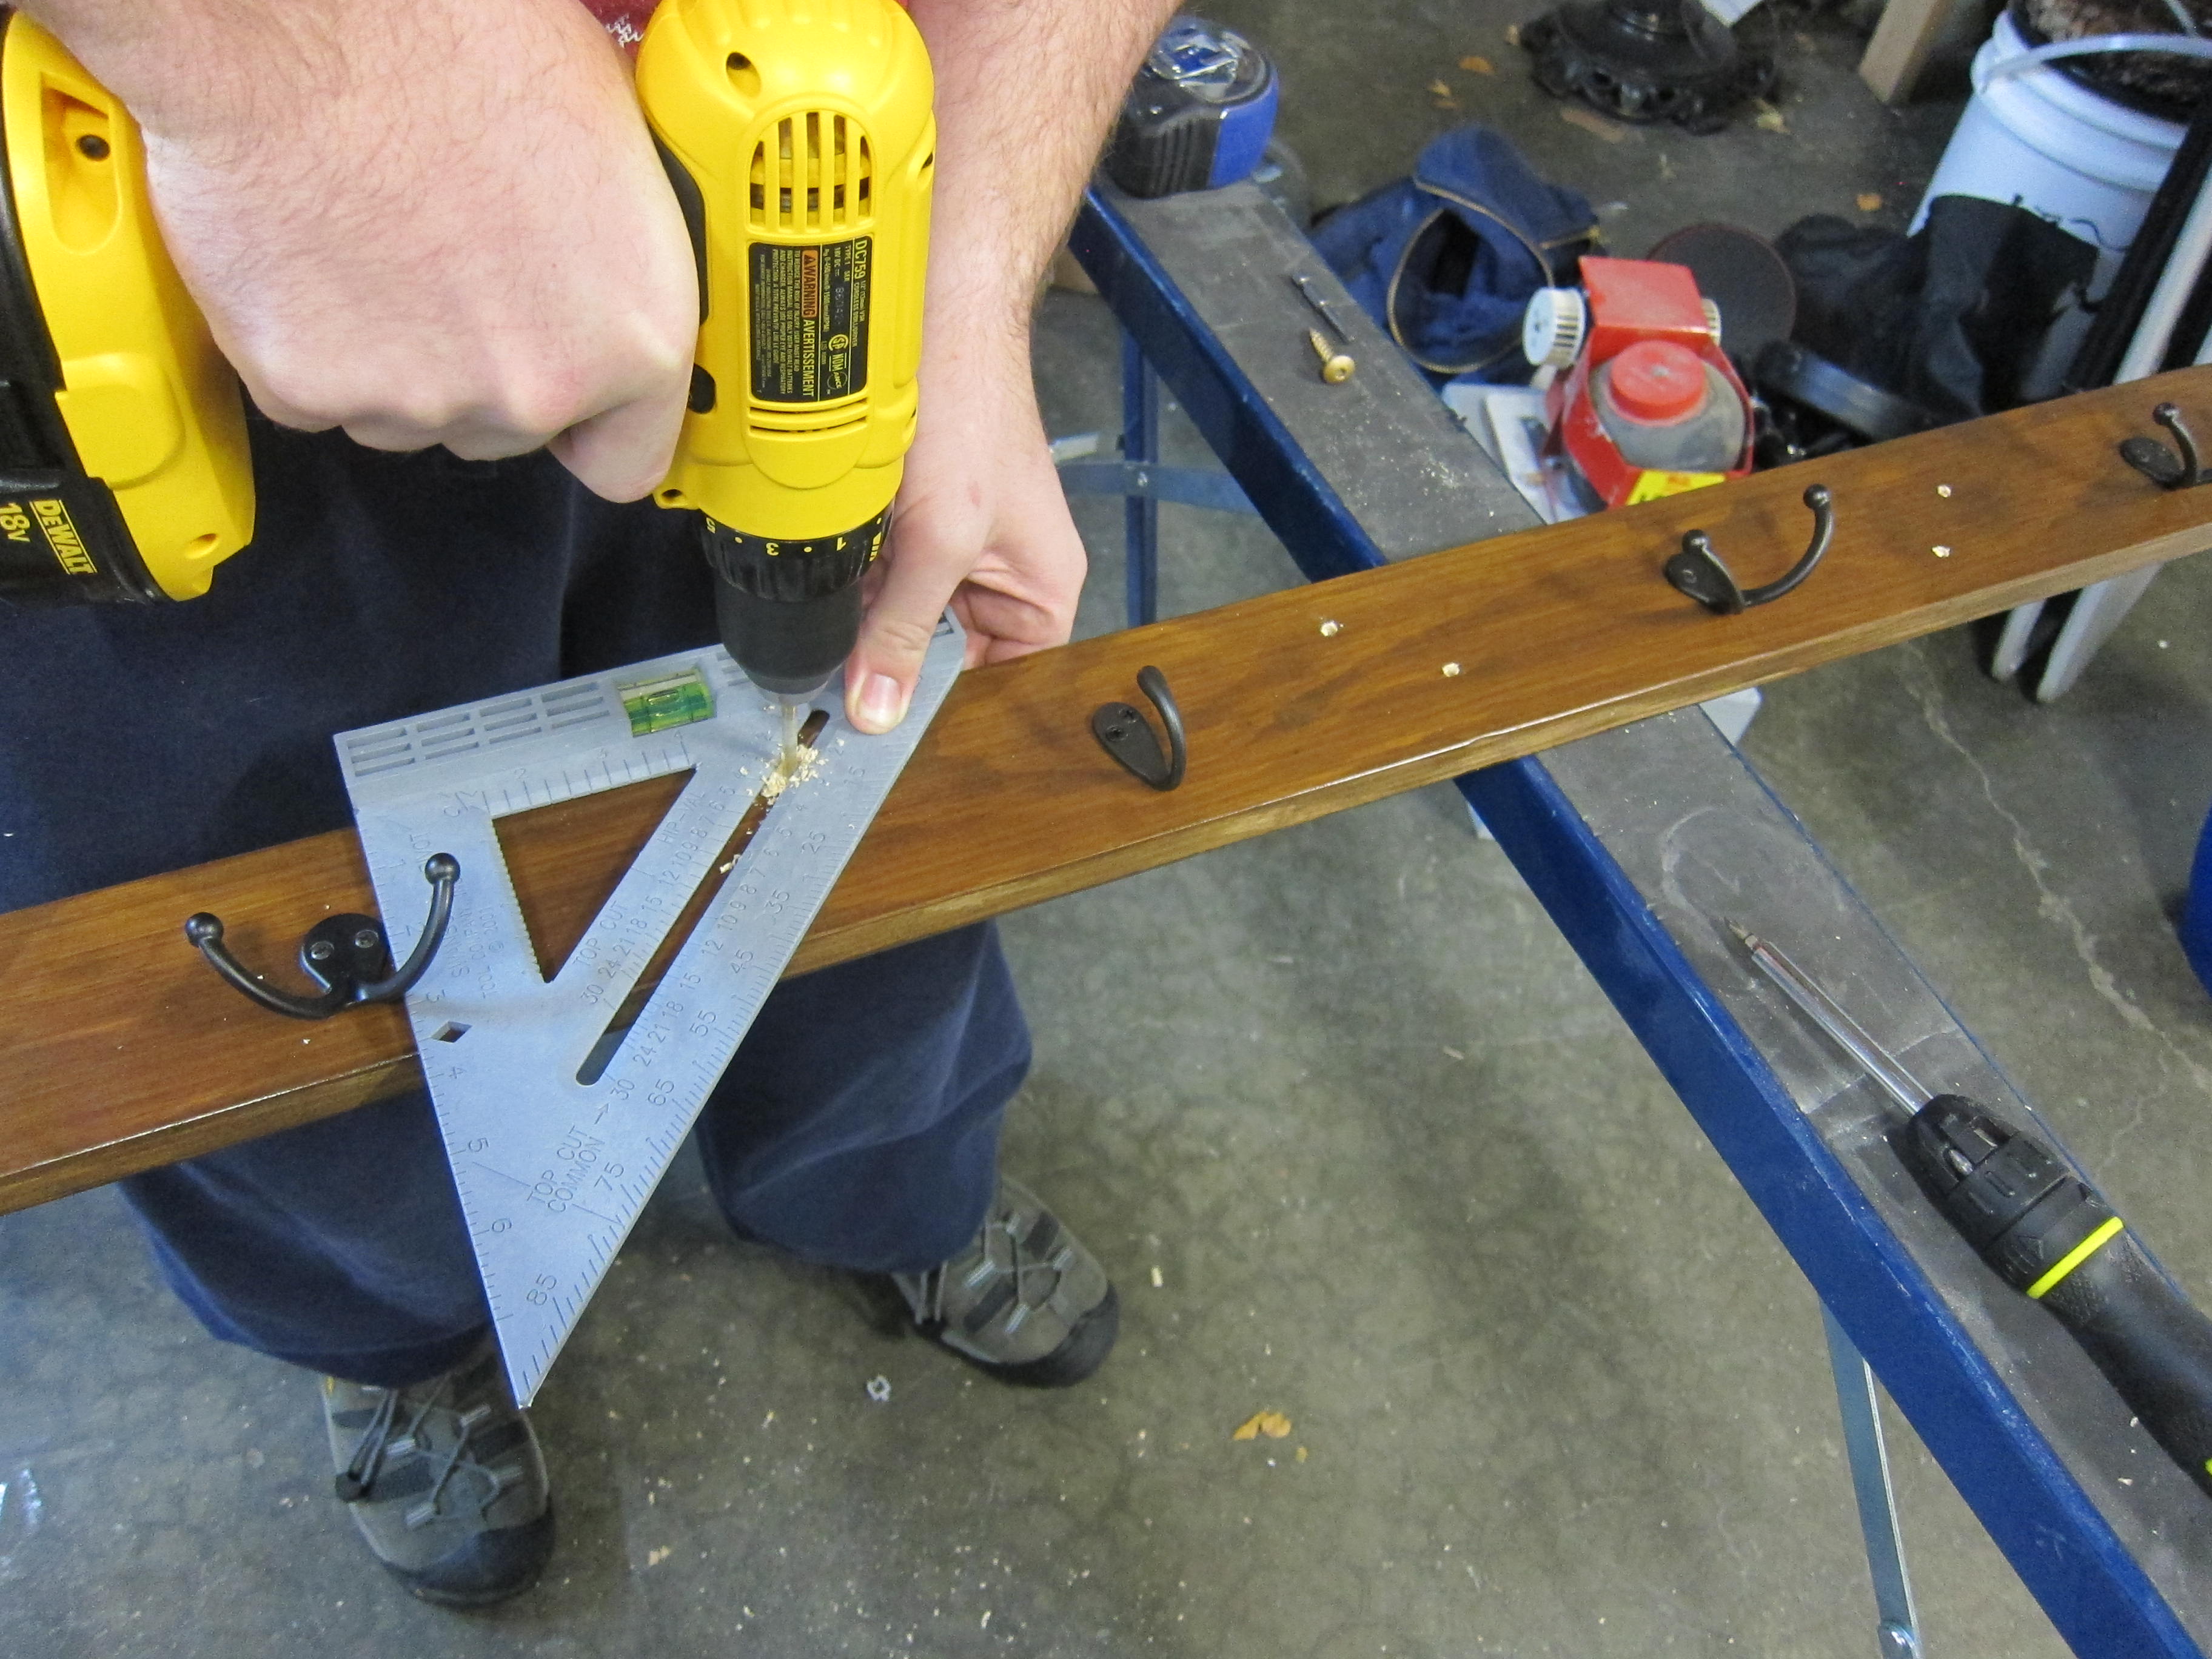
Step 6 – Experience the power of power tools.
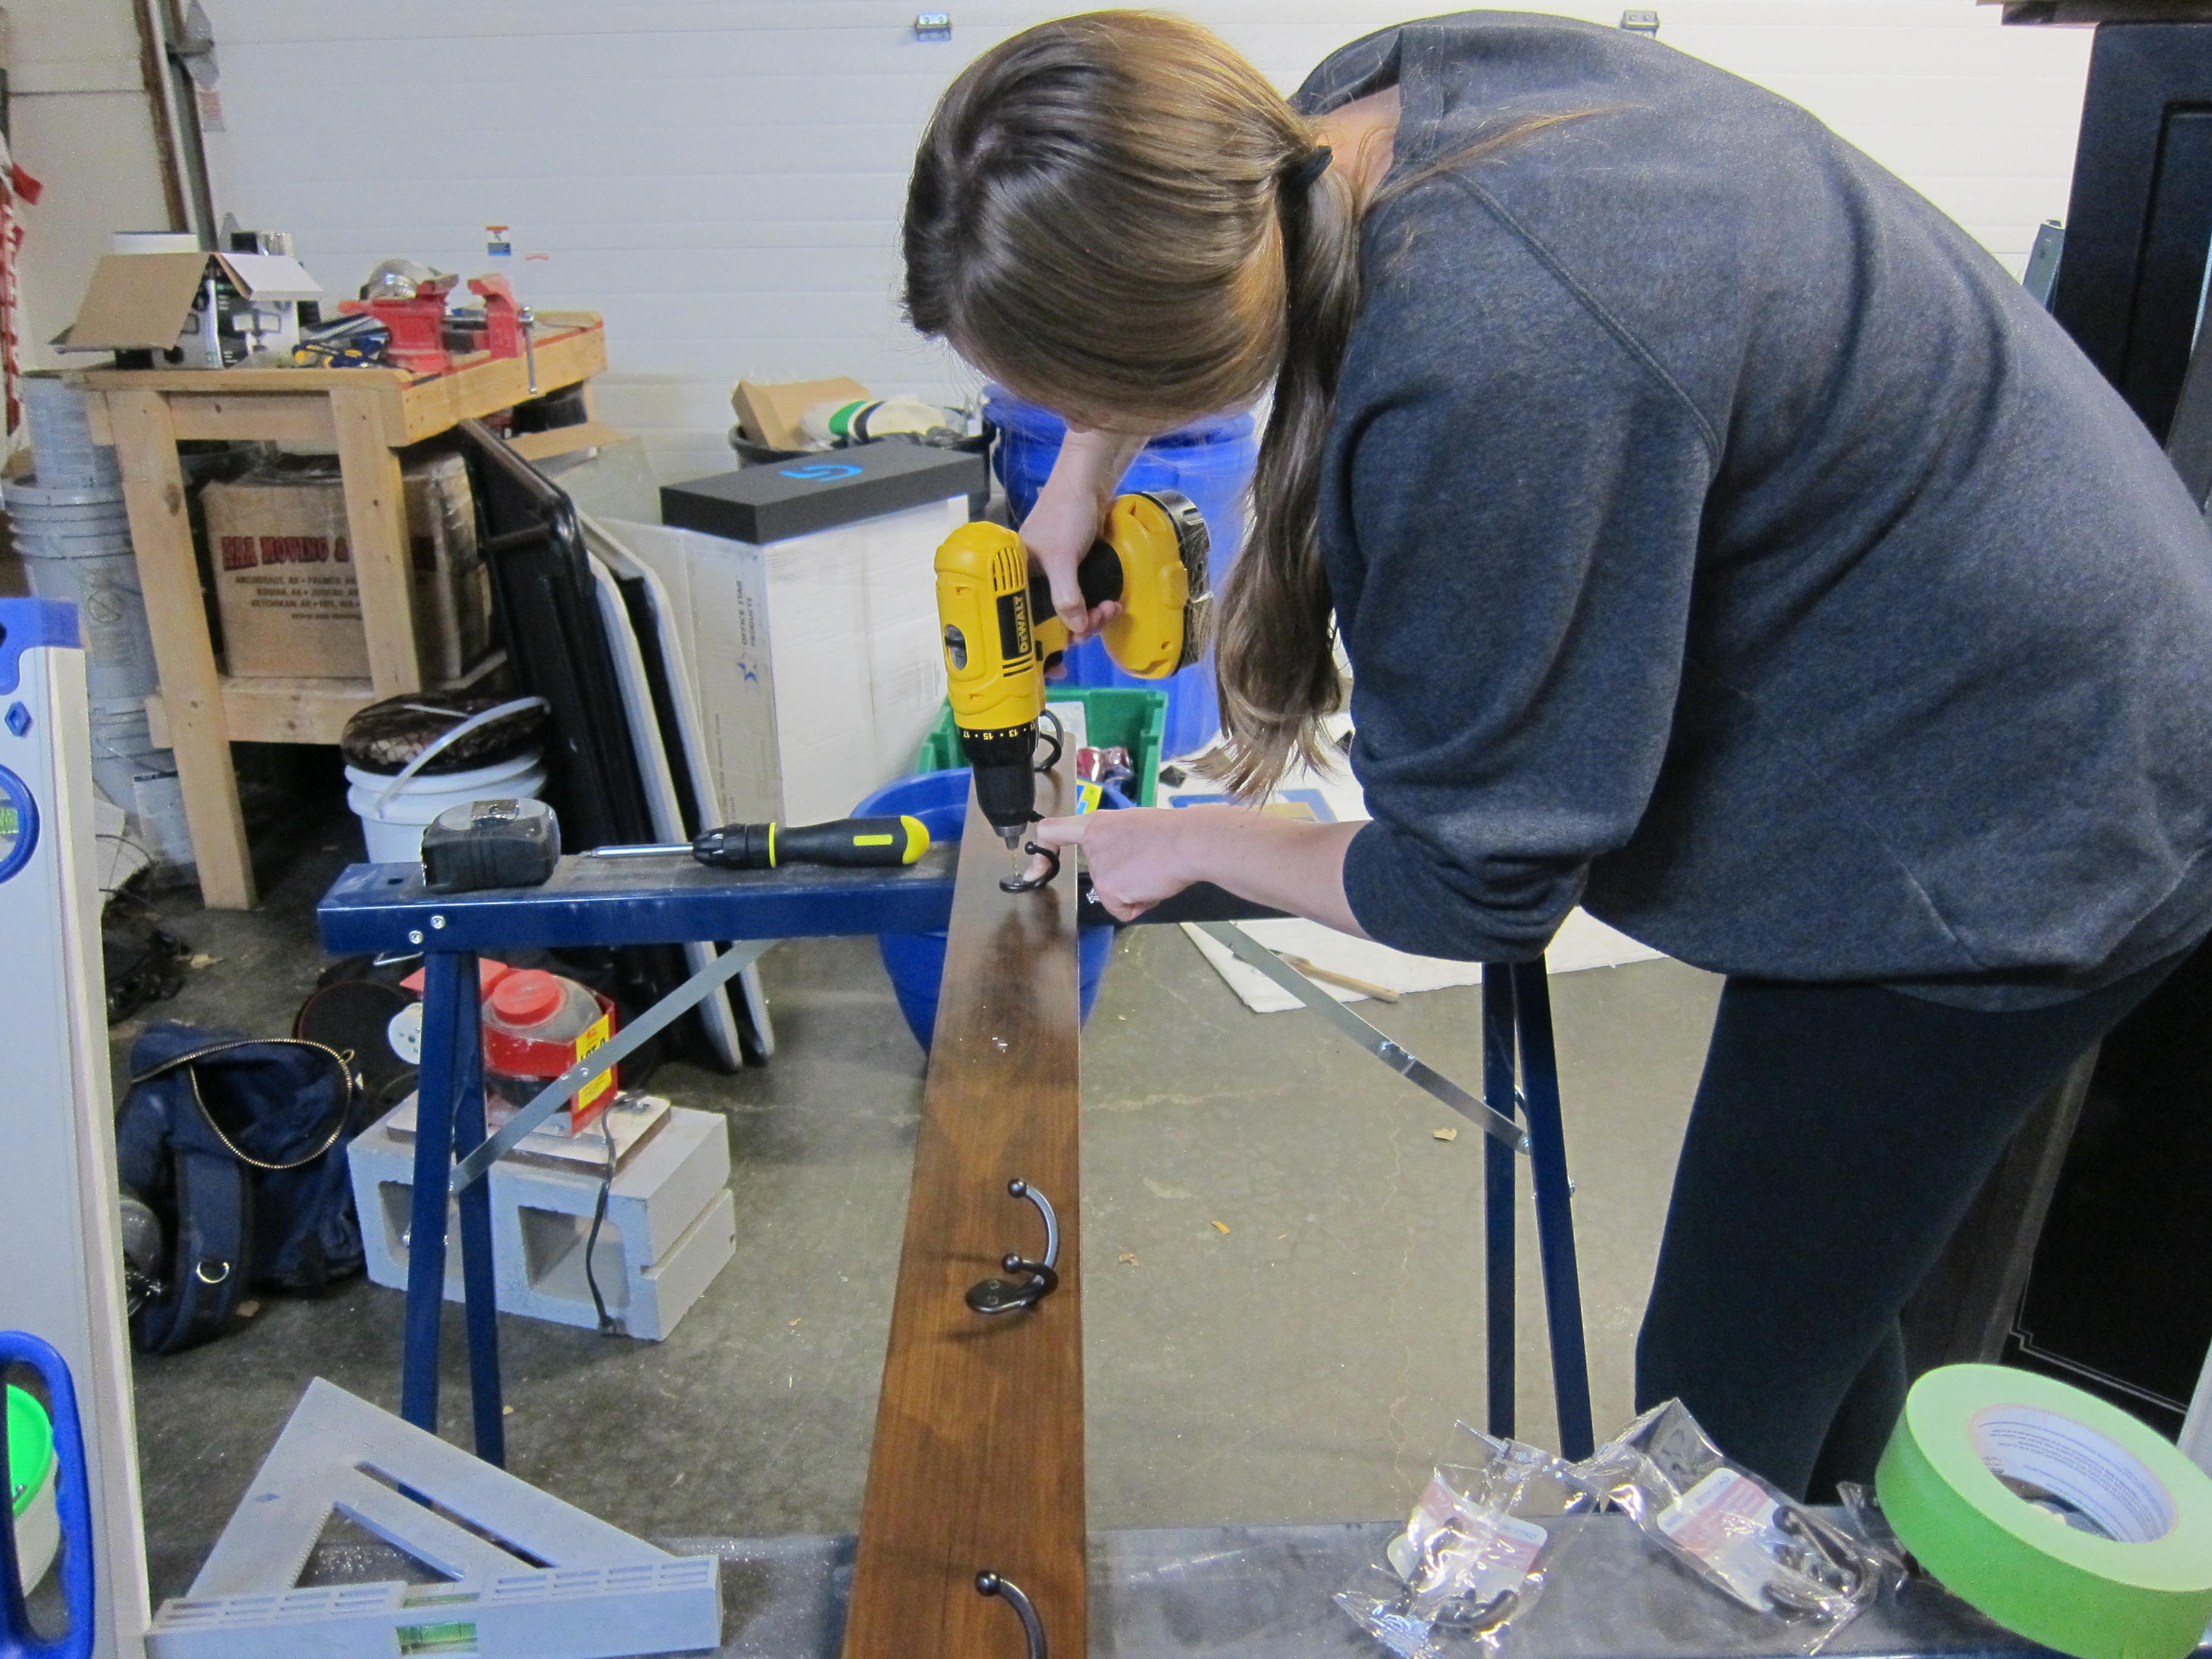
Now it’s time to pre-drill the screw holes (that’s what SHE said), which isn’t required, but it’s a smart precautionary step.
If you try to drill a screw into a solid piece of wood, it might splinter the wood or chip your paint.
It’s a good idea to do something called “pre-drilling,” which is using an electric drill to drill a small hole where you want to put your screw. It effectively removes some of the wood where your screw will be inserted, so the screw doesn’t displace pressure that causes wood cracks and splinters.
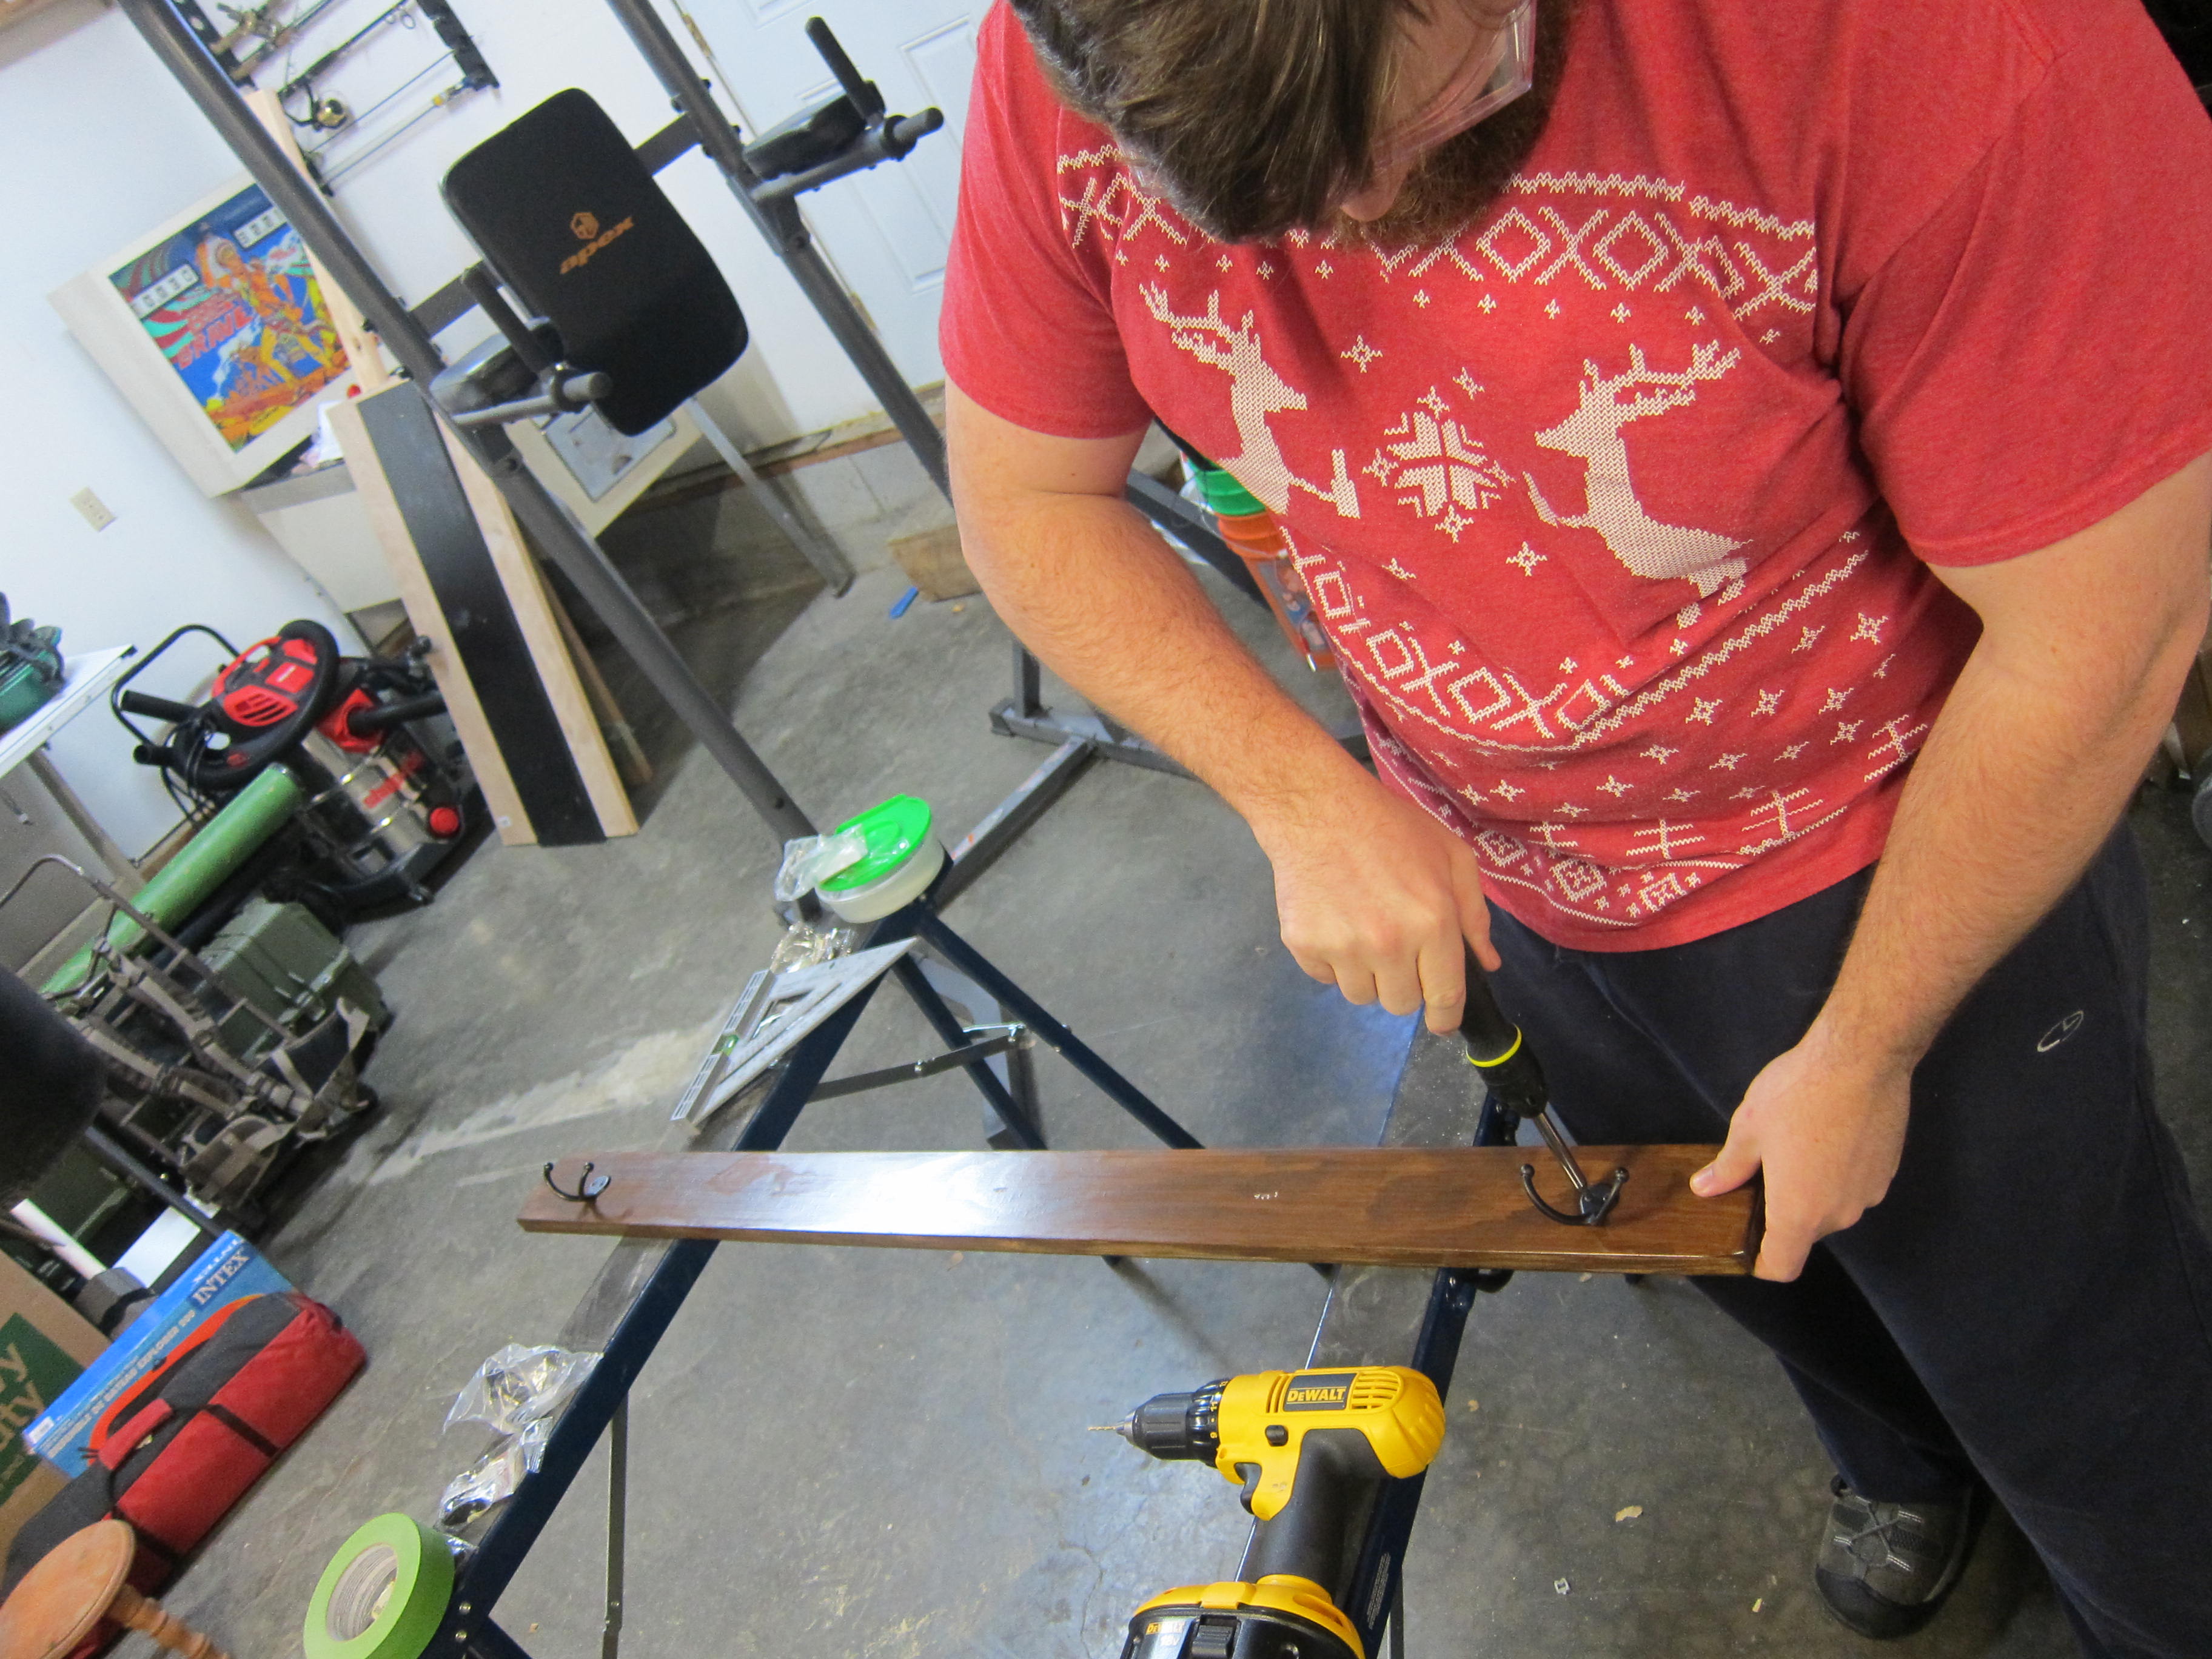
Step 7 – Screwing in hooks.
Once you’ve got your pre-drilled holes, you can actually use a handheld screwdriver to tighten your screws.
Brian Tip: You could also use a drill, but drills go a lot faster than manual screwdrivers, so you run the risk over tightening and bending more delicate pieces.
Step 8 – Strategizing structural stability
Now that you’ve got all of the coat hanger hooks in, you need to consider how you’re going to hang it on the wall. Where will your support screws go and how will you tie structural stability into the theme of your DIY masterpiece?
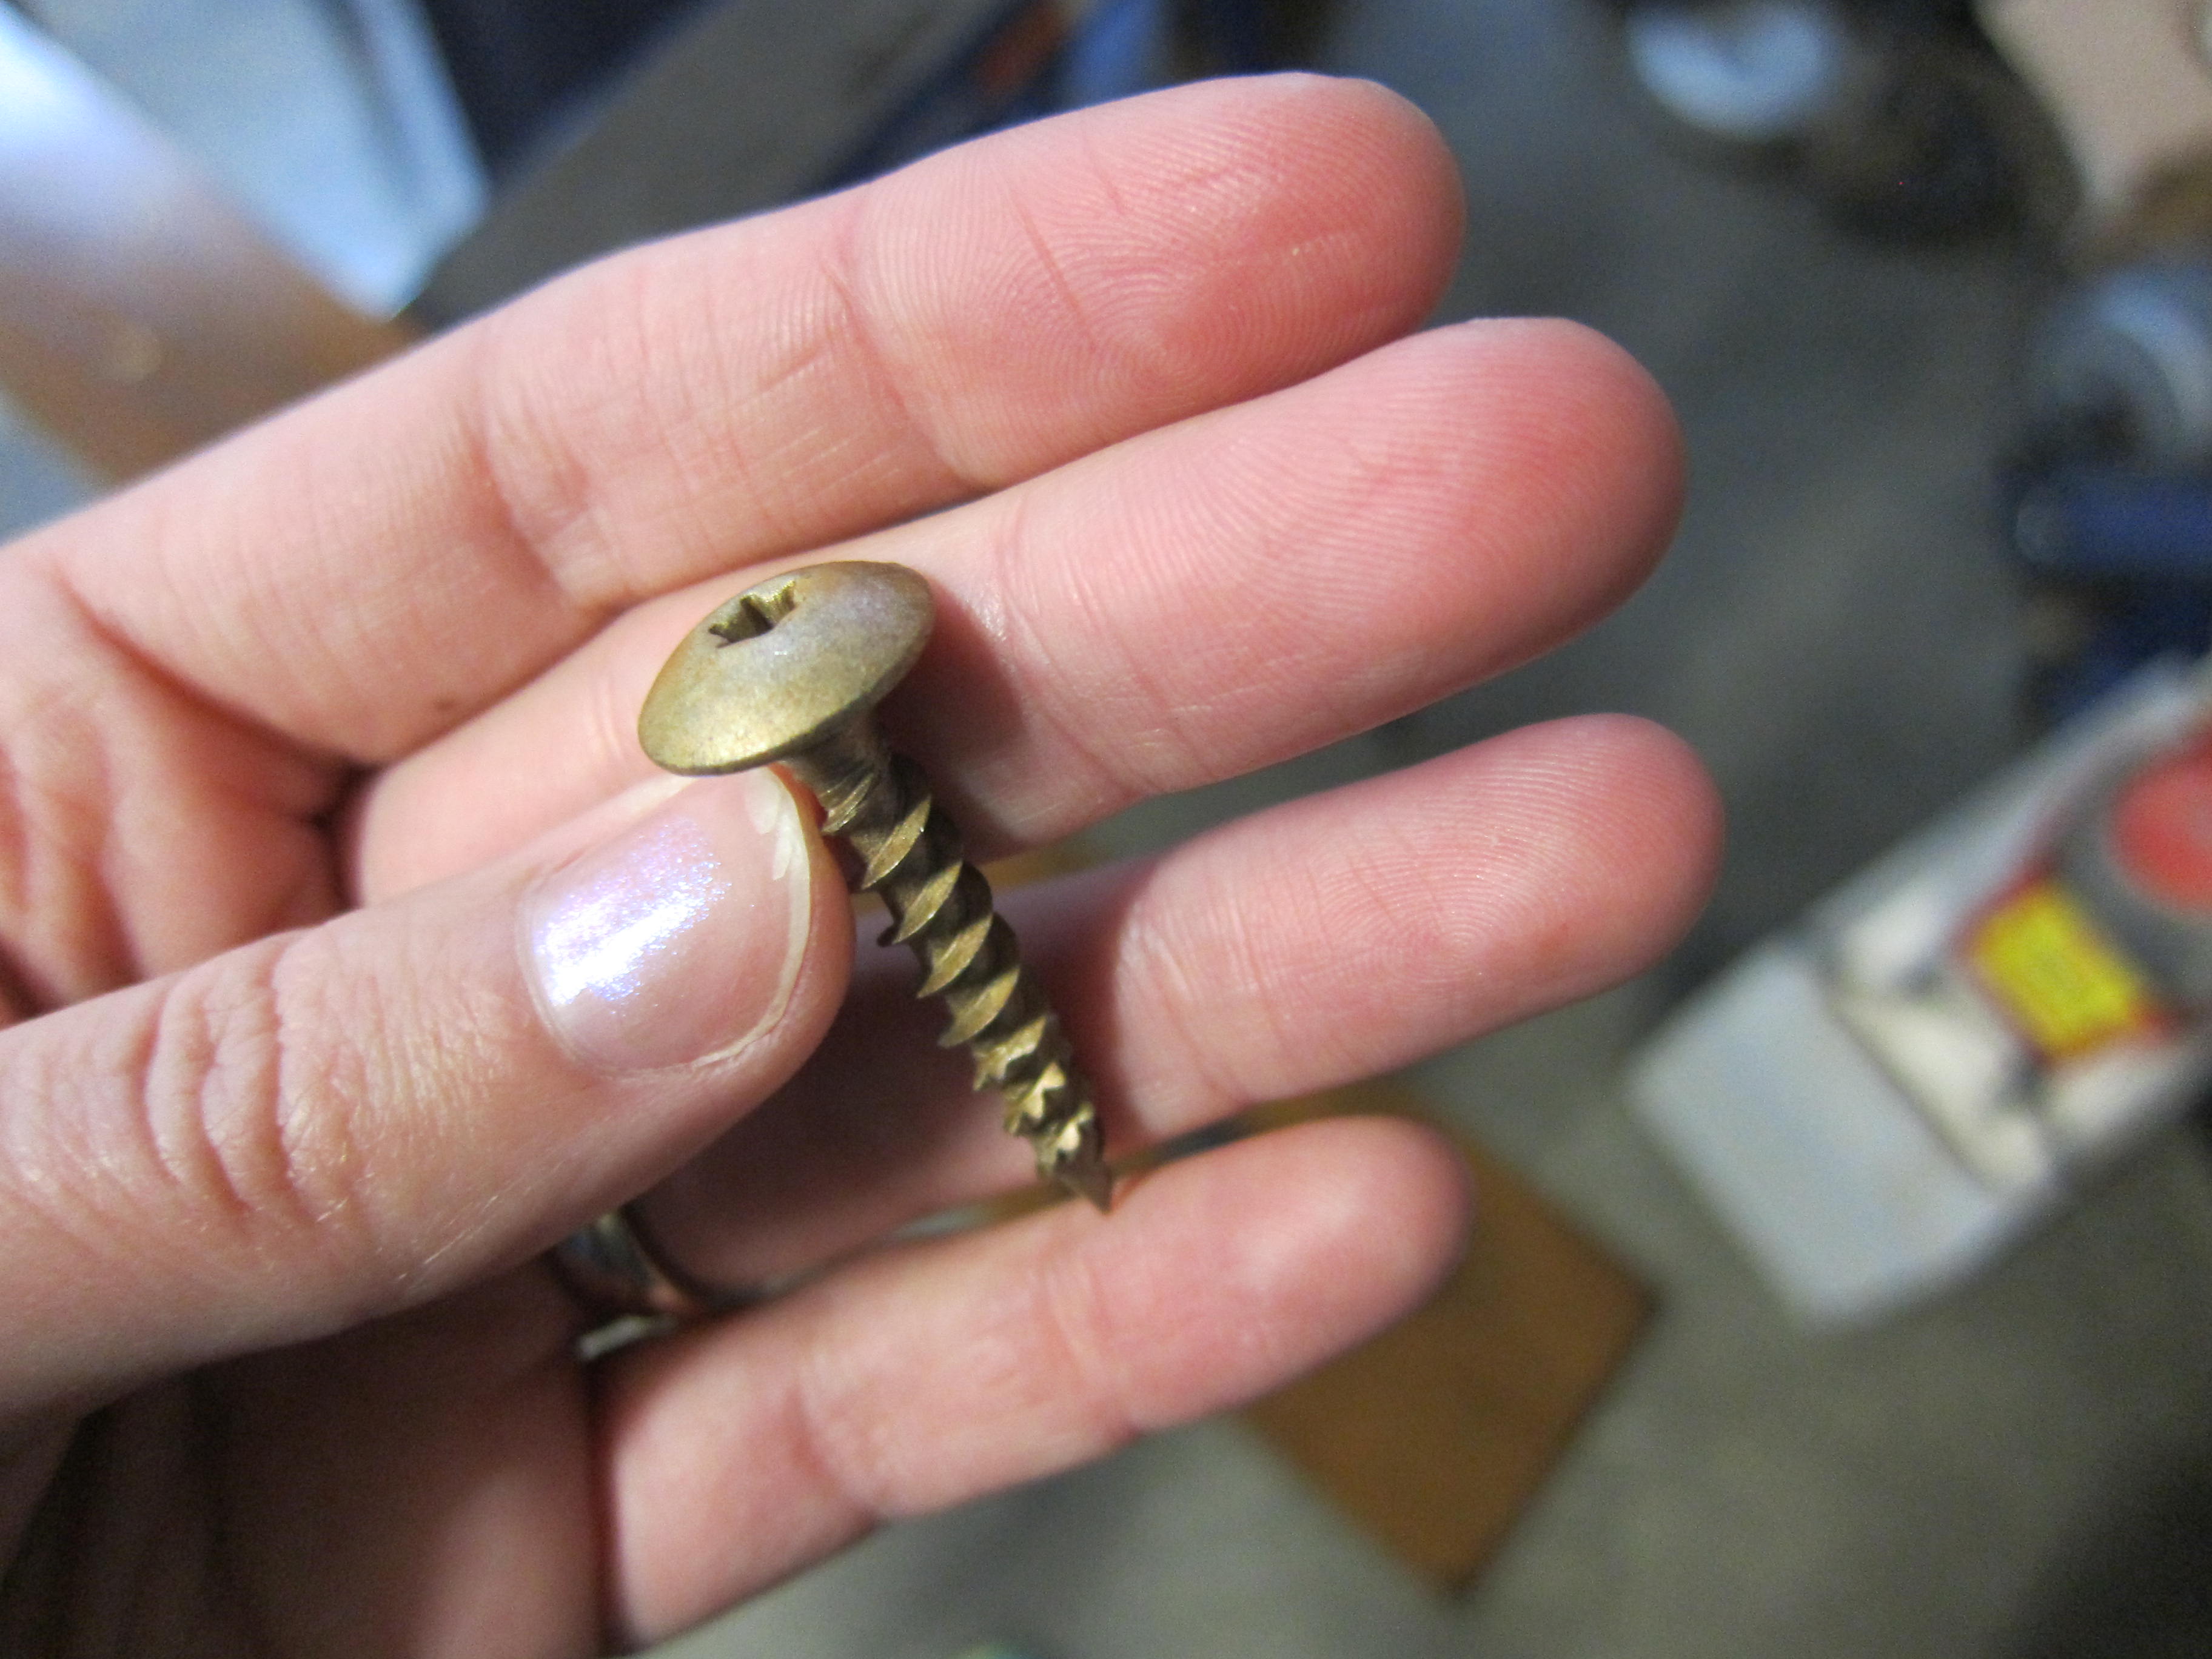
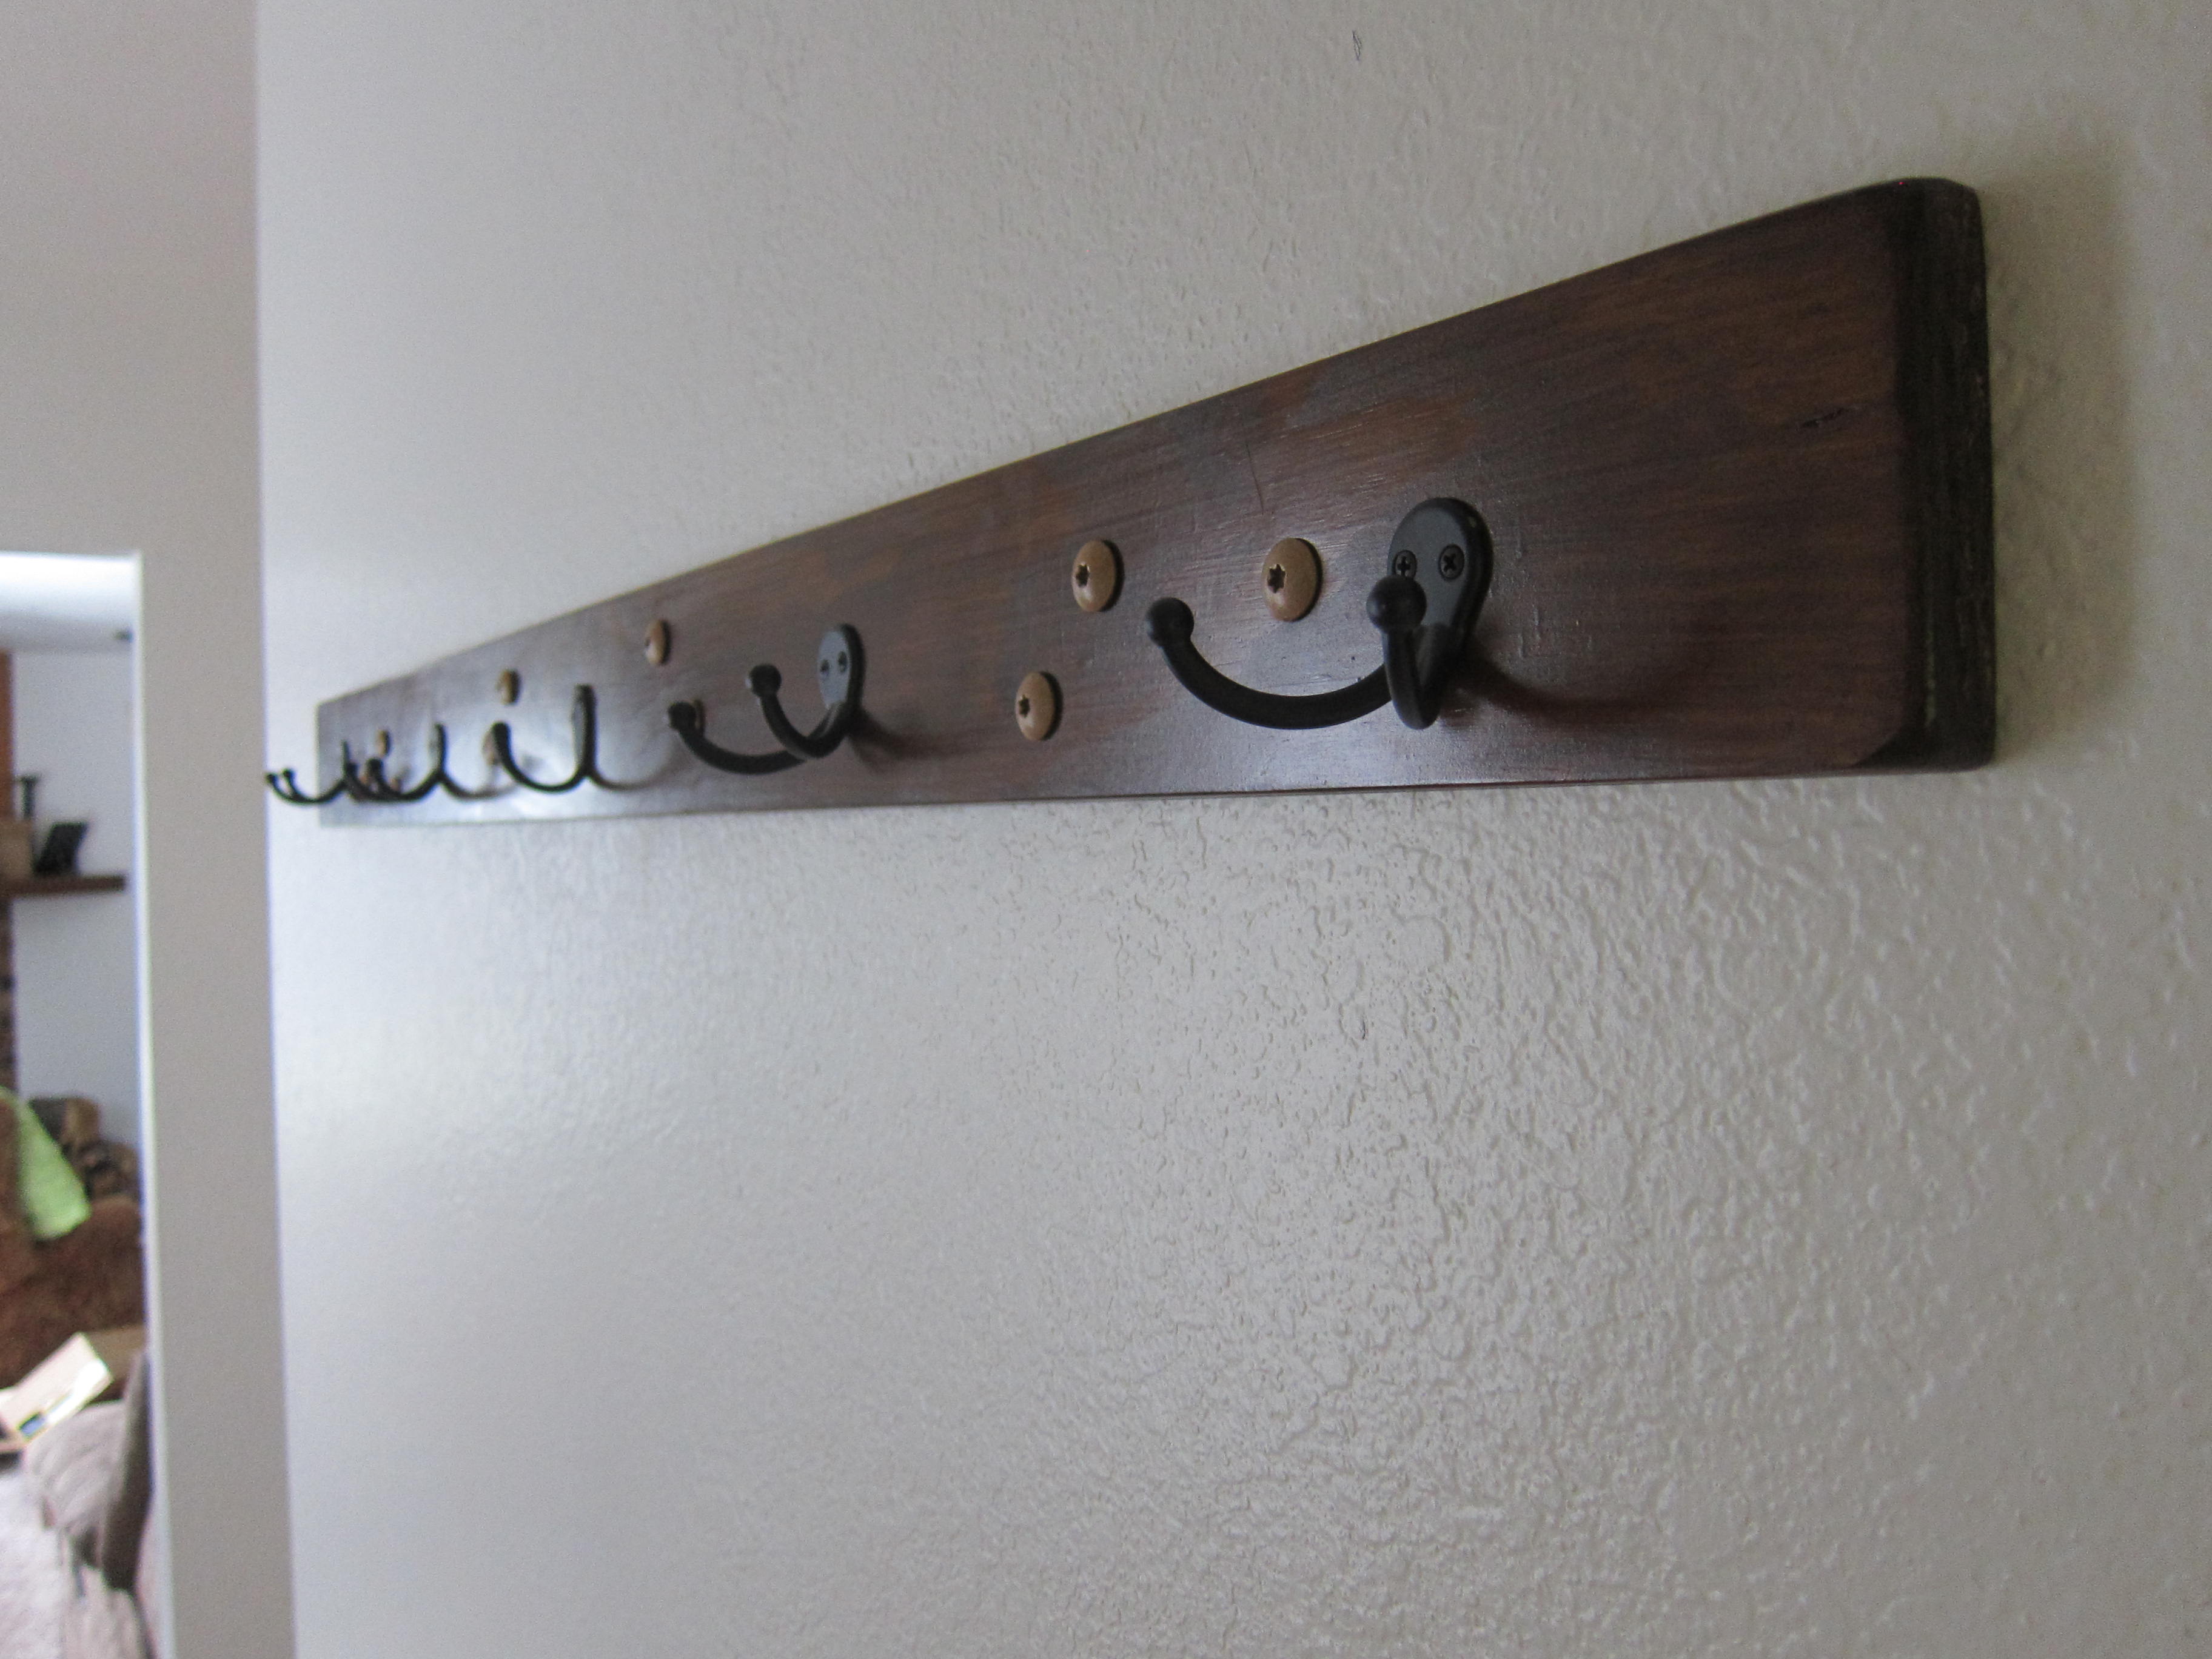
I wanted a rustic/chic look, so I chose a darker wood finish with matte black metallic hangers and matte gold support screws. We bought a handful of these decorative screws at Lowe’s. I chose them because I wanted them to be functional yet look like they were part of a design.
Brian is pre-drilling holes in the photo below. (I wanted a specific angled pattern, which is why he’s using the triangle as a guide.)
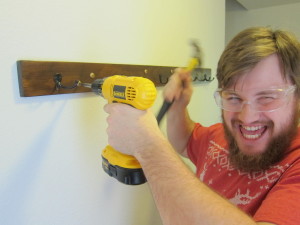
Step 9 – Let’s hang this baby.
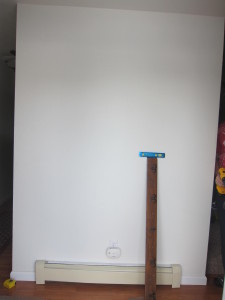
We picked the height, centered it on the wall, then Brian used his stud finder to avoid drilling into anything electrical – a bathroom is on the other side of that wall.
Because of our design with the gold screws, we knew we would hit at least one or two screws per stud on each side of the board.
Brian used a level, then secured it into place using those decorative gold screws and a power screwdriver. He used his hammer to flatten them – apparently they didn’t screw down all the way, and he wanted them flush with the board.
(This is the pose he chose when I said, “Smile! You’re going on my blog.”)
Voila! Mission accomplished.
We’re both really happy with how well it turned out. Not only do we have a gorgeous new coat hanger that we built custom to our space & style preferences, but it’s also a project we did as a team – a perfect addition to our new home together. Aaawww :)
Aawwww back to ya…..