What started as
“Sweet, that’s an awesome idea!”
soon felt like
“OMG did we really dig a massive hole in our yard??”
but now it’s more like
“Whew, done – YES!!”
Hugelkultur.
It’s a gardening word I had never heard of about 3 weeks ago (heck, it’s a word I still can’t pronounce) but it’s a pretty freaking spectacular gardening idea. And now I have one in my yard.
The basic concept of a hugelkultur garden? It’s a giant, raised mound of compost you can plant a vegetable garden on top of.
You dig a hole, put big compostable items on the bottom (like tree stumps), add smaller items on top (like leaves and grass clippings), lay out your sod upside down on top of it, then cover it with an extra layer of soil.
Hugelkultur Benefits
– decomposition creates air within the dirt = no tilling required year to year
– the wood base holds moisture well = less garden watering needed
– decomposition/decay constantly releasing nutrients = happy vegetable garden
– raised gardening area = don’t need to hunch over for weeding and picking
From what I’ve read, if you create your hugelkultur in the fall, it’s ready to start planting by spring.
Since it’s really dependent on what space and organic compost materials you have available, everyone seems to do it a little bit different. (I’ve been reading up on hugelkultur compost heaps, and I’ll toss out some of my favorite article links at the end of this post, if you wanted to check out more resources & see how other people have created their own version of a hugelkultur.)
After a few days of yardwork, we found ourselves with a ton of organic yard garbage that we didn’t know what to do with. The answer? Build an Alaska backyard hugelkultur.
Here’s the step-by-step we took to build:
- Step 1 – choose your space
- Step 2 – roll up your sod
- Step 3 – dig your ditch
- Step 4 – toss in the big stuff
- Step 5 – toss in the little stuff
- Step 6 – cover with sod & soil
Step 1 – Pick Your Space
When Brian (my partner) & I first started thinking about where we wanted to dig a giant ditch in our yard, it was a long conversation. He & I had completely different ideas of which area of our yard would get the best sunlight, the ideal moisture and wouldn’t be in the way.
We had a bunch of compostable materials we wanted to get rid of & incorporate into our Alaska hugelkultur:
- rotten firewood
- fresh-cut tree branches
- grass clippings
- dead leaves
- pulled up weeds
Because we had so much compostable yard ‘trash’ to work with, we wanted to go big. We had the gardening space and we certainly had enough organic filler.
After careful consideration, we marked out our soon-to-be hugel space. Keep in mind that this gardening space is your own – don’t be shy to take this idea & run with it, adjusting for your own needs! (It would be fun to experiment with size, width or shape for our next one.)
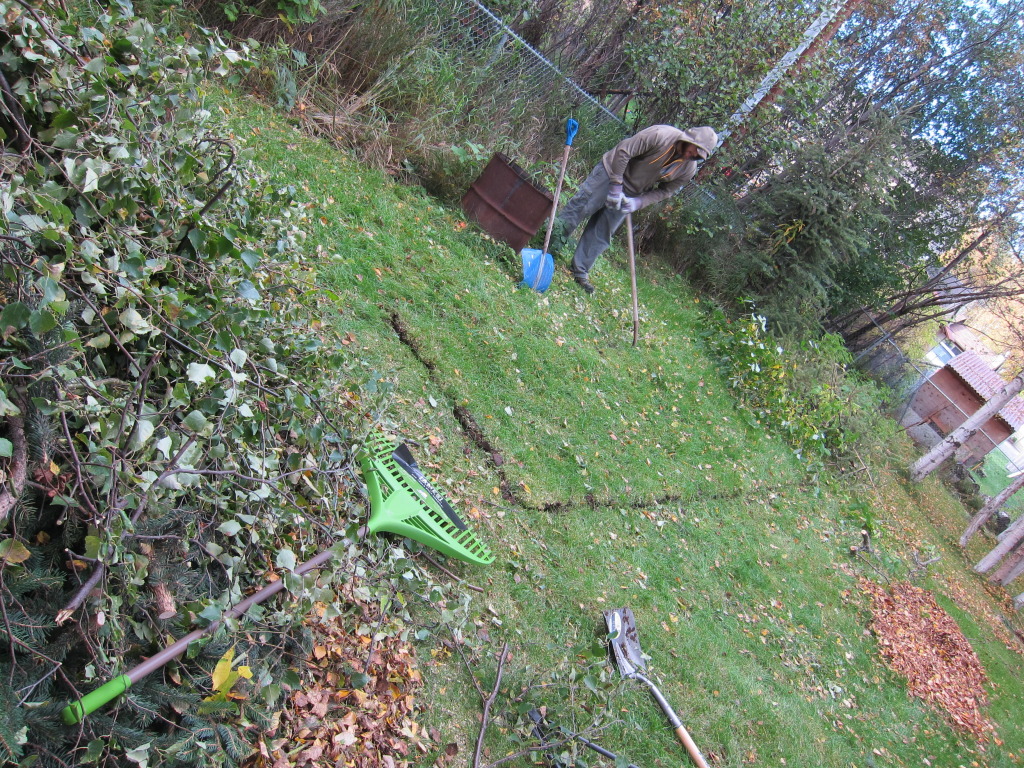
Step 2 – Roll Up That Sod (You’ll Need it Later)
Once the space is marked out, here’s where it starts getting dirty. (See? Who says gardening isn’t sexy?)
Get your fingers under the grass root layer, and start cutting at it, keeping the sod blanket in tact (or as in tact as possible.) Brian went with a roll-it-up technique (he was able to roll up the sod like a roll of thick carpet), but do whatever works for you.
Step 3 – Digging Graves for Trees & Leaves
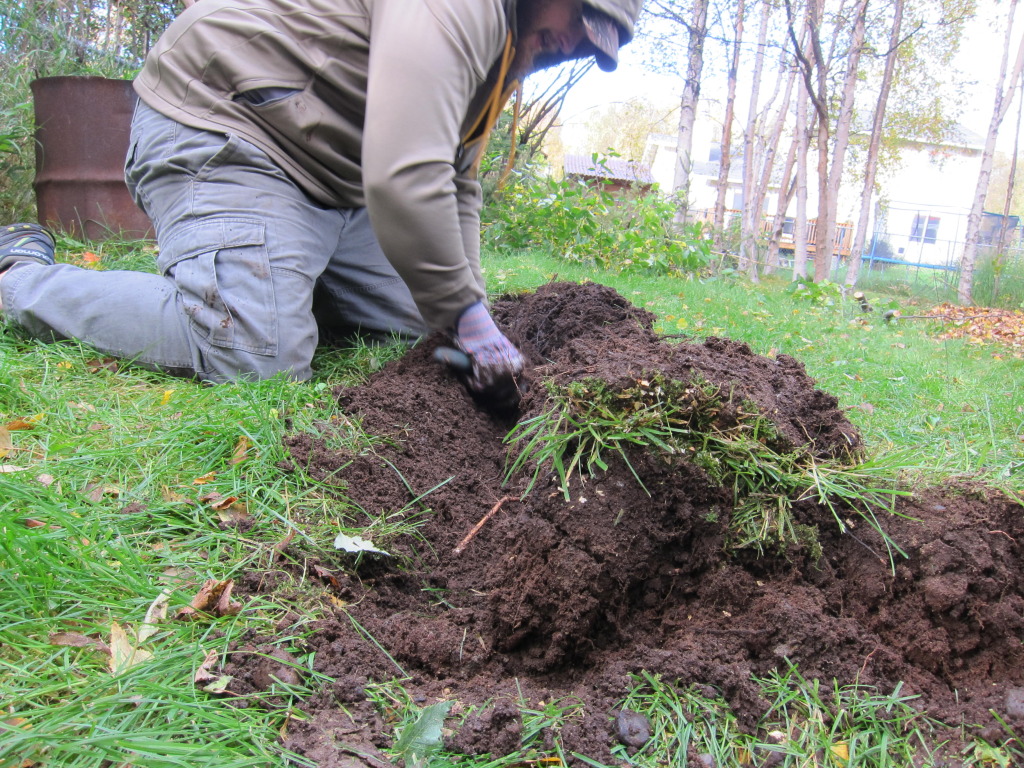
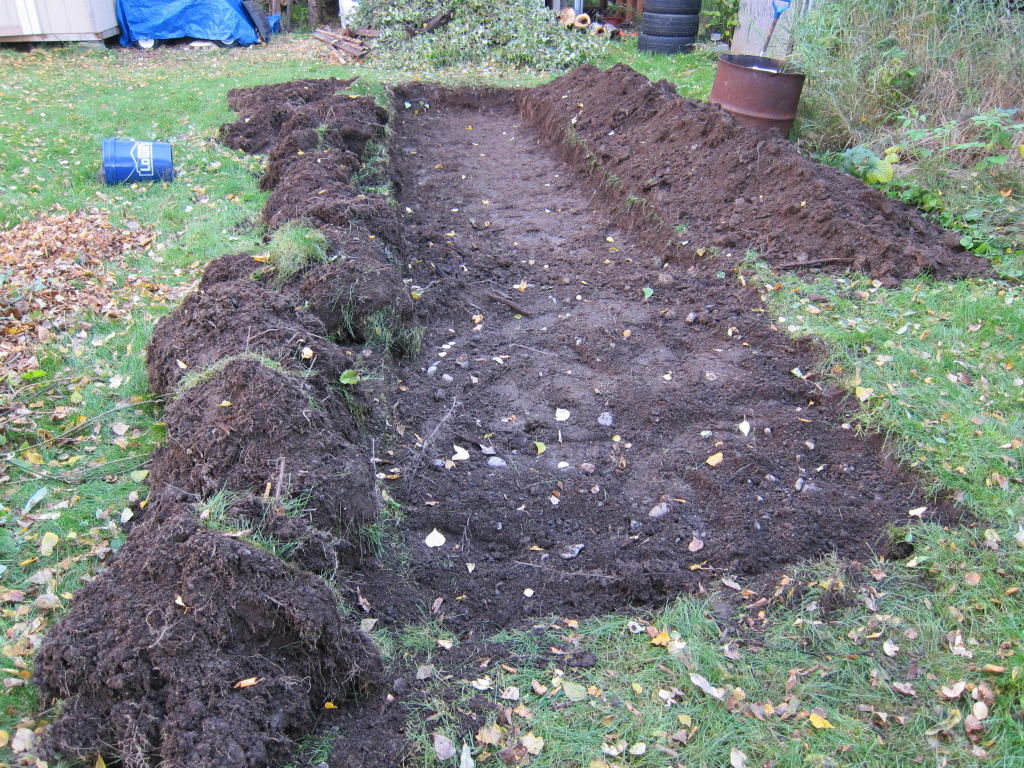
It looked creepy having a massive grave-looking hole in our yard, but Brian is an impressive shoveler.
While I chopped our tree branches into manageable sized pieces, Brian dug. And dug. And dug some more.
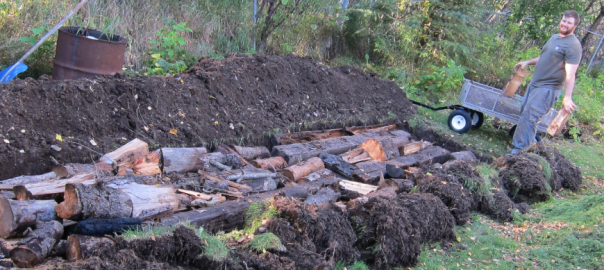
In the picture below, you’ll see all the sod rolls on the left and the dug out soil on the right.
Step 4 – Toss in the Big Stuff
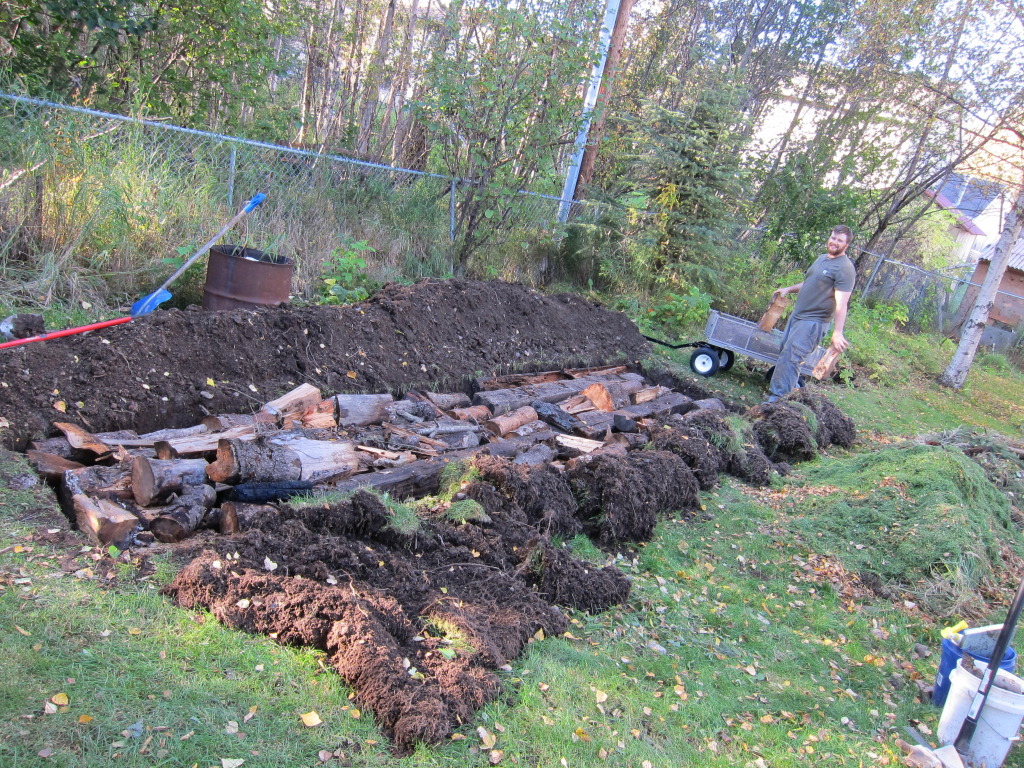
Once you get the trench dug, lay out your big organic compost first. Tree stumps and thick branches are a great base layer.
I’ve read mixed reviews on what varieties of trees to use. Some people say to stay away from pine trees because they have tannins = puts decomposition into slow motion.
But living in Alaska, we’re surrounded by pine. If we didn’t include any pine wood or branches, that would’ve really restricted the size of our hugelkultur. Since we have a good blend of pine, birch, leaves and grass, I think we’ll be ok.
We purposefully didn’t rely on one single source of compost materials – we went for the blended approach, assuming that would be the best because different organic materials will decompose at different speeds and give a variety of nutrients to the garden plants. (We’ll see in the spring if that was a smart plan or not.)
Step 5 – Toss in the Little Stuff
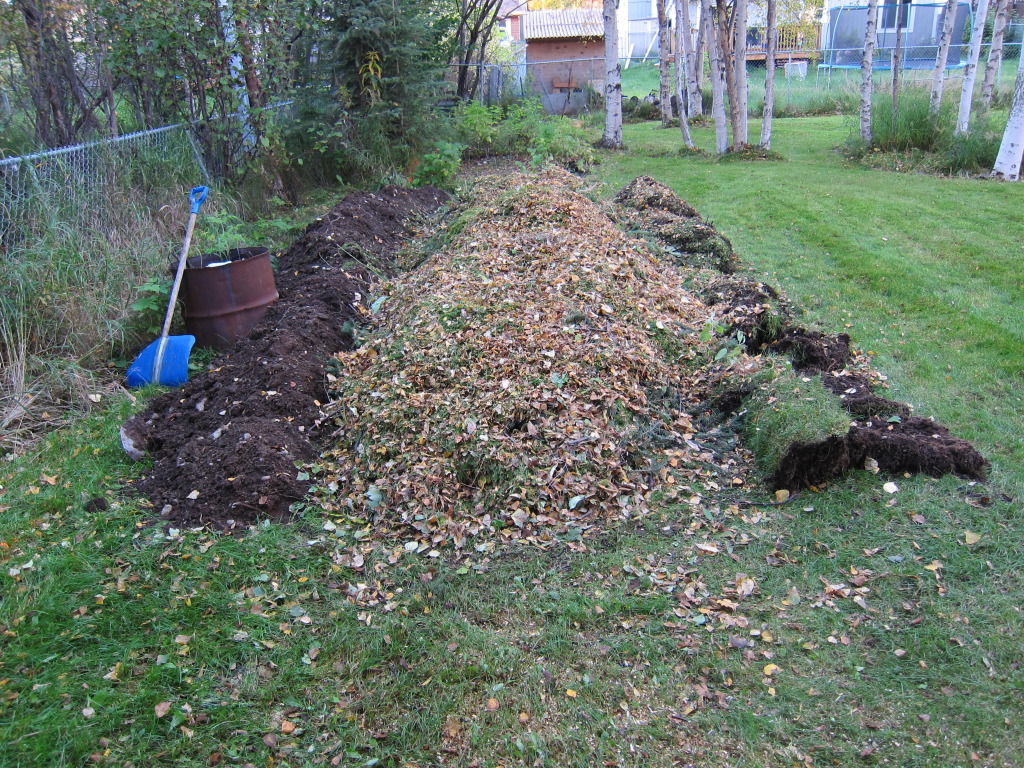
After arranging the big pieces, we covered it with branches, then topped it off with leaves, grass clippings, pulled dead weeds and anything else compostable we had in the yard. At this point, our yard looked like a hot mess, but it was coming together.
Step 6 – Seal ‘Er Up With Sod & Dirt
Now it’s time to replace the sod, but not quite how you’d think.
The sod layer goes dirt-side-up, grass-side-down, on our hugelkultur backyard gardening compost heap. I know, it’s counter-intuitive.
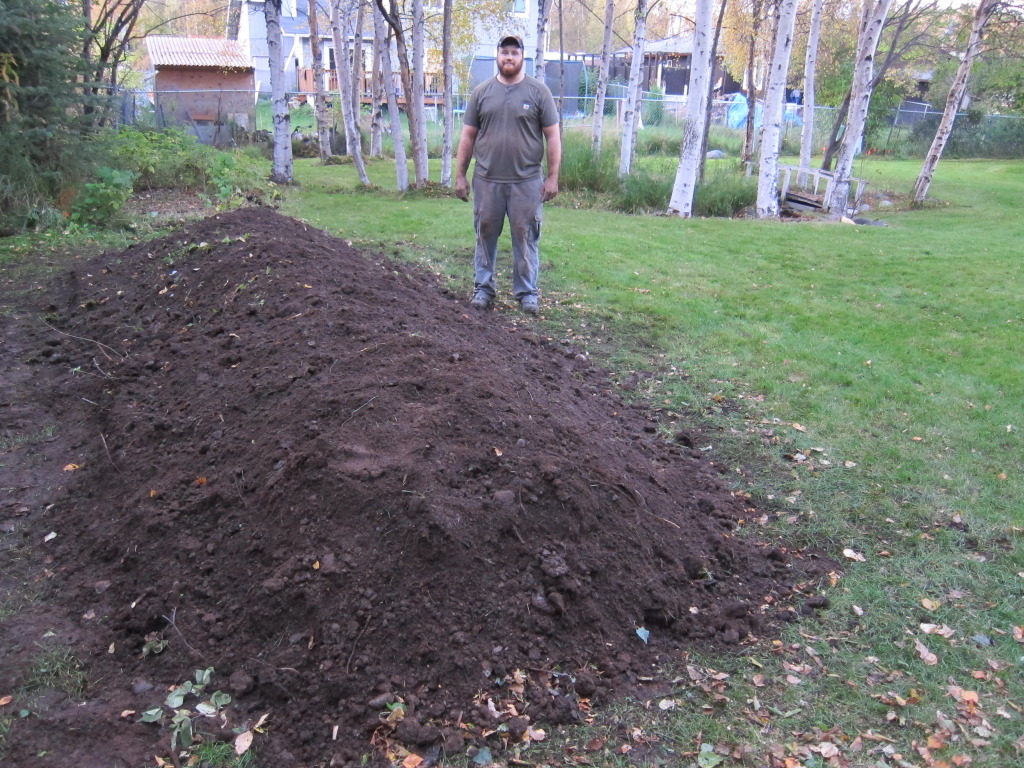
After you lay down the layer of sod (dirt-up), shovel all of the extra dirt back on top of the pile, and…
Finally finished!
It’s a slight eye-sore for now, but our neighbors will be jealous next summer when we’re picking a bounty of produce under the gorgeous Alaska sun.
:)
More Resources
While Brian & I were learning about hugelkultur organic compost gardening techniques, we leaned on a few good online resources. (I’m giving credit where credit is due, plus trying to prove that we’re not completely insane – see? Other people have done this, too!)
- This is an informative article from RichSoil.com, complete with a neat cartoon drawing of each composition phase.
- Our original inspiration, found on InspirationalGreen.com. Scroll down the page to see real life photos of hugelkultur gardens at all stages. It’s awesome seeing them with actual veggies growing out!
- And a good one from PermacultureNews.org, all about hugelkulturs.
One thought on “Hugel-whaaat? Building an Alaska Backyard Hugelkultur”
Comments are closed.