If you’ve never made jam before, it might feel intimidating. But honestly, jam is one of the easiest foods to learn how to make! I’ll walk you through the process of making & canning raspberry rhubarb jam.
When you’re deciding what kind of jam to make, there are no rules on what kind of fruit combination you want to create. There’s also no minimum batch quantity.
Jams versus Jellies
I prefer jams over jellies because I like the thicker texture of jams. If you want to make text-book jelly, it requires starting with pure, filtered juice and adding pectin. You boil it for a certain time, then pour it into jars while it’s still in liquid form. You don’t know if the jelly will “set” correctly until after you’ve already sealed jars and made the entire batch.
Jams, on the other hand, WYSIWYG (what you see is what you get). You don’t can jams until you’ve already had a chance to taste it and check the consistency. If there’s something you don’t like about your jam, you have the opportunity to change it before committing to an entire batch.
Also, jams don’t require starting with anything specific (like how jellies require the perfect ration of filtered juice, sugar and pectin). When you’re making jam, you throw whatever diced/smashed/whole fruit you want in a pot with some sugar, then simmer over low to medium heat until it looks like jam.
Raspberry Rhubarb Jam Ingredients
Even though there are no set requirements or ratios of fruit to sugar for jams, just to give you an idea, here’s what I used for a recent batch of raspberry rhubarb jam that I thoroughly enjoyed:
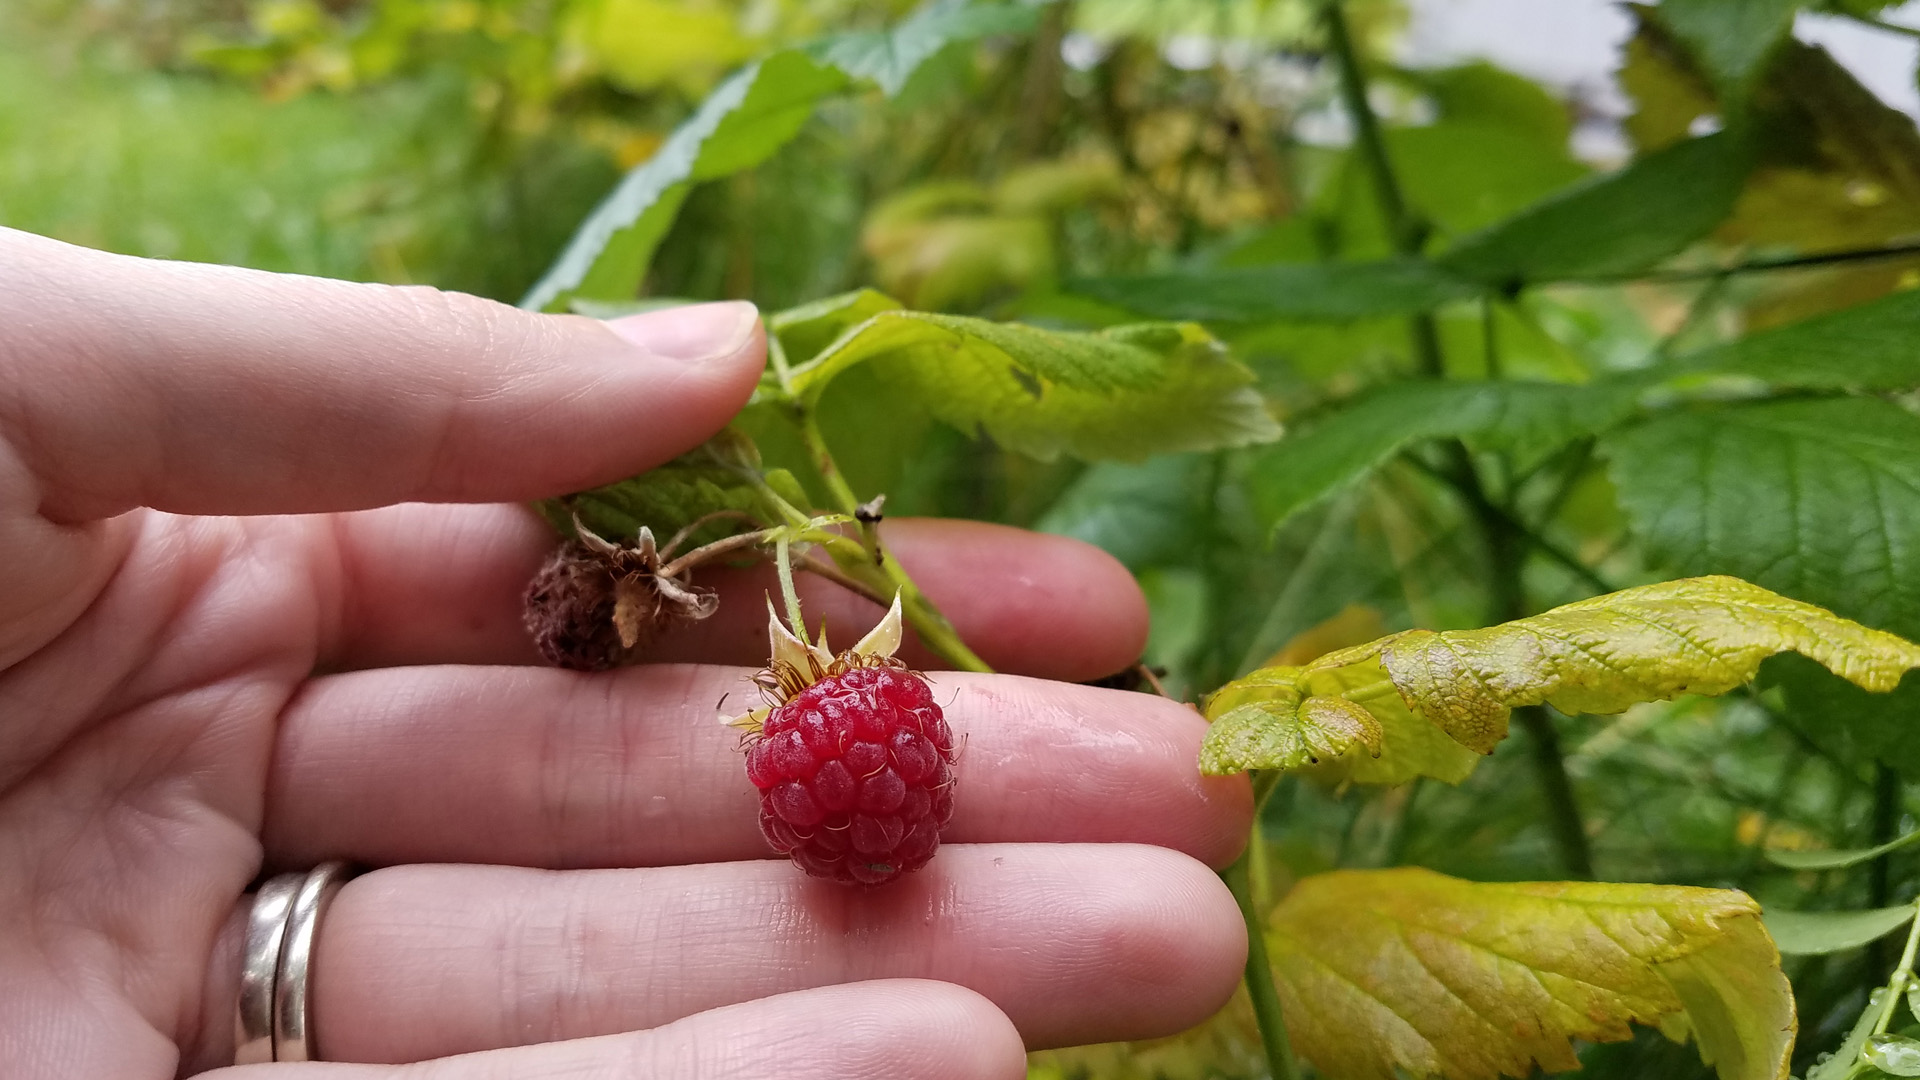
- 11 cups of raspberries & rhubarb, mixed (some fresh, some previously frozen)
- 4 cups sugar
- 1 TBL lime juice
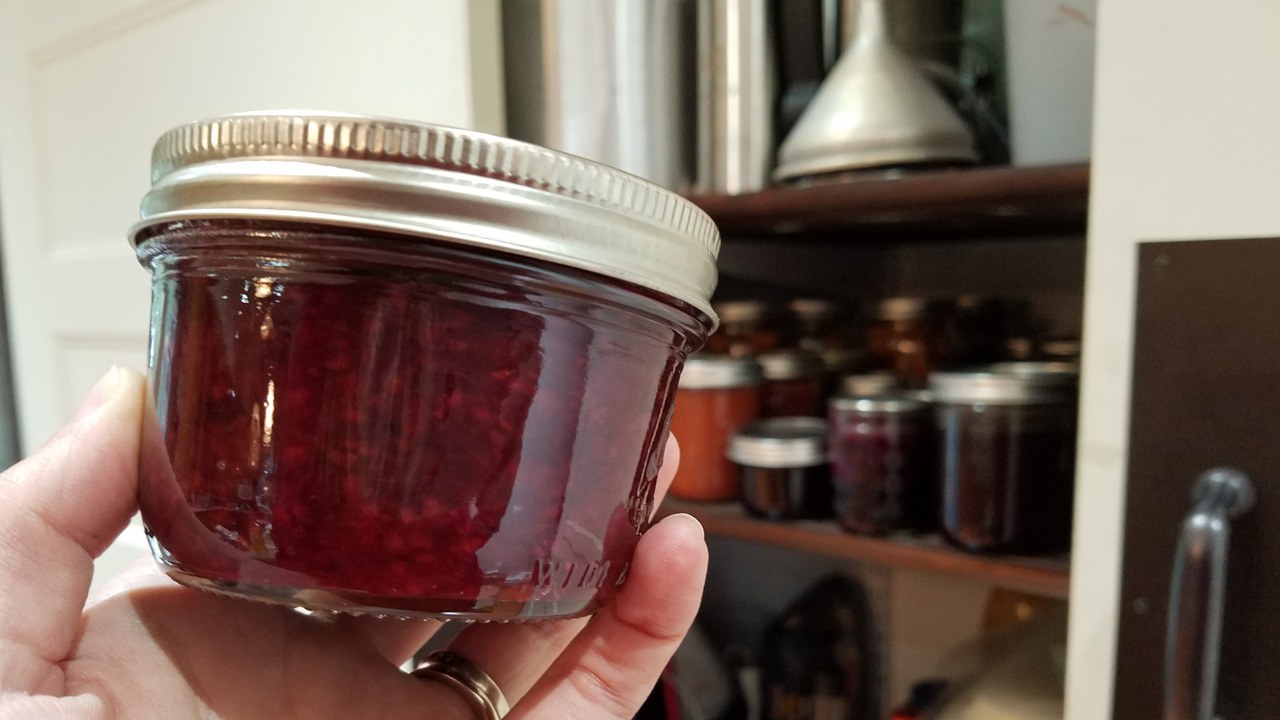
Yielded about 9 x 8-oz jelly jars.
Add all of your ingredients to a large pot. Simmer uncovered for about 1.5 – 2 hours, stirring occasionally and checking jam consistency on a small plate.
If you want it sweeter, add more sugar at any point. Stop simmering once it reaches your preferred jam thickness. That’s it!
Unlike jellies that generally need to be canned right away, you could put a jar of jam straight into the refrigerator without needing to finish it off in a water bath canner.
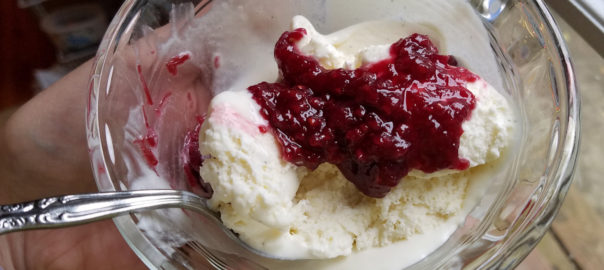
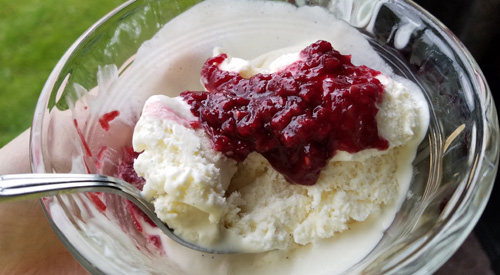
Or you could eat it warm over vanilla ice cream – oh yeah!
If you’d like to watch a short video on how I make jams, you can see it here.
If you do choose to preserve your jam, it takes about an hour from start to finish and it’s not complicated. In fact, it’s pretty easy.
Other than the glass jar/lid/ring combo, the only necessary equipment you’ll need is a pot deep enough to cover your jars with an inch or two of water.
If you want to see it done in action, here’s a video how-to that walks through the process of preserving jam in a water bath.
Ta da! Happy jamming.